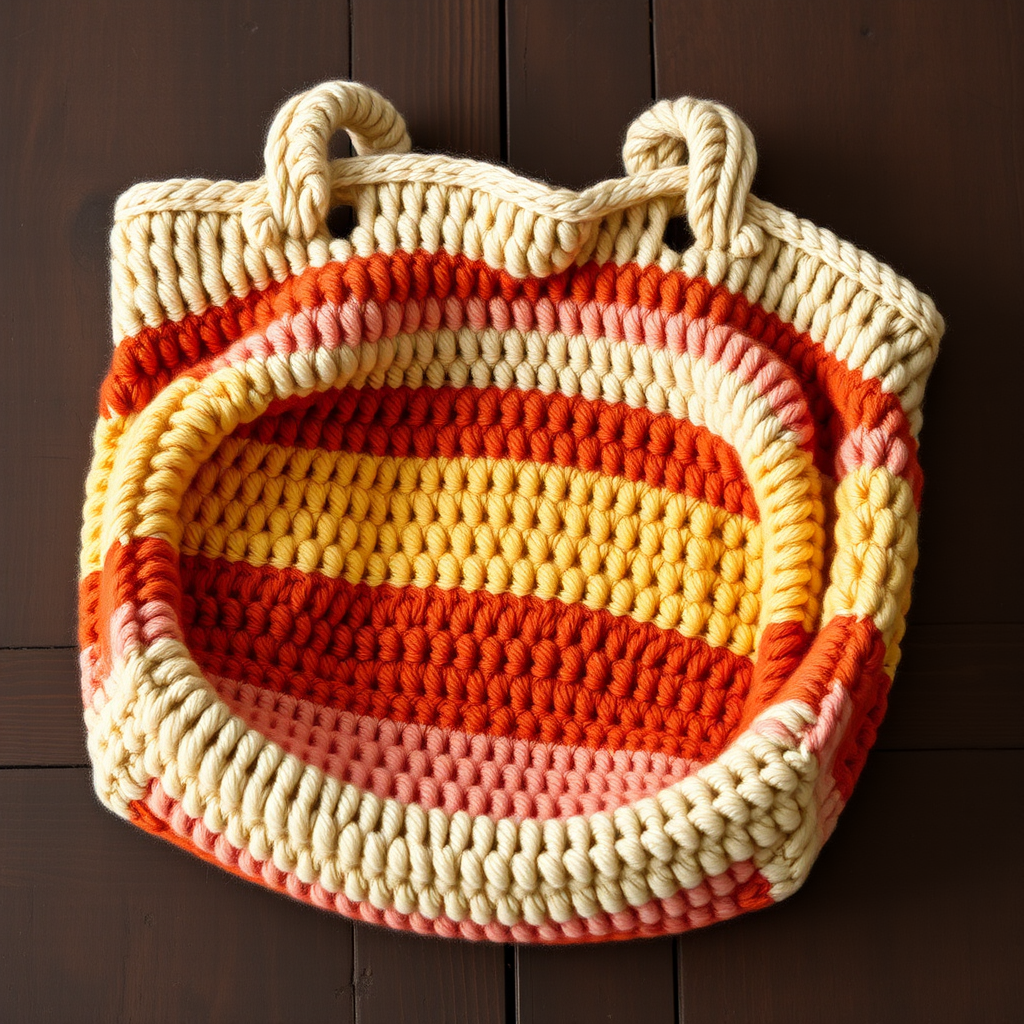
Celestial Drift Bucket Bag Free Pattern – Crochet a Starry Night Tote

Celestial Drift Bucket Bag Free Pattern – Crochet a Starry Night Tote
Imagine carrying a piece of the night sky with you wherever you go. The Celestial Drift Bucket Bag is a stunning crochet project that combines the deep, calming hues of a midnight sky with shimmering star motifs that catch the light. This textured, chunky tote is not just an accessory—it's a statement piece that brings a touch of celestial magic to your everyday style.
Whether you're a seasoned crocheter looking for a satisfying weekend project or a beginner ready to tackle something beautiful and functional, this pattern is designed to guide you through every step. The result? A soft, huggable, and incredibly stylish bag that's perfect for carrying your daily essentials with a boho, celestial flair. Let's dive into creating your very own starry night companion!
Materials Needed
Before we begin our crochet journey, let's gather all the supplies you'll need. Having everything ready will make the process smooth and enjoyable.
Yarn
- Yarn A (Navy): Red Heart Super Saver (worsted weight, 100% acrylic) in Navy – approximately 2 skeins (for the main bag body)
- Yarn B (Gold): Red Heart Super Saver in Gold – 1 skein (for the drawstring)
- Yarn C (White): Red Heart Super Saver in White – 1 skein (for the star motifs)
Hook and Notions
- Crochet Hook: 5.5 mm (I-9) crochet hook
- Yarn Needle: For weaving in ends and sewing stars
- Scissors: For cutting yarn
- Stitch Markers: (Optional but helpful for keeping track of rounds)
Gauge
14 single crochet (sc) x 16 rows = 4 inches in single crochet. Be sure to check your gauge to ensure your bag turns out the right size. If your gauge is off, adjust your hook size accordingly.
Step-by-Step Instructions
Now, let's get to the fun part! This pattern is worked in continuous rounds, which means you'll be crocheting in a spiral without joining at the end of each round. Use a stitch marker to keep track of where each round begins.
Bag Body (Worked in Continuous Rounds)
Round 1: With Yarn A (Navy), make a magic ring. Work 6 single crochet (sc) into the ring. (6 stitches)
Round 2: Work 2 sc in each stitch around. (12 stitches)
Round 3: *Sc in the next stitch, 2 sc in the next stitch* – repeat from * to * around. (18 stitches)
Round 4: *Sc in the next 2 stitches, 2 sc in the next stitch* – repeat around. (24 stitches)
Round 5: *Sc in the next 3 stitches, 2 sc in the next stitch* – repeat around. (30 stitches)
Round 6: *Sc in the next 4 stitches, 2 sc in the next stitch* – repeat around. (36 stitches)
Round 7: *Sc in the next 5 stitches, 2 sc in the next stitch* – repeat around. (42 stitches)
Round 8: *Sc in the next 6 stitches, 2 sc in the next stitch* – repeat around. (48 stitches)
Round 9: *Sc in the next 7 stitches, 2 sc in the next stitch* – repeat around. (54 stitches)
Round 10: *Sc in the next 8 stitches, 2 sc in the next stitch* – repeat around. (60 stitches)
Round 11: *Sc in the next 9 stitches, 2 sc in the next stitch* – repeat around. (66 stitches)
Round 12: *Sc in the next 10 stitches, 2 sc in the next stitch* – repeat around. (72 stitches)
Round 13: *Sc in the next 11 stitches, 2 sc in the next stitch* – repeat around. (78 stitches)
Round 14: *Sc in the next 12 stitches, 2 sc in the next stitch* – repeat around. (84 stitches)
Round 15: *Sc in the next 13 stitches, 2 sc in the next stitch* – repeat around. (90 stitches)
Round 16: *Sc in the next 14 stitches, 2 sc in the next stitch* – repeat around. (96 stitches)
Round 17: *Sc in the next 15 stitches, 2 sc in the next stitch* – repeat around. (102 stitches)
Round 18: *Sc in the next 16 stitches, 2 sc in the next stitch* – repeat around. (108 stitches)
At this point, you should have a nice, flat circle that forms the bottom of your bag. It should measure approximately 8-9 inches in diameter.
Creating the Bag Body
Rounds 19-40: Sc in each stitch around. (108 stitches each round)
Continue working even for 22 rounds. This will create the tall, cylindrical body of your bucket bag. The fabric will naturally start to curve upward, forming the walls of the bag. Keep your tension consistent for a smooth, even texture.
Round 41 (Eyelet Round for Drawstring): *Chain 2 (ch 2), skip the next 2 stitches, sc in the next stitch* – repeat from * to * around. (36 eyelets created)
This round creates the openings through which you'll weave your drawstrings. The chain-2 spaces will form little loops around the bag.
Rounds 42-43: Sc in each stitch around, working 2 sc into each ch-2 space from the previous round. (108 stitches)
These rounds secure the eyelet row and give the top of the bag a clean, finished edge.
Handle Attachment
Round 44: Sc in the next 20 stitches, chain 30 (ch 30) for the first handle, skip the next 14 stitches, sc in the next 40 stitches, chain 30 (ch 30) for the second handle, skip the next 14 stitches, sc in the next 20 stitches. (108 stitches + 2 handle chains)
This round creates the armholes for your handles. The chain-30 sections will become the handles themselves, and the skipped stitches create the openings.
Round 45: Sc in each stitch around, working 30 sc into each handle chain. (168 stitches)
As you work around, you'll crochet into the chain loops, turning them into sturdy, solid handles. This is where the bag really comes together!
Round 46: Sc in each stitch around. (168 stitches)
This final round gives the top edge a nice, finished look. Fasten off and weave in all loose ends with your yarn needle.
Drawstrings (Make 2)
With Yarn B (Gold), chain 120. Fasten off and weave in the ends. Repeat to make a second drawstring.
Now, thread one drawstring through the eyelet round. Start from the front of the bag and weave it in and out of the eyelets all the way around. Thread the second drawstring from the back, so the two strings pull from opposite sides. This allows you to cinch the bag closed from both directions for a secure, gathered top.
Star Motifs (Make 5)
With Yarn C (White), make a magic ring.
Round 1: Chain 3 (counts as a double crochet), work 4 double crochet (dc) into the ring, chain 2, *5 dc into the ring, chain 2* – repeat from * to * 4 more times. Slip stitch to the top of the beginning chain-3. (5 clusters of 5 dc)
You should now have a flower-like shape with 5 petals, each separated by a chain-2 space.
Round 2: Slip stitch into the next 2 double crochet stitches, slip stitch into the chain-2 space, chain 3, work 4 dc into the same space, chain 2, *5 dc into the next chain-2 space, chain 2* – repeat from * to * around. Slip stitch to the top of the beginning chain-3. Fasten off, leaving a long tail for sewing.
This second round makes the stars larger and more defined, with a beautiful raised center. Repeat this process to create 5 stars total.
Attaching the Stars
Using the long tails left on your stars, sew them onto the bag body in a scattered, constellation-like pattern. Refer to the photo for placement inspiration—some stars can overlap slightly, others can be spaced apart. The goal is to create a whimsical, celestial arrangement that looks like a starry night sky.
Finishing Touches
Weave in all remaining ends carefully. If you'd like extra durability and structure, you can optionally line the bag with fabric. Simply cut a piece of fabric to fit the inside, sew it into a cylinder, and hand-stitch it to the top edge of the bag. This is a great option if you plan to carry heavier items.
Your Celestial Drift Bucket Bag is now complete! Admire your handiwork—the deep navy body, the golden drawstring, and the sparkling white stars all come together to create a truly magical accessory. This bag is perfect for everyday use, beach trips, or as a thoughtful handmade gift for someone who loves all things celestial.
Happy crocheting, and may your days be filled with starry inspiration!