Aurora Borealis Mosaic Shawl Free Pattern – Knit a Shifting Sky Wrap

Aurora Borealis Mosaic Shawl Free Pattern – Knit a Shifting Sky Wrap
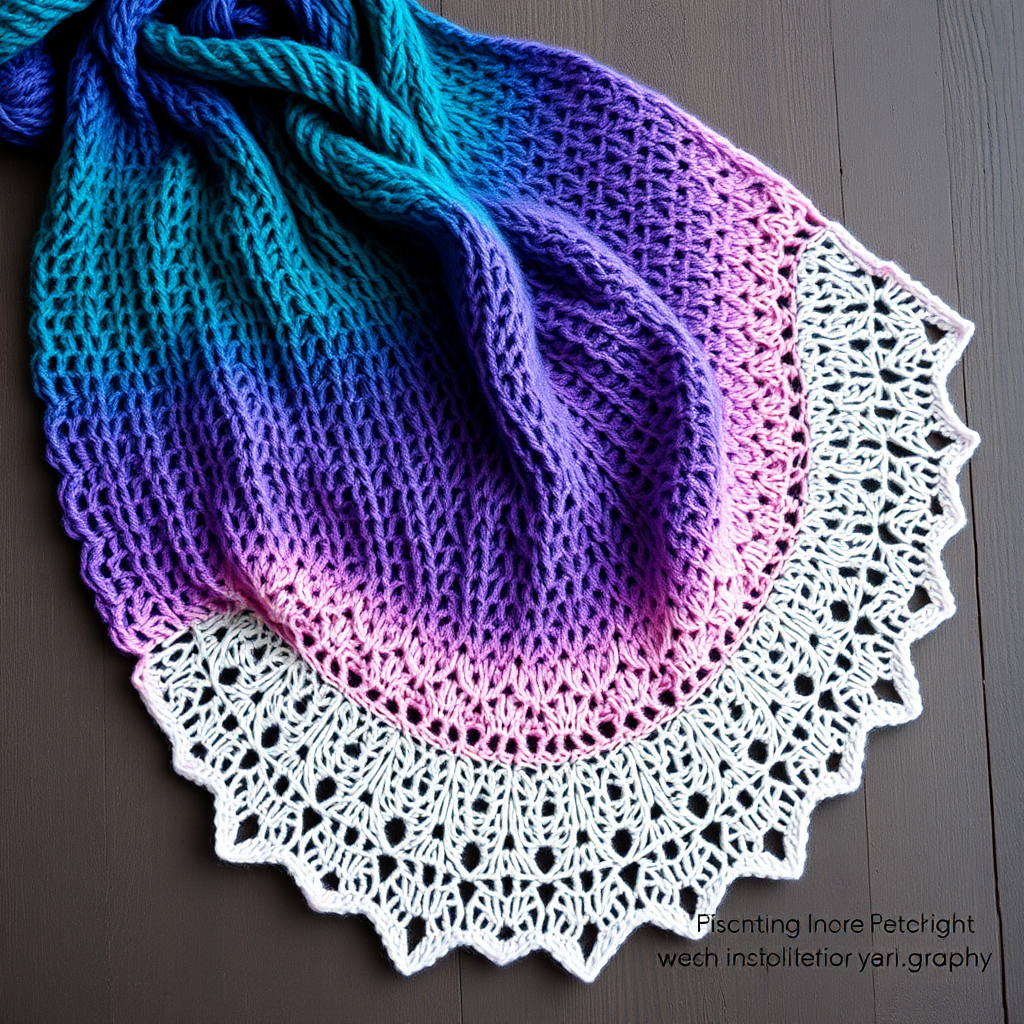
Wrap yourself in the ethereal dance of the northern lights with this mesmerizing mosaic knit shawl. The shifting gradient of teal, purple, and magenta creates a wearable piece of art that captures the magic of a polar night. This free pattern is perfect for adventurous beginners and experienced knitters alike—the mosaic technique is surprisingly simple, relying on slipped stitches and one color per row to create a stunning, woven geometric effect. The result is a cozy, modern, and truly unique triangular wrap that drapes beautifully over your shoulders.
Whether you're looking for a meditative knitting project or a show-stopping gift, this shawl delivers. The top-down construction means you can easily adjust the size, and the rhythmic repetition of the mosaic pattern makes it a relaxing yet rewarding knit. Let's dive into creating your own piece of the aurora!
Materials Needed
Before you begin, gather the following supplies. Using the recommended yarn weight and needle size is crucial to achieving the correct gauge and drape.
- Yarn: Fingering weight yarn in 3 colors:
- Color A (Deep Teal): Approximately 150g
- Color B (Vibrant Purple): Approximately 125g
- Color C (Soft Magenta): Approximately 125g
- Needle: US 6 (4.0 mm) circular knitting needle, 32 inches (80 cm) or longer. The long cord is essential to hold the many stitches as the shawl grows.
- Notions: Stitch markers (optional, but helpful for tracking pattern repeats), tapestry needle for weaving in ends, blocking pins and mats.
Gauge
22 stitches and 32 rows = 4 inches (10 cm) in stockinette stitch (knit on RS, purl on WS), after blocking. Always knit a swatch to ensure your tension matches, as this affects the final size and drape.
Step-by-Step Instructions
This shawl is worked from the top down, starting with a garter tab cast-on. The mosaic pattern is created by slipping stitches and working with one color at a time, producing a geometric, woven effect. The pattern is broken into five sections for clarity.
Abbreviations
- k: knit
- p: purl
- sl: slip stitch purlwise (as if to purl)
- yo: yarn over
- k2tog: knit two together (right-leaning decrease)
- skpo: slip one, knit one, pass slipped stitch over (left-leaning decrease)
- RS: right side
- WS: wrong side
Section 1: Garter Tab Cast-On
This creates a sturdy, seamless point at the top of the shawl.
- Cast on 3 stitches. Knit 6 rows of garter stitch (all knit). You will have a small square with ridges.
- Rotate the work 90 degrees clockwise. Pick up and knit 3 stitches along the side edge (you should have 3 stitches on the needle).
- Rotate again and pick up and knit 3 stitches from the cast-on edge. You now have 9 stitches on the needle.
Section 2: Increase Section
This section shapes the top of the shawl by increasing two stitches every other row. The garter stitch border (k3 on each edge) is established here and maintained throughout the entire shawl.
- Row 1 (RS): k3, yo, k to last 3 stitches, yo, k3. (11 stitches)
- Row 2 (WS): k3, p to last 3 stitches, k3.
- Repeat these two rows until you have 99 stitches on the needle, ending with a WS row. Tip: Count your stitches after each RS row to ensure you have the correct number.
Section 3: Mosaic Pattern
The magic happens here! The mosaic pattern is worked in two-row stripes. You will use Color A for the first stripe, Color B for the second, Color C for the third, and then repeat the sequence (A, B, C) until the shawl reaches the desired length. The slipped stitches create the geometric design, and you only ever work with one color at a time, making this technique much easier than traditional stranded colorwork.
Important: Always maintain the k3 border on each side. When slipping stitches, bring the yarn to the front (wyif) on the WS and to the back (wyib) on the RS, unless otherwise instructed. The pattern below assumes you are slipping purlwise with the yarn in the correct position for the row.
Stripe 1 (Color A)
- Row 1 (RS): k3, *sl 1, k1, sl 1, k3* repeat from * to * until 4 stitches remain, sl 1, k3.
- Row 2 (WS): k3, *sl 1, p1, sl 1, k3* repeat from * to * until 4 stitches remain, sl 1, k3.
Stripe 2 (Color B)
- Row 3 (RS): k3, *k1, sl 1, k3, sl 1* repeat from * to * until 4 stitches remain, k1, k3.
- Row 4 (WS): k3, *p1, sl 1, k3, sl 1* repeat from * to * until 4 stitches remain, p1, k3.
Stripe 3 (Color C)
- Row 5 (RS): k3, *sl 1, k3, sl 1, k1* repeat from * to * until 4 stitches remain, sl 1, k3.
- Row 6 (WS): k3, *sl 1, k3, sl 1, p1* repeat from * to * until 4 stitches remain, sl 1, k3.
Repeat these three stripes (Rows 1-6) until the shawl measures approximately 20 inches (50 cm) from the cast-on edge, ending with a WS row. Note: The pattern repeat is 8 stitches, so your stitch count of 99 works perfectly with the k3 borders.
Section 4: Decrease Section
Now we shape the bottom of the shawl by decreasing two stitches every other row, mirroring the increases at the top.
- Row 1 (RS): k3, skpo, k to last 5 stitches, k2tog, k3. (Decrease 2 stitches)
- Row 2 (WS): k3, p to last 3 stitches, k3.
- Repeat these two rows until you have 9 stitches remaining, ending with a WS row.
Section 5: Edging
This delicate, lacy edging adds a beautiful finish and helps the shawl lay flat. It uses a simple eyelet pattern.
- Row 1 (RS): k3, yo, k2tog, yo, k2tog, k2. (11 stitches)
- Row 2 (WS): k3, p to last 3 stitches, k3.
- Repeat these two rows until the edging measures 6 inches (15 cm). Bind off loosely. Tip: Use a larger needle or a stretchy bind-off method to prevent the edge from being too tight.
Finishing
- Weave in all ends with a tapestry needle, being careful to weave them into the same color yarn to hide them.
- Block the shawl gently to open up the mosaic pattern and create a beautiful drape. Pin the shawl to its final dimensions, paying special attention to the points and the edging. Spray with water or use a steam iron (without touching the yarn) and allow to dry completely.
Your Aurora Borealis Mosaic Shawl is now complete! The interplay of colors and the woven texture will make this a cherished piece for years to come. Enjoy wrapping yourself in the magic of the northern lights, and don't forget to share your finished project with the knitting community!