Willow Wisp Asymmetrical Scarf Free Pattern – Knit a Misty Meadow Wrap
Introducing the Willow Wisp Asymmetrical Scarf
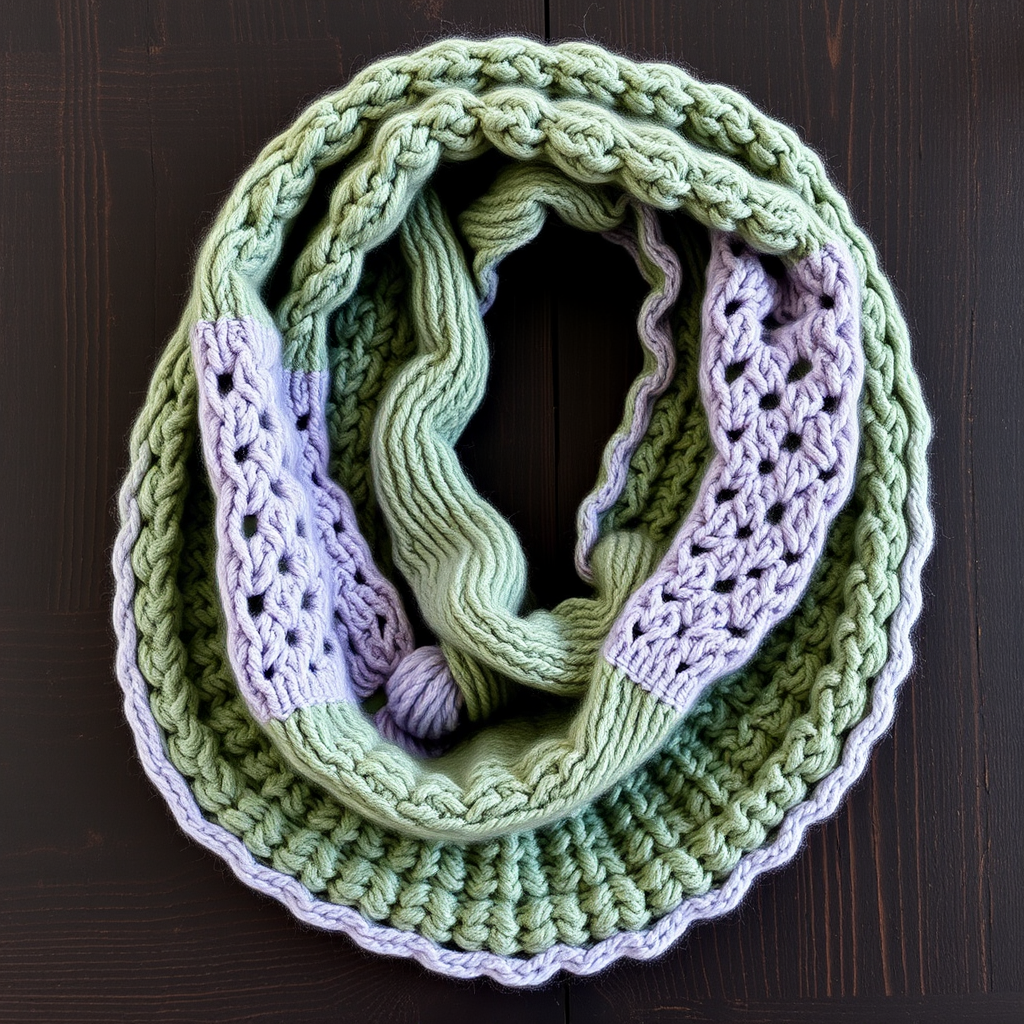
Embrace the gentle asymmetry of spring with this flowing scarf, knitted in soft, heathered greens and delicate lace panels. The unique crescent shape drapes beautifully, offering a modern twist on a classic accessory. This pattern is perfect for knitters looking to expand their skills with lace work and asymmetrical shaping, while still being accessible to confident beginners. The Willow Wisp Scarf evokes a misty spring meadow, with soft, muted tones that blend harmoniously, creating a modern, feminine, and cozy piece perfect for transitional weather.
This free knitting pattern will guide you through creating a stunning wrap that is wider at one end and tapers elegantly to the other. The combination of smooth stockinette stitch, garter stitch edges, and delicate lace panels creates a beautiful texture that drapes gracefully over your shoulders. Whether you're treating yourself or crafting a heartfelt gift, this scarf is sure to become a treasured wardrobe staple.
Materials Needed
Before you begin your knitting journey, gather the following materials:
- Yarn: Worsted weight yarn in two colors:
- Color A (Heathered Sage Green): 350 yards
- Color B (Misty Lilac): 150 yards
- Knitting Needles: US 8 (5.0 mm) knitting needles
- Tapestry Needle: For weaving in ends and finishing
Gauge: 18 stitches and 24 rows = 4 inches in stockinette stitch. Always take time to check your gauge to ensure your finished scarf matches the intended dimensions.
Special Stitches
This pattern uses a few special stitches that are essential to creating the beautiful lace and shaping. Here's a quick reference:
- K2tog (Knit Two Together): Insert your right needle into two stitches on the left needle as if to knit, then knit them together. This creates a right-leaning decrease.
- SSK (Slip, Slip, Knit): Slip two stitches knitwise, one at a time, from the left needle to the right needle. Insert the left needle into the front of these two slipped stitches and knit them together. This creates a left-leaning decrease.
- YO (Yarn Over): Bring the yarn to the front of your work, then over the right needle to the back. This creates an increase and a decorative hole in the fabric.
- KFB (Knit Front and Back): Knit into the front of the next stitch but do not slip it off the left needle. Instead, knit into the back of the same stitch, then slip the original stitch off. This creates a neat increase.
Step-by-Step Instructions
Follow these detailed instructions carefully, and you'll be amazed at the beautiful scarf you create. Remember to work in a well-lit area and take breaks to rest your hands.
Section 1: Cast On & Base
We'll begin by creating the narrow end of the scarf and gradually increasing to form the base.
- With Color A (Heathered Sage Green), cast on 3 stitches using your preferred method.
- Row 1 (Right Side): KFB into the first stitch, then knit to the end of the row. You will now have 4 stitches.
- Row 2 (Wrong Side): Knit all stitches.
- Repeat Rows 1 and 2 until you have 20 stitches on your needle. Remember, you are only increasing on the Right Side rows. End with a Wrong Side row (Row 2).
Tip: Place a stitch marker on the Right Side of your work to easily identify which side you're on.
Section 2: First Lace Panel
Now we'll introduce Color B (Misty Lilac) and create the first delicate lace section.
- Switch to Color B.
- Row 1 (RS): K2, YO, SSK, knit to the last 4 stitches, K2tog, YO, K2. (You will still have 20 stitches)
- Row 2 (WS): Knit all stitches.
- Row 3 (RS): K2, YO, SSK, knit to the last 4 stitches, K2tog, YO, K2.
- Row 4 (WS): Knit all stitches.
- Repeat Rows 1-4 until the lace panel measures 10 inches from the start of Color B, ending with a Wrong Side row.
Note: The YO and decreases create the beautiful diamond-like holes in the lace. The K2 at the beginning and end of each row forms a neat garter stitch edge.
Section 3: Main Body (Asymmetrical Shaping)
This is where the magic of the asymmetrical shape happens. We'll work in the main color while gradually increasing stitches on one side.
- Switch back to Color A.
- Row 1 (RS): K2, YO, SSK, knit to the last 4 stitches, K2tog, YO, K2. (20 stitches)
- Row 2 (WS): Knit all stitches.
- Repeat Rows 1-2 for 6 more rows (a total of 8 rows of stockinette with lace edges).
- Next RS row (Increase Row): K2, YO, SSK, knit to the last 4 stitches, K2tog, YO, K2, then KFB in the last stitch. (21 stitches)
- Continue in this pattern, increasing 1 stitch on every 4th Right Side row (at the end of the row) until you have 30 stitches on your needle.
- Once you have 30 stitches, work even in pattern (without increases) until the main body measures 20 inches from the start of this section, ending with a Wrong Side row.
Important: The increases are always made at the end of the row, after the lace edge. This creates the gentle crescent curve that makes this scarf so unique.
Section 4: Second Lace Panel
Time to add the second contrasting lace section for symmetry and visual interest.
- Switch to Color B.
- Work in the same lace pattern as Section 2 (Rows 1-4) for 8 inches, ending with a Wrong Side row.
This panel is slightly shorter than the first, which contributes to the asymmetrical design.
Section 5: Decrease & Bind Off
Now we'll shape the other end of the scarf, decreasing back down to a narrow point.
- Switch back to Color A.
- Row 1 (RS): K2, YO, SSK, knit to the last 4 stitches, K2tog, YO, K2, then SSK (decrease at the end). (You will have one less stitch)
- Row 2 (WS): Knit all stitches.
- Continue decreasing 1 stitch on every Right Side row (at the end of the row) until you have 3 stitches left on your needle.
- Bind off all stitches loosely.
Tip: To bind off loosely, use a needle one size larger for the bind off row, or simply don't pull the yarn too tight after each stitch.
Finishing Touches
Your scarf is almost complete! These final steps will ensure a professional, polished look.
- Weave in all ends: Using your tapestry needle, carefully weave in all loose yarn ends along the edges of the scarf, following the direction of the stitches. This will hide them securely.
- Block the scarf: This is a crucial step for lace patterns. Soak the scarf in lukewarm water with a gentle wool wash for about 20 minutes. Gently squeeze out excess water (do not wring). Lay the scarf flat on a clean towel, roll it up to remove more water, then unroll and shape it to its final dimensions. Pin the edges to open up the lace pattern and even out the shape. Allow it to dry completely.
Blocking will transform your knitting, making the lace panels open up beautifully and the edges lie flat. Once dry, your Willow Wisp Asymmetrical Scarf is ready to wear and enjoy!
We hope you loved knitting this pattern. The combination of colors and textures creates a truly special piece that you'll reach for again and again. Happy knitting!