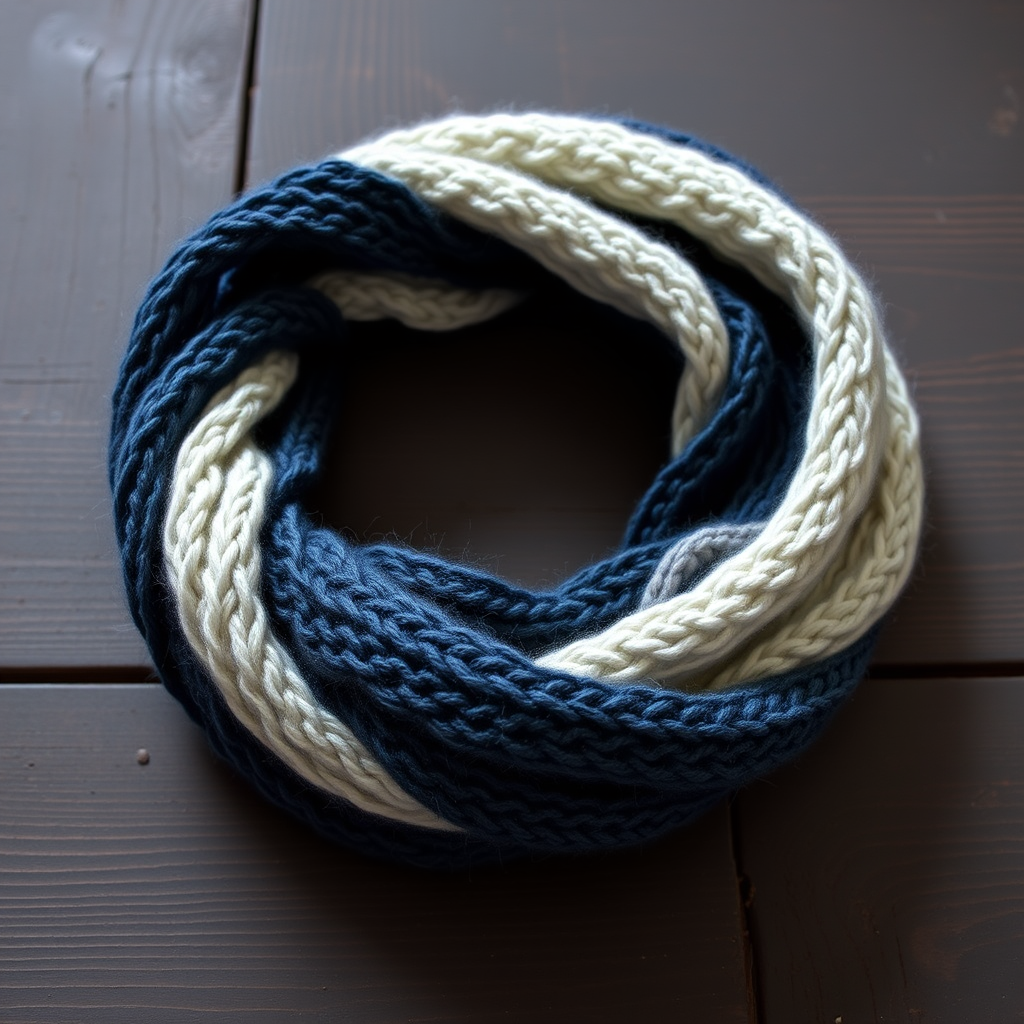
Mint Twist Scarf Free Pattern – Knit a Cozy Spiral Wrap

Introducing the Mint Twist Scarf: A Cozy Spiral Wrap
Wrap yourself in the refreshing swirl of this minty spiral scarf, knitted with a clever twist that creates a stunning textured coil. Perfect for adding a pop of cool color to any winter outfit, this pattern is both a joy to knit and a delight to wear. The mesmerizing spiral effect is achieved through a simple slip-stitch ribbing that naturally curls, and the deep teal-mint contrast trim frames the light mint body beautifully. This is an intermediate-level project that yields a sculptural, handcrafted accessory you'll be proud to show off.
Materials Needed
Before you begin, gather the following supplies to ensure a smooth knitting experience:
- Yarn: Worsted weight yarn in two shades of mint – approximately 350 yards of Main Color (MC) in light mint, and 150 yards of Contrast Color (CC) in deep teal-mint.
- Needles: US 8 (5.0 mm) knitting needles. Straight needles work fine, but a circular needle (at least 32 inches long) is recommended for the long cast-on and for picking up stitches around the edges.
- Gauge: 18 stitches and 24 rows = 4 inches in stockinette stitch (after blocking). Gauge is important for achieving the correct dimensions, so take a moment to knit a swatch.
- Notions: A tapestry needle for weaving in ends, a stitch marker (optional), and a spare needle if you choose the three-needle bind-off method.
Step-by-Step Instructions
This scarf is knit flat in one long piece, then twisted and seamed to create the spiral effect. The pattern uses a simple slip-stitch ribbing that naturally curls, enhancing the twist. Follow these detailed instructions carefully, and you'll have a beautiful spiral scarf in no time.
Abbreviations
- CO: Cast on
- K: Knit
- P: Purl
- Sl: Slip stitch purlwise (unless otherwise stated)
- K2tog: Knit two together
- St(s): Stitch(es)
- MC: Main color (light mint)
- CC: Contrast color (deep teal-mint)
- RS: Right side
- WS: Wrong side
Section 1: Main Body (MC)
This section creates the long, textured body of the scarf. The slip-stitch pattern forms gentle vertical ridges that will beautifully enhance the spiral twist.
- Cast On: With your MC yarn, CO 40 stitches. Use a long-tail cast-on for a neat, stretchy edge.
- Row 1 (RS): K1, *Sl 1, K1; repeat from * to the last stitch, K1. This creates the slip-stitch rib pattern.
- Row 2 (WS): Purl all stitches. This row provides a clean base for the slip-stitch pattern.
- Repeat: Continue repeating Rows 1 and 2 until the piece measures 60 inches from the cast-on edge, ending with a WS row (a purl row). This long length is essential for creating the dramatic spiral effect.
Section 2: Twist and Join
This is the magical step that transforms a flat rectangle into a spiral. Take your time here to ensure the twist is correct before seaming.
- Prepare the Twist: Carefully pick up the cast-on edge and bring it to meet the live stitches on your needle. Before joining, give the fabric a full 360-degree twist. This means the right side of the fabric should be facing you on both ends. This single twist is what will form the spiral.
- Graft or Bind Off: With the RS facing, you will now join the live stitches to the cast-on edge. You have two excellent options:
- Kitchener Stitch (Grafting): This creates an invisible, seamless join. Thread a tapestry needle with a length of MC yarn and graft the live stitches to the cast-on edge. This is the preferred method for a professional finish.
- Three-Needle Bind-Off: If you prefer a quicker method, place the cast-on edge onto a spare needle. Hold the two needles parallel in your left hand, with the RS of the fabric facing each other. Using a third needle and your MC yarn, knit the first stitch from the front needle together with the first stitch from the back needle. Then, knit the next pair together. Bind off by passing the first stitch over the second, repeating until all stitches are bound off.
- Result: After joining, you will have a long, continuous loop of fabric with a permanent twist in it.
Section 3: Spiral Edge Trim (CC)
Now you'll add the beautiful deep teal-mint trim that frames the spiral and gives the scarf its polished, finished look.
- Pick Up Stitches: With your CC yarn, pick up and knit 1 stitch for every slipped-stitch ridge along one edge of the scarf. You should pick up approximately 120 stitches. The slipped-stitch ridges are the prominent vertical bars created by the slip-stitch pattern.
- Work in the Round (or Flat): You can work this trim in the round using a circular needle, or flat and seam it later. For a seamless look, join in the round, being careful not to twist your stitches. Place a stitch marker to mark the beginning of the round.
- Round 1 (CC): *K1, P1; repeat from * around. This establishes a simple knit-purl rib.
- Round 2: *Sl 1, K1; repeat from * around. This slip-stitch pattern adds a subtle texture that echoes the main body.
- Repeat: Repeat Rounds 1 and 2 for a total of 4 rounds. Then, bind off loosely in pattern (knit the knits and purl the purls as you bind off). A loose bind-off is crucial to prevent the edge from pulling in.
- Repeat on Other Edge: Repeat the same pick-up and trim process on the other edge of the scarf. This creates a balanced, symmetrical spiral look.
Finishing
- Weave in Ends: Using your tapestry needle, carefully weave in all loose yarn ends on the inside of the scarf to keep the exterior clean.
- Blocking: Block the scarf lightly to even out the stitches. Be very careful not to flatten the twist. You can pin it gently into its spiral shape to help it set, but avoid stretching it. The scarf will naturally spiral when worn, so let it dry in a relaxed state.
And there you have it—a stunning, handcrafted Mint Twist Scarf that's as fun to make as it is to wear. The cool mint tones and dynamic spiral design make it a standout piece for any winter wardrobe. Happy knitting!