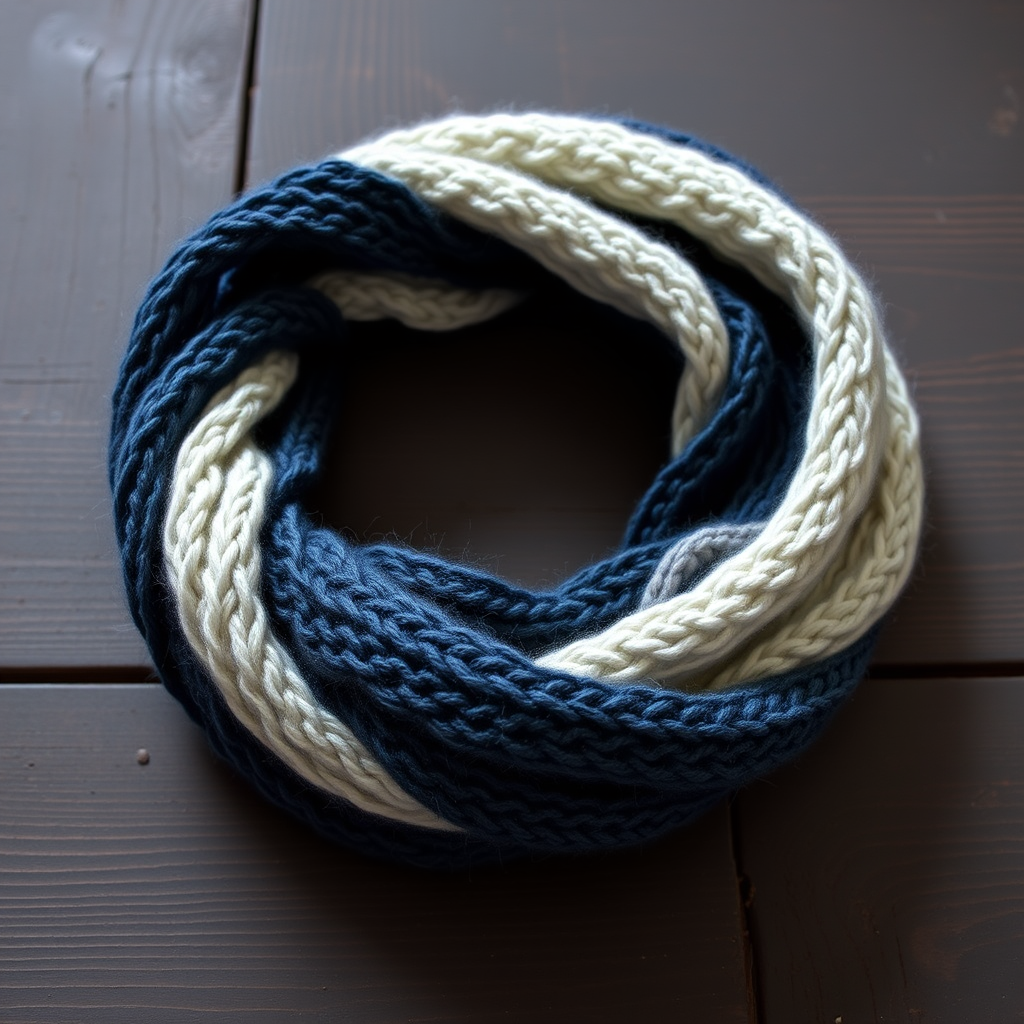
Ember Glow Gradient Scarf Free Pattern – Textured Knitted Cowl

Wrap Yourself in Sunset: The Ember Glow Gradient Scarf
Imagine wrapping yourself in the warm, fading light of an autumn sunset. That's the magic of the Ember Glow Gradient Scarf—a stunning, seamless cowl that transitions from deep burgundy through burnt orange to a final glow of golden yellow. This isn't just a scarf; it's a statement piece, a hug of warmth, and a delightful knitting project that will elevate your winter wardrobe.
Featuring a rich, dimensional honeycomb cable texture, this cowl is as satisfying to knit as it is to wear. The pattern is designed for intermediate knitters who are comfortable with basic cables and working in the round. The result is a modern, cozy accessory that looks far more complex than it actually is. Let's dive into this free pattern and create something beautiful together.
Why You'll Love This Pattern
This project is a perfect blend of technique and artistry. The honeycomb stitch creates a plush, textured fabric that's incredibly warm, while the gradient color changes add a modern, designer touch. Because it's knit in the round, there's no seaming—just pure, uninterrupted knitting joy. It's a fantastic way to practice your cable skills without a complicated chart, and the repetitive nature of the pattern makes it a relaxing, meditative knit.
Materials Needed: Gathering Your Sunset Palette
Before you begin, gather your materials. The quality of your yarn will make a huge difference in the final drape and feel of your cowl.
- Yarn: Worsted weight yarn in 3 shades, approximately 200g each:
- Color A: Deep Burgundy
- Color B: Burnt Orange
- Color C: Golden Yellow
- Needles: US 8 (5mm) circular knitting needle, 16-inch length (for working in the round).
- Notions: Stitch marker, cable needle, tapestry needle for weaving in ends.
- Gauge: 18 stitches and 24 rows = 4 inches in honeycomb pattern. Always check your gauge to ensure the correct size!
Step-by-Step Instructions: Knitting Your Ember Glow Cowl
This pattern is worked in the round as a seamless tube. Follow these detailed instructions carefully, and you'll have a beautiful cowl in no time.
Special Stitches to Master
Before you start, let's review the two cable stitches you'll be using. They are simple and create a beautiful braided effect.
- C4B (Cable 4 Back): Slip next 2 stitches to cable needle, hold in back of work, knit next 2 stitches, then knit the 2 stitches from the cable needle.
- C4F (Cable 4 Front): Slip next 2 stitches to cable needle, hold in front of work, knit next 2 stitches, then knit the 2 stitches from the cable needle.
Getting Started: Cast On and Ribbing
We'll begin with a stretchy ribbed edge to frame the beautiful cable pattern.
- Cast On: With Color A (Deep Burgundy), cast on 144 stitches. Place a stitch marker and join in the round, being extremely careful not to twist your stitches.
- Ribbing Rounds 1-6: *K2, P2; repeat from * to the end of the round. This creates a classic 2x2 rib. Knit this for 6 rounds total.
The Honeycomb Body: Creating the Texture
Now for the fun part—the honeycomb pattern! This is a 4-round repeat that creates the stunning dimensional texture.
- Round 7 (Cable Round 1): *C4B, C4F; repeat from * to the end of the round.
- Round 8 (Plain Round): Knit all stitches.
- Round 9 (Cable Round 2): *C4F, C4B; repeat from * to the end of the round. Notice how this is offset from the first cable round.
- Round 10 (Plain Round): Knit all stitches.
- Rounds 11-18: Repeat Rounds 7-10 two more times. This completes the first color block in Deep Burgundy.
Creating the Gradient: Changing Colors
Now we'll transition to our next color to build the sunset effect. The change is simple and creates a clean, smooth line.
- Round 19: Cut Color A, leaving a 6-inch tail. Join Color B (Burnt Orange).
- Rounds 19-30: Repeat Rounds 7-10 three times (12 rounds total) in Color B.
- Round 31: Cut Color B, leaving a 6-inch tail. Join Color C (Golden Yellow).
- Rounds 31-42: Repeat Rounds 7-10 three times (12 rounds total) in Color C. This completes the main body of the cowl.
Finishing Touches: Ribbing and Bind Off
We'll finish with a matching ribbed edge to mirror the bottom and give the cowl a polished look.
- Ribbing Rounds 43-48: *K2, P2; repeat from * to the end of the round. Knit this for 6 rounds total in Color C.
- Bind Off: Bind off loosely in pattern (knit the knits and purl the purls). A loose bind off is crucial to ensure the top edge remains stretchy enough to fit over your head comfortably. You can use a larger needle to bind off if needed.
- Weave in Ends: Using your tapestry needle, carefully weave in all loose ends on the inside of the cowl. Give it a gentle block to even out the stitches and let the cables shine.
And there you have it—your very own Ember Glow Gradient Scarf! This beautiful, textured cowl is perfect for crisp autumn walks or cozy winter evenings. The gradient effect is sure to turn heads, and the honeycomb pattern is a joy to create. Happy knitting!