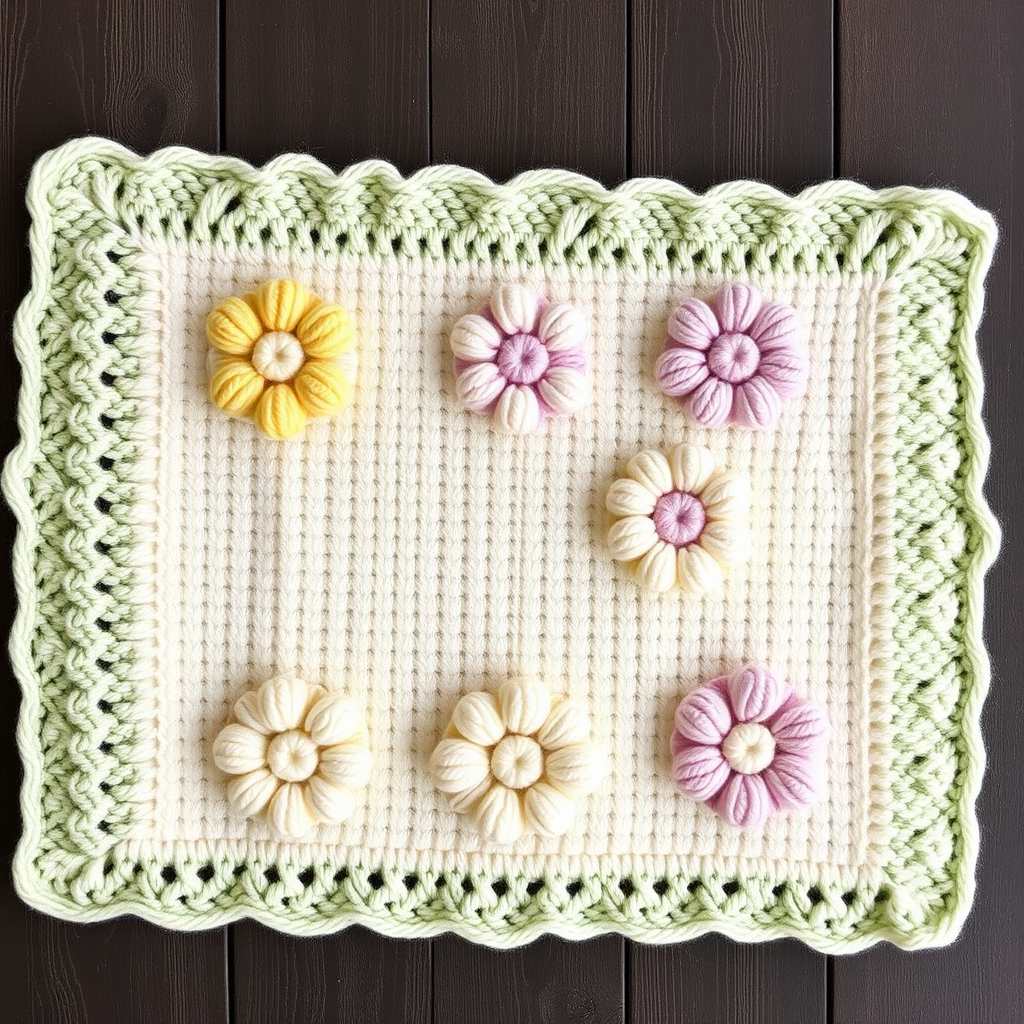
Whispering Willow Baby Blanket Free Pattern – Knit a Soft Textured Heirloom

Introducing the Whispering Willow Baby Blanket
There is something truly special about creating a handmade heirloom for a little one. The Whispering Willow Baby Blanket is a modern take on classic baby knits, featuring a soothing textured leaf motif that feels both timeless and fresh. This pattern creates a beautifully drapey, heirloom-quality piece using soft, breathable cotton—perfect for swaddling, cuddling, or simply displaying in a nursery.
Whether you are a seasoned knitter looking for a meditative project or a confident beginner ready to stretch your skills, this blanket offers a rewarding experience. The all-over leaf pattern is surprisingly simple once you get into the rhythm, and the garter stitch border ensures a neat, non-curling edge. Let's dive into everything you need to create this cherished keepsake.
Materials Needed
Before you begin, gather the following supplies. Having everything ready will make your knitting session smooth and enjoyable.
Yarn
- Lion Brand Comfy Cotton Blend (or any worsted weight cotton blend)
- 5 skeins in 'Willow Green' (approx. 850 yards) for the main body
- 2 skeins in 'Cream' for the border
Needles & Notions
- US Size 7 (4.5 mm) circular knitting needle, 32-inch length (to accommodate the wide stitch count)
- Stitch markers (at least 2)
- Yarn needle for weaving in ends
- Scissors
- Blocking mats and pins (for finishing)
Gauge
20 stitches and 28 rows = 4 inches in stockinette stitch (after blocking). Be sure to check your gauge—this ensures your blanket comes out to the intended size and drape.
Step-by-Step Instructions
Follow these detailed instructions carefully. The pattern is worked flat, back and forth on the circular needle, so you won't need to join in the round.
Finished Size & Abbreviations
Finished Size: Approximately 30 x 36 inches
Abbreviations:
- CO: cast on
- K: knit
- P: purl
- K2tog: knit two together (right-leaning decrease)
- SSK: slip, slip, knit (left-leaning decrease)
- YO: yarn over (creates an eyelet hole)
- PM: place marker
- SM: slip marker
- St(s): stitch(es)
Pattern Notes
- Worked flat back and forth on circular needle.
- The leaf pattern is a 12-row repeat, creating a delicate all-over texture.
- The border is worked in garter stitch (knit every row) for a neat, non-curling edge.
- Always slip markers as you come to them, unless instructed otherwise.
Getting Started: The Border
Step 1: With your 'Willow Green' yarn, CO 150 stitches.
Step 2: Knit 6 rows in garter stitch (knit every row). This forms the bottom border of your blanket.
The Main Body: Leaf Pattern
Now you'll begin the textured leaf motif. The pattern is worked between two 6-stitch garter borders. Read each row carefully, repeating the section between asterisks (*) across the row.
Row 1 (Right Side): K6 (border), PM, *K1, P1, K1, YO, SSK, K5, K2tog, YO, K1, P1, K1*; repeat from * to * until 6 sts remain, PM, K6.
Explanation: You're creating the first set of decreases and yarn overs that form the leaf's base. The purl stitches create the leaf outline.
Row 2 (Wrong Side): K6, SM, *P1, K1, P1, K7, P1, K1, P1*; repeat from * to * to marker, SM, K6.
Explanation: This row sets the purl bumps on the right side. The center 7 stitches are knit on the wrong side, which means they appear as stockinette on the right side.
Row 3: K6, SM, *K1, P1, K1, K1, YO, SSK, K3, K2tog, YO, K1, K1, P1, K1*; repeat to marker, SM, K6.
Explanation: Notice the leaf is narrowing—you're working SSK and K2tog closer together, with a YO on each side to maintain stitch count.
Row 4: Same as Row 2.
Row 5: K6, SM, *K1, P1, K1, K2, YO, SSK, K1, K2tog, YO, K2, P1, K1*; repeat to marker, SM, K6.
Explanation: The leaf point is forming. The center stitch between the decreases is now just 1 stitch.
Row 6: Same as Row 2.
Row 7: K6, SM, *K1, P1, K1, K3, YO, SSK, K2tog, YO, K3, P1, K1*; repeat to marker, SM, K6.
Explanation: The two decreases are now adjacent (SSK, K2tog), creating the sharp tip of the leaf.
Row 8: Same as Row 2.
Row 9: K6, SM, *K1, P1, K1, K4, YO, K3tog, YO, K4, P1, K1*; repeat to marker, SM, K6.
Explanation: Here, you're working a K3tog (knit three together) instead of two separate decreases. This centers the leaf tip perfectly. If you prefer, you can substitute SSK, K2tog for the K3tog, but the K3tog gives a cleaner point.
Row 10: Same as Row 2.
Row 11: K6, SM, *K1, P1, K1, K3, K2tog, YO, K1, YO, SSK, K3, P1, K1*; repeat to marker, SM, K6.
Explanation: This row begins the "opening" of the next leaf above. The YO, K1, YO creates the center vein of the new leaf.
Row 12: Same as Row 2.
Repeat Rows 1-12 until the piece measures approximately 30 inches from the cast-on edge, ending with a wrong-side row (Row 2, 4, 6, 8, 10, or 12). This will be approximately 20 full repeats of the 12-row pattern.
Finishing the Top Border
Step 1: Once your main body reaches 30 inches, knit 6 rows in garter stitch (knit every row) using your 'Willow Green' yarn. This mirrors the bottom border.
Step 2: Bind off loosely in knit. Tip: To avoid a tight edge, use a needle one size larger for the bind-off, or bind off using the "knit two together, slip back" method for extra stretch.
Adding the Cream Border (Optional but Recommended)
For the beautiful cream frame shown in the photos, you'll pick up stitches along the sides and work a garter border. Here's how:
Step 1: With your 'Cream' yarn and the right side facing, pick up and knit stitches evenly along one side edge. A good rule of thumb is to pick up 3 stitches for every 4 rows. For a 30-inch side, you'll pick up approximately 210 stitches.
Step 2: Knit 6 rows in garter stitch. Bind off loosely.
Step 3: Repeat on the other side edge.
Step 4: For the top and bottom edges, you can either work the cream border directly onto the existing green border, or pick up stitches along the cast-on and bind-off edges. If you prefer a simpler finish, you can skip the cream side borders and keep the green garter border as the frame—the choice is yours!
Weaving in Ends & Blocking
Step 1: Using your yarn needle, weave in all loose ends carefully on the wrong side of the blanket. Make sure to weave in at least 4-6 inches to secure them well.
Step 2: Blocking is essential for this pattern. It opens up the lace holes and defines the leaf motifs beautifully. Soak the blanket in lukewarm water with a gentle wool wash for 15-20 minutes.
Step 3: Gently squeeze out excess water (do not wring or twist). Lay the blanket flat on blocking mats.
Step 4: Pin out the blanket to the finished measurements (30 x 36 inches), paying special attention to the leaf points and edges. Use blocking pins to gently stretch each leaf tip for maximum clarity.
Step 5: Allow the blanket to dry completely before unpinning. This may take 24-48 hours depending on humidity.
Final Thoughts
Your Whispering Willow Baby Blanket is now complete! The combination of the soft cotton yarn, the textured leaf pattern, and the clean garter border creates a piece that will be treasured for generations. Whether you gift it at a baby shower or keep it for your own little one, this blanket is sure to become a beloved family heirloom.
Remember, knitting is a journey—enjoy each row, and don't be afraid to rip back if something doesn't look right. The rhythm of the pattern will soon become second nature, and before you know it, you'll have a beautiful, handcrafted blanket to cherish. Happy knitting!