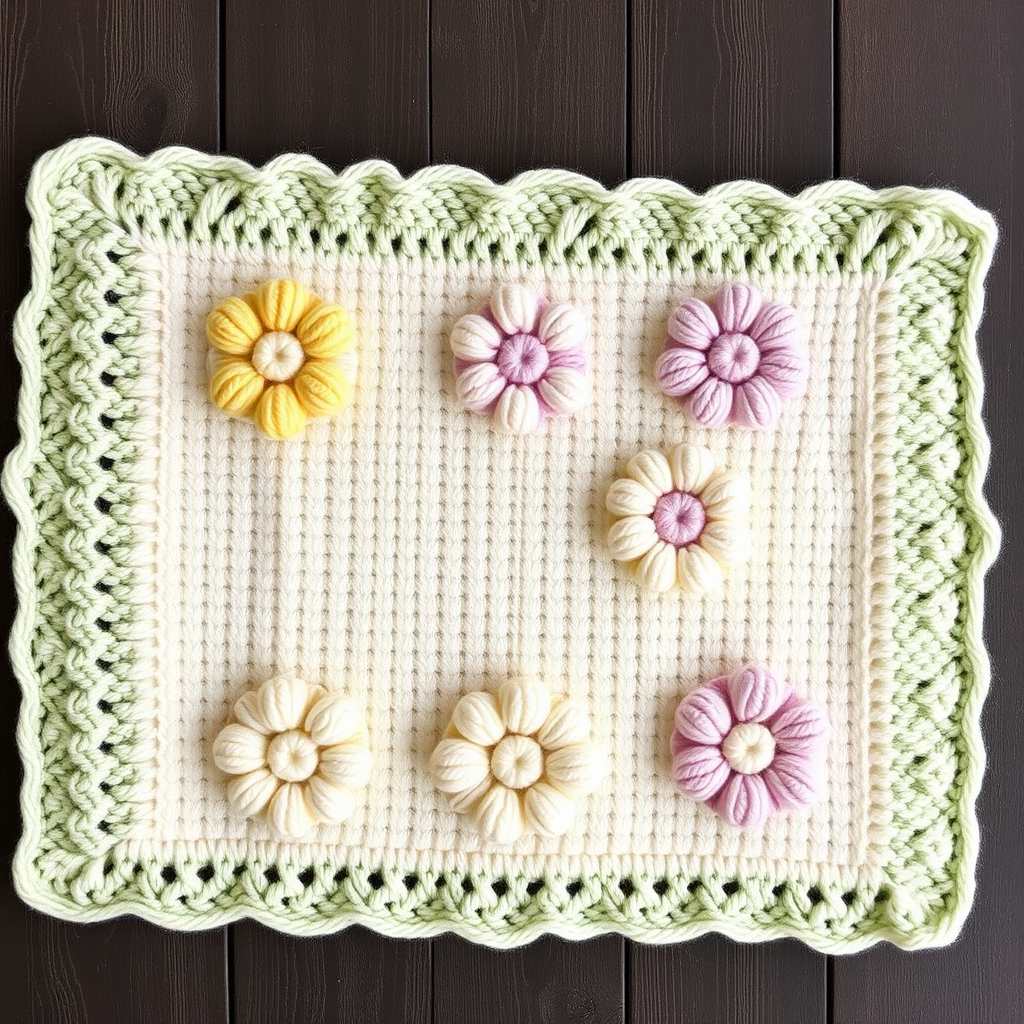
Safari Sunset Jungle Animals Blanket Free Pattern – Textured Knit with Crochet Appliqués

Safari Sunset Jungle Animals Blanket: A Complete Beginner-Friendly Knit & Crochet Pattern
Imagine wrapping your little one in a blanket that tells a story—a vibrant journey through a sunset-lit jungle, complete with a lion's proud mane, an elephant's gentle trunk, and a monkey's playful grin. The Safari Sunset Jungle Animals Blanket is more than just a baby blanket; it's a handcrafted heirloom that combines the soothing rhythm of textured knitting with the whimsical charm of crochet appliqués. This pattern is designed with beginners in mind, breaking down every step so you can create a stunning, personalized gift that will be treasured for generations. Let's embark on this cozy crafting adventure together!
Materials Needed: Gathering Your Crafting Toolkit
Before we dive into the stitches, let's ensure you have everything you need. This project uses standard, easily accessible materials, making it perfect for a first-time blanket maker.
Yarn Requirements
You'll need worsted weight yarn (Category 4) in a beautiful sunset gradient. The exact amounts are listed below, but feel free to adjust colors to match your nursery's theme.
- Main Color (MC) – Terracotta: 500g (for the base and border)
- Color A – Golden Yellow: 300g (for stripes and appliqués)
- Color B – Burnt Orange: 300g (for stripes and accents)
- Color C – Deep Teal: 400g (for stripes and appliqués)
- Color D – Forest Green: 400g (for stripes and appliqués)
- Small amounts for details: Cream, brown, and black yarn for the animal faces and features.
Tools & Notions
- Knitting Needles: US Size 8 (5.0 mm) – for the main blanket body.
- Crochet Hook: US Size G/6 (4.0 mm) – for creating the animal appliqués.
- Tapestry Needle: For weaving in ends and sewing the appliqués onto the blanket.
- Scissors: For cutting yarn.
- Stitch Markers (optional): Helpful for keeping track of your stripe sequences.
Understanding Your Gauge
To ensure your blanket comes out the perfect size, it's crucial to check your gauge. In stockinette stitch (knit one row, purl one row), you should have 18 stitches and 24 rows = 4 inches. Knit a small swatch first to confirm your tension matches this. If your swatch is too small, try larger needles; if it's too big, use smaller needles.
Step-by-Step Instructions: Knitting the Blanket Base
We'll start by knitting the main body of the blanket. This section is worked in one piece, using a simple striped pattern with a beautiful, textured seed stitch border. Don't be intimidated by the length—the repetitive pattern is incredibly relaxing once you get into the rhythm.
Part 1: Creating the Textured Border
The seed stitch border gives the blanket a polished, finished look and helps prevent curling.
- Cast On: With your Main Color (Terracotta), cast on 120 stitches onto your US 8 knitting needles.
- Knit the Border: Work 6 rows in seed stitch. The pattern is simple:
- Row 1: *Knit 1, Purl 1*; repeat from * to the end of the row.
- Row 2: *Purl 1, Knit 1*; repeat from * to the end of the row.
Part 2: Knitting the Sunset Stripe Body
Now for the main event! We'll switch to stockinette stitch and work through our sunset color sequence. Stockinette is simply knitting one row and purling the next.
- Switch to Stockinette: After your border, you will begin the body. The right side (the smooth "V" side) is your knit row, and the wrong side (the bumpy side) is your purl row.
- Follow the Stripe Sequence: Work the following rows, changing colors as indicated. Remember to carry your yarn loosely up the side or weave in ends as you go to avoid bulky seams.
- Rows 1-20: Stockinette with MC (Terracotta).
- Rows 21-40: Stockinette with Color A (Golden Yellow).
- Rows 41-60: Stockinette with Color B (Burnt Orange).
- Rows 61-80: Stockinette with Color C (Deep Teal).
- Rows 81-100: Stockinette with Color D (Forest Green).
- Repeat the Sequence: Repeat this 5-stripe block (100 rows) 3 more times. In total, you will have knitted 400 rows for the body of the blanket. Tip: Place a stitch marker at the start of each 100-row block to easily track your progress.
Part 3: Finishing the Knitted Base
- Knit the Final Border: Once you've completed the 400 body rows, switch back to your Main Color (Terracotta). Knit 6 rows of seed stitch, just like you did at the beginning.
- Bind Off: Bind off all 120 stitches loosely. A loose bind-off is crucial to prevent the edge from being too tight and curling. You can use a larger needle to bind off if needed.
Step-by-Step Instructions: Crocheting the Animal Appliqués
Now for the fun part—bringing the jungle to life! Using your crochet hook and the smaller amounts of yarn, you'll create five adorable animals. All of these use basic crochet stitches: the magic ring, single crochet (sc), and chains. Let's make them one by one.
Appliqué 1: The Majestic Lion
- Mane (Golden Yellow):
- Make a magic ring.
- Round 1: Work 6 single crochet (sc) into the ring. Pull the tail to close the ring tightly. Join with a slip stitch to the first sc.
- Round 2: Work 2 sc into each stitch around (12 stitches). Join.
- Round 3: *Sc in the next stitch, 2 sc in the next stitch*; repeat from * around (18 stitches). Join and fasten off.
- Face (Cream):
- Make a magic ring.
- Round 1: Work 6 sc into the ring. Join.
- Round 2: Work 2 sc into each stitch around (12 stitches). Join and fasten off, leaving a long tail for sewing.
- Assembly: Sew the cream face onto the center of the golden mane. Using the black yarn and a tapestry needle, embroider two small eyes and a little nose using a simple satin stitch.
Appliqué 2: The Gentle Elephant
- Body (Deep Teal):
- Make a magic ring.
- Round 1: 6 sc into the ring. Join.
- Round 2: 2 sc in each stitch (12). Join.
- Round 3: *Sc in next stitch, 2 sc in next*; repeat (18). Join.
- Rounds 4-6: Sc in each stitch around (18). Join and fasten off.
- Ears (Make 2, Deep Teal):
- Make a magic ring.
- Round 1: 6 sc into the ring. Join.
- Round 2: 2 sc in each stitch (12). Join and fasten off.
- Trunk (Deep Teal):
- Chain 6.
- Sc in the 2nd chain from the hook and in each chain across (5 stitches). Fasten off.
- Assembly: Sew the ears onto the sides of the body. Sew the trunk onto the front center. Embroider two small eyes with black yarn.
Appliqué 3: The Tall Giraffe
- Body (Golden Yellow):
- Make a magic ring.
- Round 1: 6 sc into the ring. Join.
- Round 2: 2 sc in each stitch (12). Join.
- Round 3: *Sc in next stitch, 2 sc in next*; repeat (18). Join.
- Rounds 4-6: Sc in each stitch around (18). Join and fasten off.
- Spots (Burnt Orange): Make 3 small circles. For each: Magic ring, 6 sc into the ring, join, and fasten off. Sew these onto the giraffe's body.
- Neck (Golden Yellow): Chain 8. Sc in the 2nd chain from the hook and in each chain across (7 stitches). Fasten off. Sew onto the top of the body.
- Head (Golden Yellow):
- Make a magic ring.
- Round 1: 6 sc into the ring. Join.
- Round 2: 2 sc in each stitch (12). Join and fasten off.
- Assembly: Sew the head onto the top of the neck. Embroider eyes with black yarn.
Appliqué 4: The Playful Monkey
- Body (Forest Green):
- Make a magic ring.
- Round 1: 6 sc into the ring. Join.
- Round 2: 2 sc in each stitch (12). Join.
- Round 3: *Sc in next stitch, 2 sc in next*; repeat (18). Join.
- Rounds 4-6: Sc in each stitch around (18). Join and fasten off.
- Head (Forest Green):
- Make a magic ring.
- Round 1: 6 sc into the ring. Join.
- Round 2: 2 sc in each stitch (12). Join and fasten off. Sew onto the top of the body.
- Ears (Make 2, Forest Green): Magic ring, 6 sc into the ring, join, and fasten off. Sew onto the sides of the head.
- Face (Cream): Magic ring, 6 sc into the ring, join, and fasten off. Sew onto the front of the head. Embroider eyes and a mouth with black yarn.
Appliqué 5: The Vibrant Parrot
- Body (Golden Yellow):
- Make a magic ring.
- Round 1: 6 sc into the ring. Join.
- Round 2: 2 sc in each stitch (12). Join.
- Rounds 3-4: Sc in each stitch around (12). Join and fasten off.
- Wings (Make 2, Deep Teal): Magic ring, 6 sc into the ring, join, and fasten off. Sew onto the sides of the body.
- Beak (Burnt Orange): Chain 3. Sc in the 2nd chain from the hook and in the next chain (2 stitches). Fasten off. Sew onto the front of the body. Embroider eyes with black yarn.
Assembly & Finishing: Bringing It All Together
You've knitted the canvas and crocheted the characters. Now, let's create the masterpiece!
Placing Your Appliqués
- Lay Flat: Lay your knitted blanket flat on a clean surface.
- Arrange: Arrange the five appliqués evenly across the blanket. A good rule of thumb is to space them about 10 inches apart. Play with the layout until you're happy with the composition.
- Sew Securely: Using your tapestry needle and matching yarn, sew each appliqué firmly onto the knitted surface. Use small, neat stitches around the edges of each piece to ensure they are secure for years of cuddles and washes.
Weaving in Ends
This is the most important step for a professional finish. Thread your tapestry needle with any loose yarn tails and weave them back and forth through the wrong side of the blanket for about 2 inches. Snip the excess yarn. Do this for every single end.
Blocking Your Blanket
Blocking helps even out your stitches and gives the blanket a polished, professional shape.
- Pin: Lay the blanket on a blocking mat or a clean towel. Gently pin the edges to your desired dimensions, making sure the corners are square.
- Steam: Using a steam iron held a few inches above the blanket (do not press down!), steam the entire surface evenly. Alternatively, you can lightly mist it with water.
- Dry: Allow the blanket to dry completely before unpinning and using it. This sets the stitches and makes the fabric beautifully flat.
Congratulations! You've just created a stunning, one-of-a-kind Safari Sunset Jungle Animals Blanket. This project is a labor of love, and the result is a cozy, vibrant, and whimsical piece that will be a focal point in any nursery and a cherished keepsake for years to come. Happy crafting!