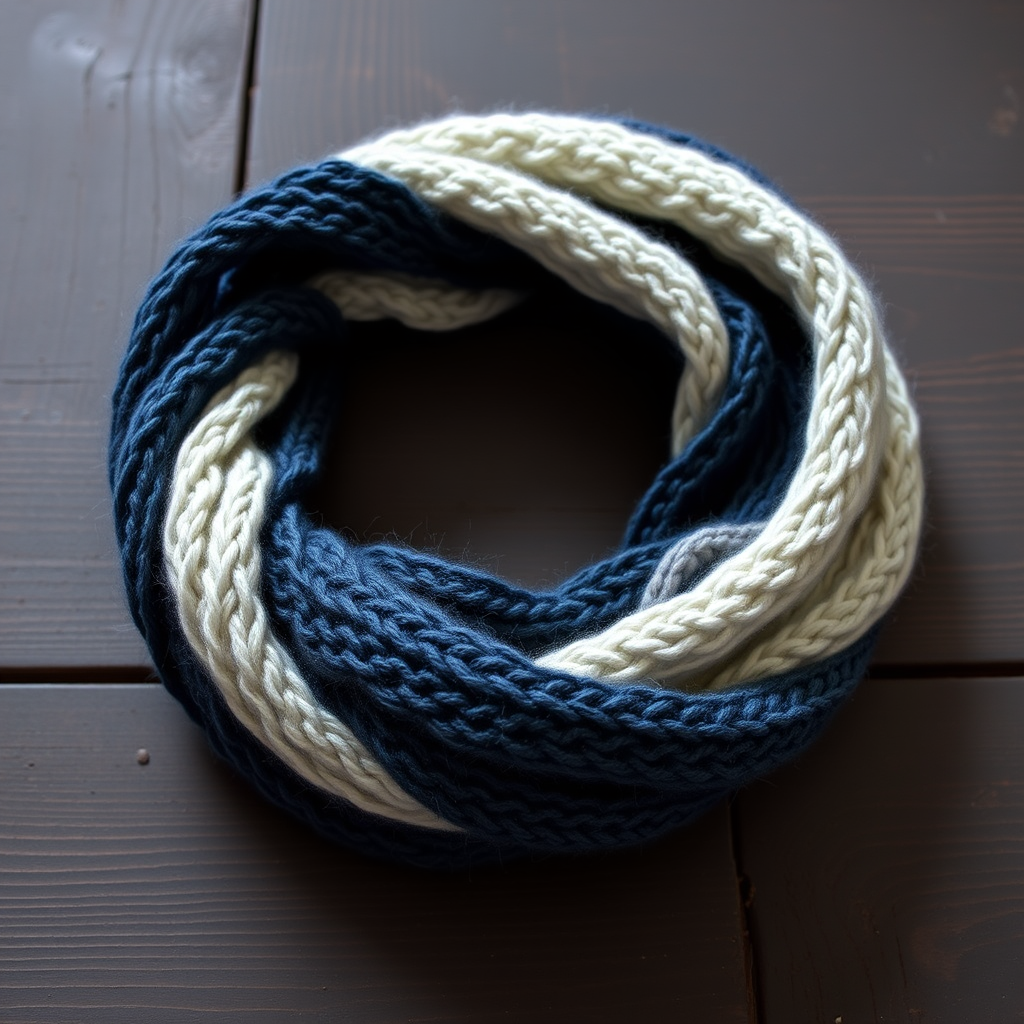
Vintage Rippling Scarf Free Pattern – Knit a Timeless Wave Stitch Neck Wrap

Unleash Your Inner Artisan: The Vintage Rippling Scarf
There's something magical about a scarf that feels both nostalgic and fresh. The Vintage Rippling Scarf is exactly that—a timeless accessory that captures the charm of classic wave stitches while offering a modern, cozy twist. Knitted in soft worsted yarn, this pattern creates a rhythmic, undulating texture that drapes beautifully over any outfit. Whether you're a seasoned knitter or a curious beginner, this free pattern will guide you through crafting a stunning, textured neck wrap that's perfect for gifting or keeping for yourself. Let's dive into the soothing rhythm of the ripple stitch!
Materials Needed: Gather Your Knitting Essentials
Before you begin, ensure you have all the necessary supplies. This project is wonderfully portable and requires just a few basic items:
- Yarn: Worsted weight yarn (approx. 350-400 yards) in two contrasting colors: Color A (main) and Color B (accent). For a vintage look, try deep burgundy and soft cream.
- Needles: US 8 (5.0 mm) knitting needles. Straight or circular (worked flat) both work perfectly.
- Gauge: 18 stitches and 24 rows = 4 inches in stockinette stitch. (Don't worry if you're slightly off—this scarf is forgiving, but matching gauge ensures the perfect drape.)
- Extras: Tapestry needle for weaving in ends, scissors, and optionally a measuring tape.
Step-by-Step Instructions: Knit Your Vintage Ripple
This pattern is worked flat in rows and is surprisingly simple once you get into the rhythm. The ripple effect is created by decreases and yarn overs, which form gentle peaks and valleys. Follow these detailed instructions carefully, and you'll have a gorgeous scarf in no time.
Pattern Notes & Abbreviations
- k2tog: Knit two stitches together (decrease).
- yo: Yarn over (increase, creates a hole).
- RS: Right side (the front of the scarf).
- WS: Wrong side (the back of the scarf).
- The ripple pattern is a multiple of 12 stitches + 2 edge stitches.
- Edge Stitch: Slip the first stitch of every row purlwise (as if to purl) for a neat, braided edge.
Step 1: Cast On
With Color A, cast on 62 stitches. This gives you 5 full repeats of the 12-stitch pattern (5 x 12 = 60) plus 2 edge stitches. Use a long-tail cast-on for a stretchy, neat edge.
Step 2: The Ripple Pattern (Worked in 4 Rows)
Once your stitches are cast on, you'll repeat these 4 rows until the scarf reaches your desired length. The key is to keep your tension even and let the pattern work its magic.
- Row 1 (RS): Slip 1 purlwise, *k2tog, k2tog, (yo, k1) 4 times, yo, k2tog, k2tog; repeat from * to the last stitch, k1. (This row creates the "valleys" with the decreases and the "peaks" with the yarn overs.)
- Row 2 (WS): Slip 1 purlwise, purl all stitches to the last stitch, k1. (This row is a simple purl row to stabilize the pattern.)
- Row 3: Repeat Row 1 exactly. (This reinforces the ripple shape.)
- Row 4: Repeat Row 2 exactly.
Pro Tip: When you do the "k2tog, k2tog" at the start and end of the repeat, you're decreasing 4 stitches total. The "(yo, k1) 4 times, yo" adds 5 yarn overs, which increases 5 stitches. This net increase of 1 stitch per repeat is what creates the beautiful wave. Trust the pattern—it balances out perfectly!
Step 3: Color Changes & Length
Now for the fun part—creating the vintage color bands!
- Continue working Rows 1-4 in Color A until the scarf measures 6 inches from the cast-on edge.
- Switch to Color B and work another 6 inches in the same ripple pattern.
- Continue alternating colors every 6 inches until your scarf measures approximately 60 inches from the cast-on edge. Tip: Always end with a Color A section for a balanced look. You'll have roughly 5 bands of color total (A, B, A, B, A).
- Bind off loosely in pattern. To do this, work Row 1 of the pattern, but as you go, bind off each stitch as you knit it. This keeps the edge stretchy and matches the ripple shape. Alternatively, bind off purlwise on a WS row for a simpler, still-neat edge.
Step 4: Finishing Touches
Your scarf is almost complete! These final steps will elevate it from homemade to heirloom-quality.
- Weave in Ends: Using your tapestry needle, carefully weave in all loose yarn ends on the wrong side of the scarf. Make sure to secure them well so they don't unravel with wear.
- Blocking: This step is crucial for the ripple stitch. Gently wet-block your scarf by soaking it in lukewarm water, squeezing out excess (don't wring!), and laying it flat on a towel. Gently stretch it to open up the ripples and even out the stitches. Let it dry completely. This will make your scarf look professionally made.
- Add Fringe (Optional but Recommended): For that extra vintage touch, add fringe to both ends. Cut strands of both Color A and Color B yarn, about 10-12 inches long. Fold a strand in half, use a crochet hook to pull the loop through the edge of the scarf, and pull the ends through the loop. Repeat every 2-3 stitches across both ends, alternating colors for a playful, textured finish.
Your Cozy Masterpiece Awaits
Congratulations! You've just knitted a stunning Vintage Rippling Scarf. The combination of the rhythmic wave stitch and the contrasting color bands creates a piece that's both elegant and versatile. Wrap it around your neck for a pop of texture, or drape it over your shoulders for a cozy layer. This pattern is a joy to knit and an even greater joy to wear. Happy knitting, and may your ripples always be smooth!