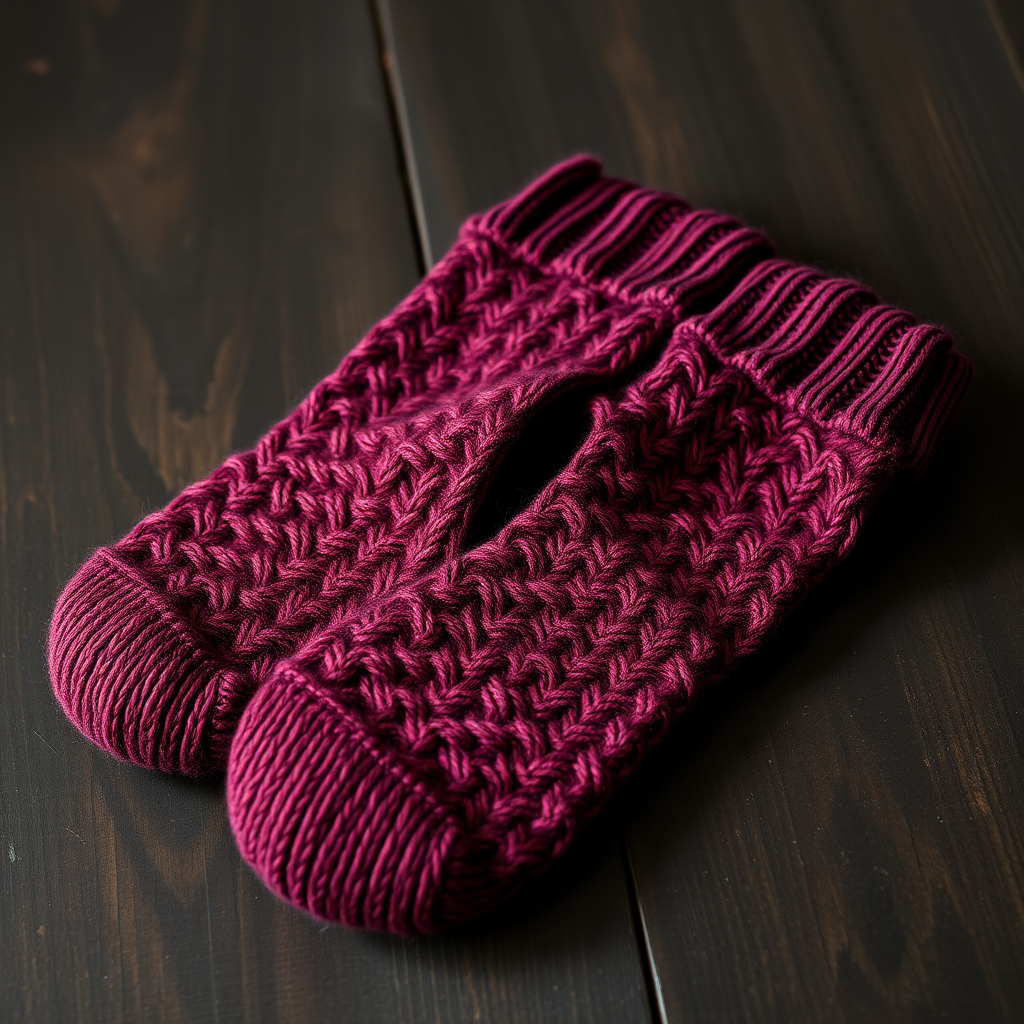
Vintage Retro Pastel Checkered Socks - Free Pattern

Vintage Retro Pastel Checkered Socks - Free Pattern
Introduction
Step back in time with these charming Vintage Retro Pastel Checkered Socks, a perfect blend of nostalgia and modern style. This free pattern will guide you through creating cozy, stylish socks that are sure to be a hit on social media. With their delightful pastel colors and classic checkered design, these socks are not only a fun project but also a wonderful addition to your wardrobe.
Materials Needed
- Yarn: Fingering weight yarn in pastel pink, pastel blue, pastel yellow, and pastel green.
- Needles: US 1 (2.25 mm) double-pointed needles.
- Gauge: 32 stitches and 40 rows = 4 inches in stockinette stitch.
Step-by-Step Instructions
1. Cast On
Using the long-tail cast-on method, cast on a total of 64 stitches with the pastel pink yarn. Distribute the stitches evenly across four double-pointed needles, placing 16 stitches on each needle. Join in the round, making sure not to twist the stitches.
2. Ribbing
Work in 1x1 ribbing (knit 1 stitch, purl 1 stitch) for 1 inch. This will create a snug cuff for your socks.
3. Begin Checkered Pattern
Start the checkered pattern as follows:
- Rounds 1-4: *Knit 4 stitches with pastel pink, then knit 4 stitches with pastel blue; repeat from * around.
- Rounds 5-8: *Knit 4 stitches with pastel yellow, then knit 4 stitches with pastel green; repeat from * around.
Continue repeating these 8 rounds until the leg of the sock measures 6 inches from the cast-on edge.
4. Heel Flap
Work back and forth on the first 32 stitches (the first needle) only:
- Row 1 (Right Side): Slip 1 stitch, knit 31 stitches.
- Row 2 (Wrong Side): Slip 1 stitch, purl 31 stitches.
Repeat these two rows for a total of 2 inches, ending with a Wrong Side row.
5. Turn Heel
To turn the heel, follow these steps:
- Row 1 (Right Side): Slip 1 stitch, knit 16 stitches, then ssk (slip, slip, knit), knit 1 stitch, and turn.
- Row 2 (Wrong Side): Slip 1 stitch, purl 5 stitches, then p2tog (purl 2 together), purl 1 stitch, and turn.
- Row 3 (Right Side): Slip 1 stitch, knit 6 stitches, then ssk, knit 1 stitch, and turn.
- Row 4 (Wrong Side): Slip 1 stitch, purl 7 stitches, then p2tog, purl 1 stitch, and turn.
Continue this process until all heel stitches are worked.
6. Gusset
Pick up and knit 16 stitches along the side of the heel flap. Then, knit across the 32 stitches on the instep needle in the established checkered pattern. Pick up and knit 16 stitches along the other side of the heel flap, and knit the remaining heel stitches.
7. Decrease for Gusset
Begin decreasing for the gusset:
- Round 1: Knit to 3 stitches before the instep, k2tog, k1; work instep in pattern; k1, ssk, knit to end.
- Round 2: Knit all stitches.
Repeat Rounds 1 and 2 until you have 64 stitches remaining.
8. Foot
Continue knitting in the established checkered pattern until the foot measures 2 inches less than your desired total length.
9. Toe
Begin shaping the toe:
- Round 1: *K6, k2tog; repeat from * around.
- Round 2: Knit all stitches.
- Round 3: *K5, k2tog; repeat from * around.
- Round 4: Knit all stitches.
Continue decreasing in this manner until only 16 stitches remain.
10. Finishing
Graft the toe stitches together using the Kitchener stitch. Weave in all ends securely to finish your Vintage Retro Pastel Checkered Socks.
Conclusion
Congratulations! You have successfully created your very own Vintage Retro Pastel Checkered Socks. Not only are they a cozy addition to your wardrobe, but they also showcase your knitting skills. Enjoy wearing them or gifting them to someone special!