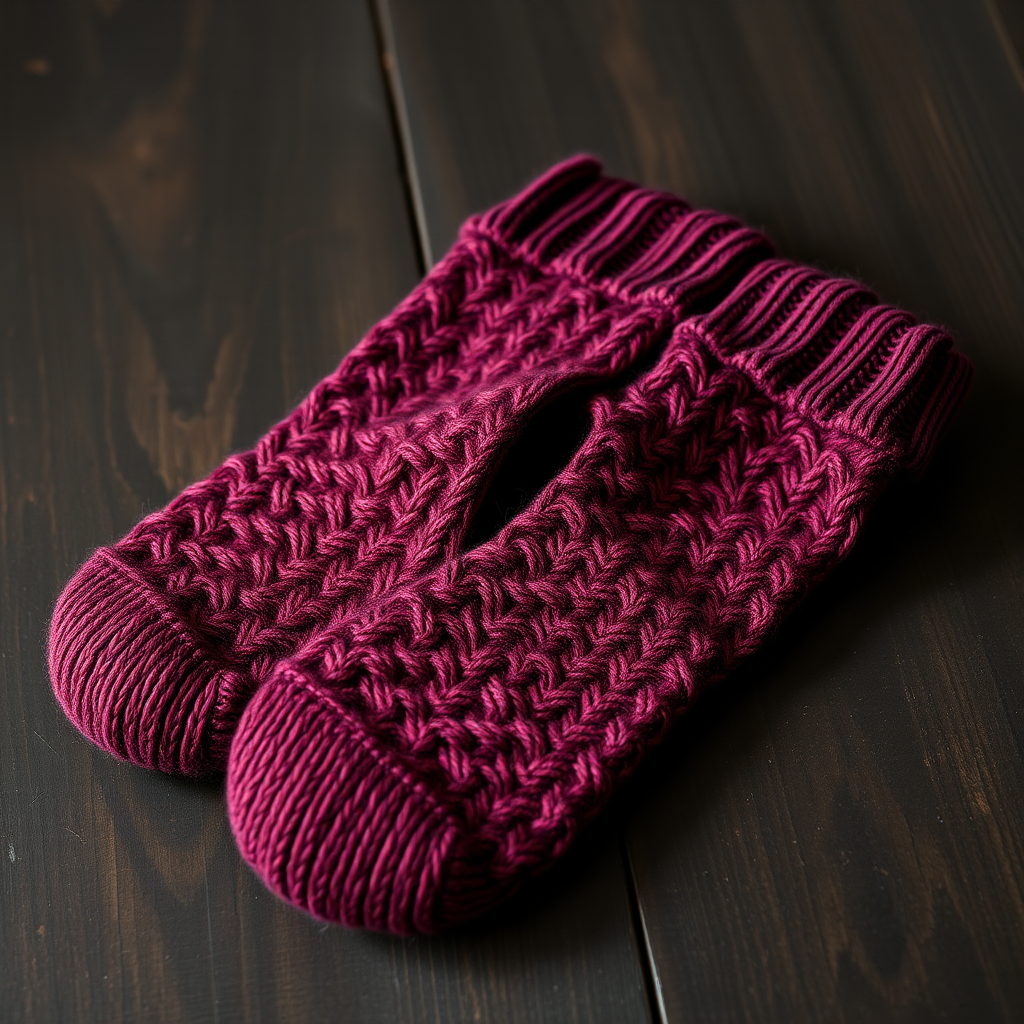
Bumble Crown Toe-Up Knit Sock Free Pattern: Honeycomb Cables & Folded Cuff
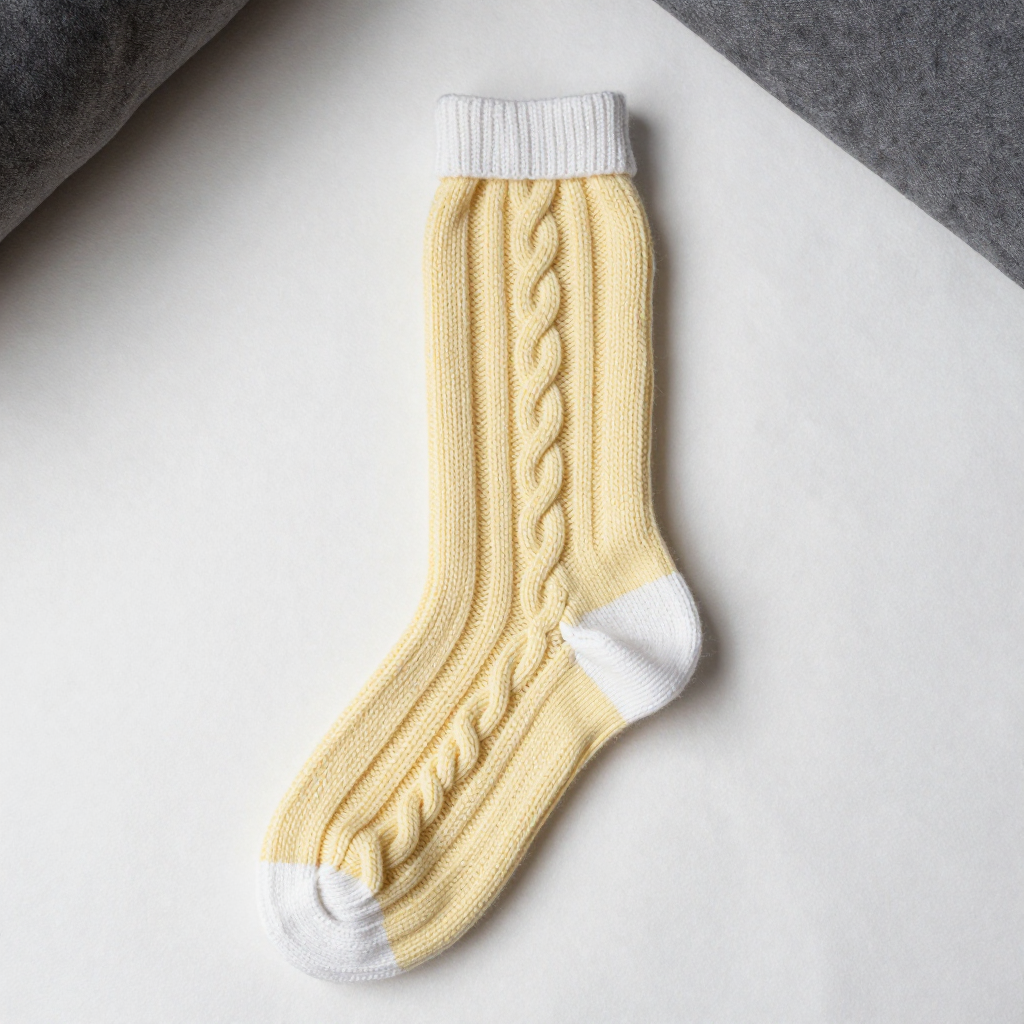
Bumble Crown Toe-Up Knit Sock: Honeycomb Cables & Folded Cuff
Introduction
Welcome to the Bumble Crown sock — a soft, buttery little tube of knitting that starts with a crisp white toe and blossoms into a honeycomb-cabled leg. This pattern is perfect for a knitter who has made a few simple projects and is ready to try cables and a toe-up sock for the first time. The sock is worked as a straight tube, so there is no heel gusset to fuss over — just a tidy short-row heel and a folded cuff that gives a gentle, fairycore finish. When it is done, you will hold a smooth, matte wool sock with raised interlocking cable twists climbing the front of the foot and leg, and a doubled white cuff that hugs the ankle. It feels light, warm, and wonderfully squishy.
Materials Needed
- Yarn: Fingering weight (category 1) smooth 4-ply 100% wool, approx. 400 yd / 366 m total — 60 yd / 55 m in white (for the toe and cuff) and 340 yd / 311 m in butter yellow (for the foot and leg). The sample uses a 400 yd / 100 g skein.
- Needles: US 1 (2.25 mm) set of 5 double-pointed needles, or a 32 in / 80 cm circular needle if you prefer the magic loop method.
- Cable needle: a short, small cable needle (or a spare double-pointed needle).
- Stitch markers: at least 4, to mark the panel edges and the beginning of the round.
- Tapestry needle: a blunt-tipped needle with a large eye, for weaving in ends and whipstitching the cuff.
- Scissors: any small sharp pair.
- Scrap yarn: smooth waste yarn for the provisional (Turkish) cast-on.
- Finished size: Adult unisex, foot circumference 8 in / 20 cm; foot length adjustable (sample 9.5 in / 24 cm); leg length 6 in / 15 cm from heel to cuff.
Abbreviations and Beginner Glossary
- st / sts — stitch / stitches. One loop of yarn on your needle.
- k — knit. Insert the right needle into the front of the stitch from left to right, wrap yarn around, and pull the loop through.
- p — purl. Insert the right needle into the front of the stitch from right to left, wrap yarn around the front, and pull the loop through.
- rnd / rnds — round / rounds. One complete circle of knitting when working in the round.
- RS / WS — right side (the outside you will see) / wrong side (the inside).
- M1L — make one left. Lift the bar of yarn between two stitches with your left needle from front to back, then knit into the back of it. This adds one stitch, leaning left.
- M1R — make one right. Lift the bar between two stitches from back to front, then knit into the front of it. This adds one stitch, leaning right.
- C4F — cable 4 front. Slip 2 stitches onto the cable needle and hold them in front of your work, knit the next 2 stitches, then knit the 2 stitches from the cable needle.
- C4B — cable 4 back. Slip 2 stitches onto the cable needle and hold them in back of your work, knit the next 2 stitches, then knit the 2 stitches from the cable needle.
- wrap and turn (w&t) — bring the yarn to the front, slip the next stitch to the right needle, bring the yarn to the back, slip the stitch back to the left needle, then turn your work around. This creates a short row.
- pick up the wrap — when you reach a wrapped stitch, lift the little loop of yarn that wraps around its base onto your needle and knit (or purl) it together with the stitch.
- on hold — stitches set aside on a spare needle or scrap yarn while you work another part.
- bind off — the way to finish an edge so stitches do not unravel. Knit two stitches, then lift the first over the second and off the needle; repeat across.
- stockinette stitch — knit every stitch when working in the round. It makes smooth, flat "V" shapes on the outside.
Gauge
32 sts and 44 rnds = 4 in / 10 cm in stockinette stitch, worked in the round and blocked. The honeycomb cable panel measures approx. 2 in / 5 cm wide (18 sts) and 1 in / 2.5 cm tall per 8-rnd repeat.
Why gauge matters: Gauge is how many stitches and rounds fit into a measured square. If your stitches are bigger than the pattern's, the sock will be too loose; if smaller, it will be too tight. To check, cast on about 40 stitches, knit a small flat square in stockinette for about 4 in / 10 cm, then bind off. Lay it flat without stretching, place a ruler across the middle, and count the stitches in 4 in / 10 cm. If you have more than 32, go up a needle size; if fewer, go down. Wash and dry your swatch the way you will wash the sock, because wool relaxes after blocking.
Beginner Tips Before You Start
- Use stitch markers to track the panel. Place one marker at each side of the 18-stitch honeycomb panel so you always know where the cables begin and end.
- Do not pull the yarn too tight. Cables need a little slack. If your cable twists look pinched, give the yarn a gentle tug after each cable row.
- Count your stitches after every increase round. The toe grows quickly, and a missed increase is much easier to fix right away.
- Try the sock on as you go. Because the foot length is adjustable, slip the sock onto your foot (or a foot of similar size) before starting the heel.
- Keep the cable needle close. It is easy to set it down and lose it — tuck it into your yarn ball between cable rounds.
- Work the short-row heel slowly. Read each row aloud and mark where you wrapped; the wraps are what make the heel curve smoothly.
Step-by-Step Instructions
MATH CHECK: 8 in circumference × 8 sts per in = 64 sts. The honeycomb panel uses 18 sts; the remaining 46 sts are stockinette. Foot length 9.5 in × 11 rnds per in = approx. 105 rnds from toe to heel start. Leg 6 in × 11 rnds per in = 66 rnds, plus an 8-rnd folded cuff.
Honeycomb Cable Panel (18 sts, multiple of 8 rnds)
Rnds 1–2: k2, p2, k2, p2, k2, p2, k2, p2, k2. (18 sts)
Rnd 3: k2, p2, C4F, p2, C4B, p2, k2. (18 sts)
Rnds 4–6: Work stitches as they appear (knit the knits, purl the purls). (18 sts)
Rnd 7: k2, p2, C4B, p2, C4F, p2, k2. (18 sts)
Rnd 8: Work stitches as they appear. (18 sts)
Repeat Rnds 1–8 for the pattern.
Toe (white)
Using white yarn and the Turkish (figure-8) cast-on, cast on 16 sts (8 per needle). Divide sts evenly across 4 needles (4 sts each) and join to work in the round, being careful not to twist.
Rnd 1: Knit. (16 sts)
Rnd 2 (increase rnd): k1, M1L, knit to last st on needle, M1R, k1; repeat on each of the 4 needles. (24 sts)
Rnds 3–4: Repeat Rnds 1–2. (32 sts)
Rnds 5–6: Repeat Rnds 1–2. (40 sts)
Rnds 7–8: Repeat Rnds 1–2. (48 sts)
Rnds 9–10: Repeat Rnds 1–2. (56 sts)
Rnds 11–12: Repeat Rnds 1–2. (64 sts)
Change to butter yellow after the final increase rnd. (64 sts total, 16 sts per needle)
Foot
Arrange sts so the 18-st honeycomb panel sits centered over the top of the foot: Needle 1 holds 9 sts, Needle 2 holds 18 sts (panel), Needle 3 holds 18 sts, Needle 4 holds 19 sts. Place markers at each side of the 18-st panel.
Work in the round: stockinette on all sts outside the panel, and the Honeycomb Cable Panel on the 18 panel sts, beginning with Rnd 1 of the panel.
Rnds 1–8: Work stockinette and panel Rnds 1–8. (64 sts)
Repeat Rnds 1–8 twelve more times (104 rnds total), then work Rnd 1 once more. (64 sts)
Continue until the foot measures 7.5 in / 19 cm from the cast-on edge, ending after Rnd 8 of the panel.
Short-Row Heel (butter yellow, worked on the 32 sole sts only)
Place the 18 panel sts and 14 instep sts on hold. Work back and forth on the 32 sole sts in stockinette as follows:
Row 1 (RS): k31, wrap and turn. (32 sts)
Row 2 (WS): p30, wrap and turn. (32 sts)
Row 3: k29, wrap and turn. (32 sts)
Row 4: p28, wrap and turn. (32 sts)
Rows 5–22: Continue in this manner, decreasing the wrapped st count by 1 each row, until 10 sts remain unwrapped at Row 22. (32 sts)
Return rows: Knit to the first wrapped st, pick up the wrap and knit it together with the st, wrap and turn; purl to the first wrapped st, pick up the wrap and purl it together with the st, wrap and turn. Continue until all 32 sole sts are live again. Resume working in the round. (64 sts)
Leg
Return to working in the round over all 64 sts. Continue the Honeycomb Cable Panel on the 18 front sts and stockinette on the remaining 46 sts, maintaining the 8-rnd panel repeat.
Rnds 1–8: Work stockinette and panel Rnds 1–8. (64 sts)
Repeat Rnds 1–8 seven more times (64 rnds total), then work Rnds 1–2 once more. (64 sts)
Work until the leg measures 6 in / 15 cm from the heel, ending after Rnd 8 of the panel.
Folded Cuff
Change to white yarn.
Rnd 1: Knit, increasing 8 sts evenly across the round. (72 sts)
Rnds 2–8: Knit (stockinette). (72 sts)
Bind off loosely. Fold the white cuff to the inside and whipstitch the bound-off edge to the inside of the leg, creating a doubled cuff.
Assembly and Finishing
Seaming the cuff: Turn the sock inside out. Thread your tapestry needle with a short length of white yarn. Working from the inside, take a small stitch through the bound-off edge and then a small stitch into the leg just below it, repeating all the way around. Keep the stitches loose so the cuff can stretch. Fasten off inside.
Weaving in ends: Thread each yarn tail onto the tapestry needle and run it through the inside of several stitches, changing direction once so it cannot pull out. Trim close to the fabric. Do this for the white toe, the color change, the heel, and the cuff.
Blocking: Soak the sock in cool water with a little wool wash for 15 minutes. Squeeze gently — never wring. Roll it in a towel to remove excess water. Lay it flat on a blocking mat, pin the honeycomb panel flat with rust-proof pins, and pat the sock to the finished measurements (8 in / 20 cm circumference, 9.5 in / 24 cm foot, 6 in / 15 cm leg). Let it dry completely away from direct heat.
Pro Tips and Variations
- Change the colors: Swap the butter yellow for honey gold, sage green, or a soft lilac. Keep the toe and cuff white for that crisp contrast, or make them a deeper shade for a bolder look.
- Adjust the size: For a smaller foot, cast on 56 sts (7 in circumference) and keep the 18-st panel; for a larger foot, cast on 72 sts (9 in). The panel stays the same — only the stockinette stitches around it change.
- Substitute the yarn: Any smooth fingering-weight wool or wool-nylon blend works well. Avoid fuzzy or single-ply yarns, which hide the cable definition. Always swatch again if you change yarn.
- Make the cuff taller or shorter: Add or remove stockinette rounds before binding off. Each extra round adds about 1/11 in to the cuff depth, so 4 extra rounds give a slightly deeper fold.