Hibiscus Chevron Pedicure Socks Free Pattern: Knit Toe-Less Socks with Flower Appliqué

Hibiscus Chevron Pedicure Socks: Free Knitting Pattern
Introduction
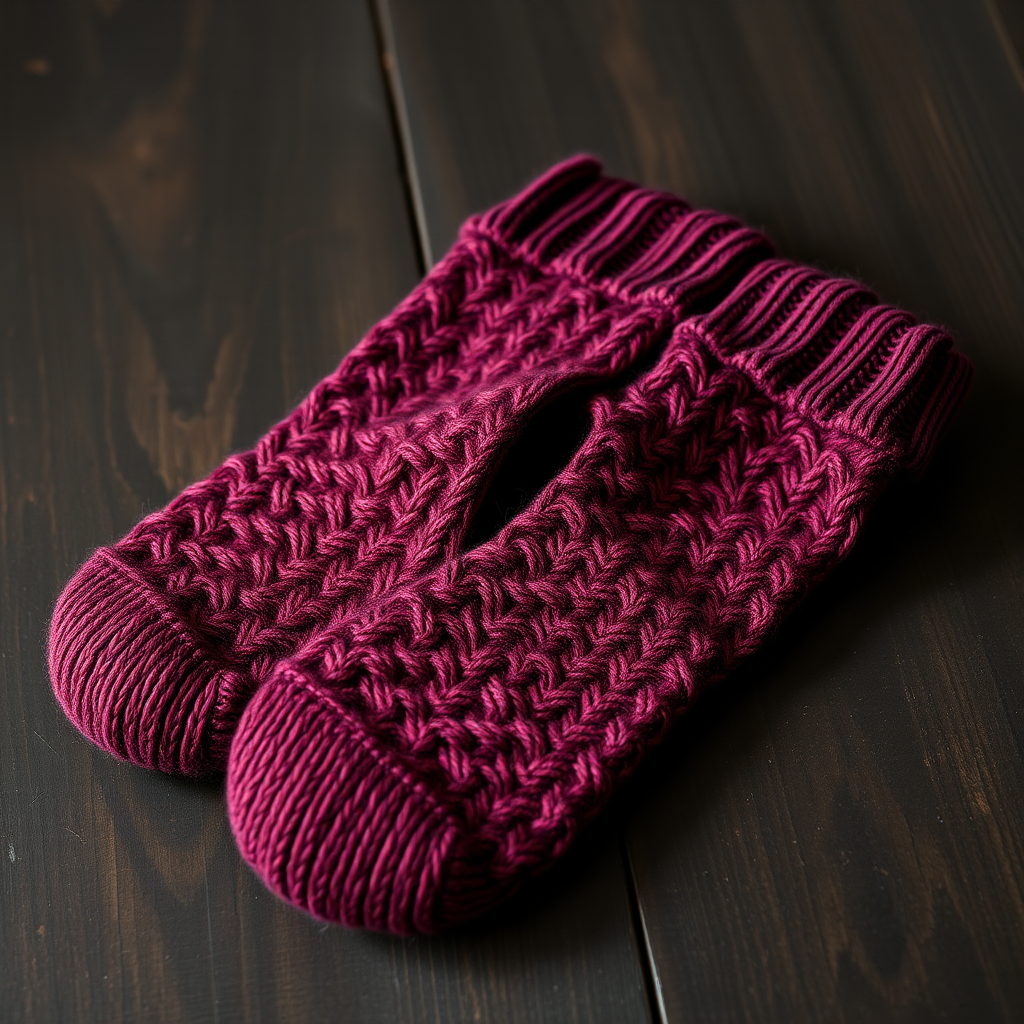
If you have ever painted your toenails and then realized your feet were too cold to show them off, these Hibiscus Chevron Pedicure Socks are for you. They are cheerful little tube socks that stop right at the ball of the foot, so your toes stay free and polished while your ankles stay cozy. Each sock is topped with a flat knitted hibiscus flower that sits proudly on the instep, like a tiny tropical vacation for your feet. The finished socks are soft, stretchy, and full of texture, with narrow zigzag ridges of cherry red and hot pink running around the tube. This pattern is written for knitters who have mastered the very basics and are ready to try a chevron stitch, simple increases and decreases, and a small flower appliqué.
Materials Needed
- Yarn: Sport weight wool (approximately 136 yds / 125 m per 50 g skein). Main color (MC), cherry red: about 120 yds / 110 m for the pair. Contrast color (CC), hot pink: about 20 yds / 18 m for chevron accents and flower petals. A small amount of deep berry pink for the flower centers.
- Needles: US 3 (3.25 mm) set of 4 double-pointed needles, or the size you need to get gauge. US 2 (2.75 mm) double-pointed needles (or a pair of straight needles) for the flower appliqué.
- Stitch marker: 1 removable stitch marker to mark the beginning of the round, plus 1 extra removable marker for flower placement.
- Tapestry needle: a blunt-tipped needle with a large eye for seaming and weaving in ends.
- Scissors for cutting yarn.
- Finished size: Women's medium, fitting a foot circumference of 8–9 in / 20–23 cm at the ball of the foot. The finished tube measures 7.5 in / 19 cm in circumference unstretched and stretches comfortably to 9 in / 23 cm. Finished length from cast-on edge to bind-off is 6 in / 15 cm, covering the heel to just past the ball of the foot. Each flower measures about 2.5 in / 6.5 cm across.
Abbreviations and Beginner Glossary
- st / sts – stitch / stitches. One stitch is one loop on your needle.
- K – knit stitch. Put the right needle into the front of the stitch from left to right, wrap the yarn around, and pull it through.
- P – purl stitch. Put the right needle into the front of the stitch from right to left, wrap the yarn around, and pull it through.
- k2tog – knit two stitches together. Insert your needle into the next two stitches at once and knit them as one, which decreases your stitch count by one.
- ssk – slip, slip, knit. Slip the next two stitches one at a time from the left needle to the right needle as if to knit, then knit both together through the back loops. This is a left-leaning decrease.
- yo – yarn over. Wrap the yarn over the right needle to create an extra loop, which makes a small eyelet hole and increases your stitch count by one.
- kfb – knit front and back. Knit into the front of the stitch, then knit into the back of the same stitch before slipping it off. This increases your stitch count by one.
- sl1 – slip one stitch from the left needle to the right needle without knitting it.
- psso – pass slipped stitch over. Lift the slipped stitch over the stitch you just worked and off the needle, which decreases your stitch count by one.
- RS / WS – right side / wrong side. The right side is the outside of the work that people see; the wrong side is the inside.
- MC / CC – main color / contrast color.
- Round – one complete pass around a circular tube of knitting.
- Row – one complete pass back and forth on flat knitting.
- Work in the round – knit continuously around the outside of a tube rather than turning your work.
Gauge
28 sts and 36 rounds = 4 in / 10 cm in the chevron pattern on US 3 (3.25 mm) needles, measured unstretched. The chevron repeat is 12 sts wide and 8 rounds tall.
Gauge matters because it tells you whether your sock will actually fit. If your stitches are bigger than the pattern expects, the sock will be too loose; if they are smaller, it will be too tight. To check gauge, cast on 36 sts (three chevron repeats) on your US 3 needles and work the chevron pattern for about 4 in / 10 cm. Lay the swatch flat without stretching it, place a ruler across the middle, and count how many stitches fit in 4 in / 10 cm. If you have more stitches than 28, go up a needle size; if you have fewer, go down a needle size. Wash and dry your swatch the way you plan to treat the finished socks, because wool can change size after blocking.
Beginner Tips Before You Start
- Use a stitch marker at the beginning of every round. It is your anchor point so you never lose track of where a round starts or ends.
- Do not pull the yarn too tight. Keep your tension relaxed, especially on the yarn-overs and when you carry the hot pink yarn up the inside of the tube. Tight yarn makes the sock stiff and hard to stretch over your foot.
- Count your stitches after every chevron round. Each 12-stitch repeat should stay at 12 stitches. If you have 48 stitches at the end of a round, you are on track.
- Try the sock on before you bind off. Slide it over your foot and check that the edge sits just past the ball of your foot, leaving your toes free.
- Carry the contrast color loosely. When you switch from hot pink back to cherry red, leave a little slack in the unused yarn so the tube can stretch.
- Weave in ends as you go. Small projects like these are much easier to finish when the tails are already tidy.
Step-by-Step Instructions
Cast On
Using US 3 (3.25 mm) double-pointed needles and MC (cherry red), cast on 48 sts using the long-tail cast-on. Distribute the stitches evenly across 3 needles (16 sts per needle). Join to work in the round, being careful not to twist the cast-on edge. Place a stitch marker at the beginning of the round.
Cuff
Rounds 1–6: *K2, p2; repeat from * to end. (48 sts)
This creates a 0.75 in / 2 cm ribbed cuff that hugs the ankle.
Leg and Foot Tube (Chevron Section)
Chevron Pattern (multiple of 12 sts, worked over 8 rounds):
Rounds 1, 3, 5, 7: *K1, k2tog, k3, yo, k1, yo, k3, ssk, k1; repeat from * to end. (48 sts)
Rounds 2, 4, 6, 8: Knit all stitches. (48 sts)
Each 12-stitch repeat decreases 2 stitches on the odd rounds and increases 2 stitches on the same rounds with the yarn-overs, so the stitch count stays constant at 48 sts.
Color sequence: Work Rounds 1–2 in CC (hot pink), then Rounds 3–8 in MC (cherry red). Carry CC loosely up the inside of the tube; do not cut it after each stripe.
Rounds 1–2: With CC, work Chevron Pattern Rounds 1–2. (48 sts)
Rounds 3–8: With MC, work Chevron Pattern Rounds 3–8. (48 sts)
Repeat Rounds 1–8 five more times (6 full repeats = 48 rounds total), ending after Round 8 of the final repeat. (48 sts)
The piece now measures approximately 5.25 in / 13.5 cm from the cast-on edge. The chevron ridges create narrow zigzag bands of red and pink texture running around the tube.
Fit note: The chevron pattern pulls in slightly, so the unstretched tube measures 7.5 in / 19 cm in circumference and stretches to fit the ball of the foot. Try the sock on before binding off; the bind-off edge should sit just past the ball of the foot, leaving the toes exposed.
Bind-Off
Using MC and a stretchy bind-off: *K2tog through the back loop, slip the resulting stitch back to the left needle; repeat from * until all stitches are bound off. Cut the yarn, leaving a 6 in / 15 cm tail, and weave it in on the wrong side.
Knitted Hibiscus Flower Appliqué (make 2)
Work flat on US 2 (2.75 mm) needles with CC (hot pink) for the petals and deep berry pink for the center.
Petals (make 5 per flower):
With CC, cast on 3 sts.
Row 1 (RS): K1, yo, k1, yo, k1. (5 sts)
Row 2 and all WS rows: Purl all stitches. (5 sts)
Row 3: K1, yo, k3, yo, k1. (7 sts)
Row 4: Purl all stitches. (7 sts)
Row 5: K1, yo, k5, yo, k1. (9 sts)
Row 6: Purl all stitches. (9 sts)
Row 7: Knit all stitches. (9 sts)
Row 8: Purl all stitches. (9 sts)
Row 9: K1, ssk, k3, k2tog, k1. (7 sts)
Row 10: Purl all stitches. (7 sts)
Row 11: K1, ssk, k1, k2tog, k1. (5 sts)
Row 12: Purl all stitches. (5 sts)
Row 13: K1, ssk, k2tog, k1. (3 sts)
Row 14: Purl all stitches. (3 sts)
Row 15: Sl1, k2tog, psso. (1 st) Cut the yarn and pull it through the last stitch. Each petal measures about 1.5 in / 4 cm long and 0.75 in / 2 cm wide at the widest point.
Flower Center:
With deep berry pink, cast on 2 sts on US 2 needles.
Row 1: Kfb in each stitch. (4 sts)
Row 2: Purl all stitches. (4 sts)
Row 3: Kfb in each stitch. (8 sts)
Row 4: Purl all stitches. (8 sts)
Row 5: *K2tog; repeat from * to end. (4 sts)
Row 6: Purl all stitches. (4 sts)
Row 7: *K2tog; repeat from * to end. (2 sts) Cut the yarn and pull it through the remaining stitches. The center measures about 0.5 in / 1.25 cm across.
Assembly of the Flower
Arrange the 5 petals in a circle, overlapping the base of each petal by about 0.25 in / 6 mm so the flower measures about 2.5 in / 6.5 cm across. Using a tapestry needle and matching CC yarn, stitch the petal bases together securely. Place the berry-pink center over the middle of the flower and stitch it down with small whipstitches around its edge. Weave in all ends on the back of the flower.
Attaching the Flowers
Try the sock on to locate the instep. Mark the center of the instep with a removable stitch marker, approximately 3 in / 7.5 cm down from the cast-on edge. Pin one flower flat onto the instep with the center of the flower at the marker. Using a tapestry needle and MC yarn, sew the flower to the sock with small, even stitches around the outer edge of the petals and through the center, catching only the surface of the sock so the stitches do not show on the inside. Repeat for the second sock, placing the flower on the opposite instep so the flowers face outward on each foot.
Assembly and Finishing
Seaming: These socks are knitted in the round, so there are no side seams. The only sewing is the flower assembly and attaching each flower to its sock. Use small, even stitches and match your yarn color to the piece you are sewing so the stitches blend in.
Weaving in ends: Thread each tail onto a tapestry needle and run it through the wrong side of the work for about 1 in / 2.5 cm, following the path of the stitches. Turn and go back the other way for a few stitches to lock it in place, then trim the yarn close to the fabric.
Blocking: Gently steam-block the socks and flowers with a damp cloth and a warm iron held just above the surface. Do not press the iron directly onto the knitting, and be careful not to flatten the chevron texture. Let everything dry completely before wearing. The finished socks are straight tubes that stop at the ball of the foot, with one flat hibiscus flower on each instep.
Pro Tips and Variations
- Change the colors: Swap cherry red and hot pink for any two colors you love. A turquoise main color with a sunny yellow contrast makes a beachy pair, while a soft lavender and cream combination feels calm and elegant.
- Adjust the size: The chevron repeat is 12 stitches wide, so you can add or remove one repeat (12 stitches) to make the tube larger or smaller. Adding a repeat makes a roomier sock; removing one makes a snugger sock. Always check your gauge first.
- Substitute the yarn: Any sport weight wool or wool blend will work. Avoid slippery cotton or acrylic if you want the chevron ridges to hold their shape, and always knit a gauge swatch with your substitute yarn.
- Make it a set: Knit a matching pair of fingerless mitts or a headband in the same chevron pattern and colors for a coordinated gift set.