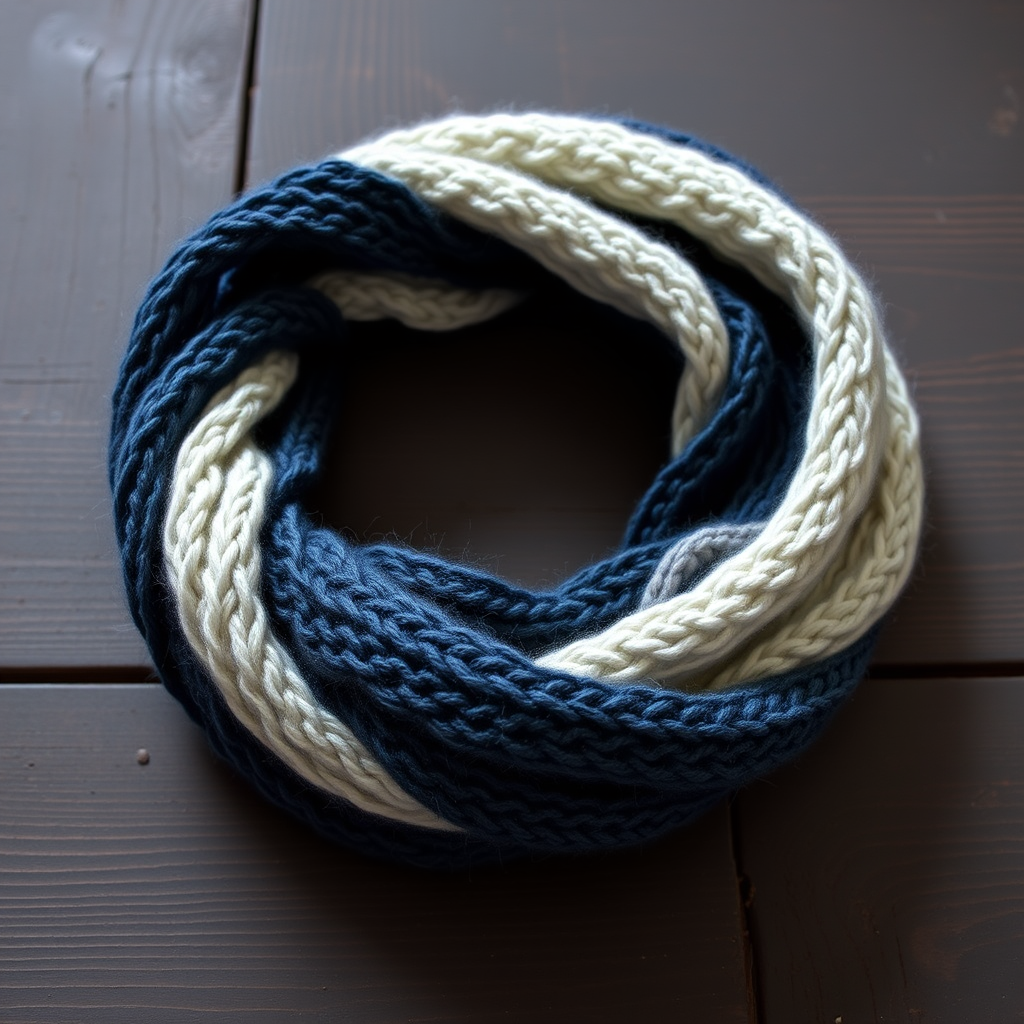
The Ruthie Scarf: A Free Knitting Pattern for a Textured, Asymmetrical Wrap with a Dramatic Fringe

Introducing The Ruthie Scarf: A Modern Knit with Asymmetrical Flair
Wrap yourself in the cozy, sculptural elegance of The Ruthie Scarf, a modern knit that combines a rich, textured stitch pattern with a bold, asymmetrical silhouette. This free pattern guides you through creating a stunning, one-of-a-kind accessory that's as much a statement piece as it is a warm embrace. The dramatic two-tone color palette—a creamy off-white body with a deep charcoal fringe—adds a contemporary edge, while the simple seed stitch makes this project accessible and enjoyable for knitters of all skill levels.
Materials Needed
Before you begin, gather the following supplies to ensure a smooth knitting experience:
- Yarn: Worsted weight (Category 4) yarn. Shown in Lion Brand Wool-Ease Thick & Quick (80% acrylic, 20% wool) in 'Fisherman' (approx 250 yards) and 'Charcoal' (approx 150 yards).
- Needles: US Size 10 (6.0 mm) knitting needles, or size needed to obtain gauge.
- Notions: Tapestry needle for weaving ends, scissors, and a crochet hook (size H/5.0 mm or similar) for adding fringe.
- Gauge: 14 stitches and 20 rows = 4 inches (10 cm) in Seed Stitch, blocked. Always check your gauge for best results.
Step-by-Step Instructions
Notes: The scarf is worked flat in one piece, starting from the narrow end and increasing to create the asymmetrical shape. The fringe is added after blocking. Work all rows in Seed Stitch unless otherwise specified.
Abbreviations
- CO: Cast on
- K: Knit
- P: Purl
- St(s): Stitch(es)
- RS: Right side
- WS: Wrong side
- Inc: Increase (K1, P1 into same stitch)
- Dec: Decrease (K2tog)
- Rep: Repeat
Section 1: The Narrow End
CO 20 sts.
Row 1 (RS): K1, P1 across. (20 sts)
Row 2 (WS): P1, K1 across.
Rep Rows 1-2 for 4 inches, ending with a WS row. This creates the narrow, pointed end of the scarf.
Section 2: The Asymmetrical Body
You will now work increases on one side only to create the asymmetrical shape. All increases are worked on the RS at the beginning of the row.
Row 1 (RS): Inc in first st (K1, P1 into same st), work in Seed Stitch across. (21 sts)
Row 2 (WS): Work in Seed Stitch across.
Rep Rows 1-2 until you have 40 sts on your needle, ending with a WS row. The scarf will be wider on one side, creating the signature asymmetrical silhouette.
Section 3: The Main Body
Work even in Seed Stitch for 12 inches, or until the scarf reaches your desired length (excluding fringe). Maintain the established Seed Stitch pattern without any increases or decreases.
Section 4: The Wide End
Now you will decrease on the same side you increased to create a mirrored asymmetrical shape. All decreases are worked on the RS at the beginning of the row.
Row 1 (RS): K2tog (decrease), work in Seed Stitch across. (39 sts)
Row 2 (WS): Work in Seed Stitch across.
Rep Rows 1-2 until 20 sts remain, ending with a WS row.
Section 5: The Wide End Band
Work even in Seed Stitch for 4 inches. This band will be the base for the dramatic fringe.
Bind off loosely in pattern. Tip: Use a larger needle or a stretchy bind-off to prevent the edge from being too tight.
Finishing
Weave in all ends using a tapestry needle. Block the scarf to shape, gently stretching the asymmetrical edges to ensure they lie flat and the texture opens up.
Adding the Fringe
Cut yarn (Charcoal color) into 12-inch lengths. For each fringe, fold 2 strands in half. Insert a crochet hook through the edge stitch of the wide end band, hook the folded loop, and pull it through. Then, pull the loose ends through the loop and tighten gently. Repeat evenly along the entire wide end of the scarf (the last 4-inch band). Trim fringe evenly to your desired length—typically 4-6 inches from the edge.
Your Ruthie Scarf is complete! Enjoy the cozy, sculptural elegance of this modern accessory.