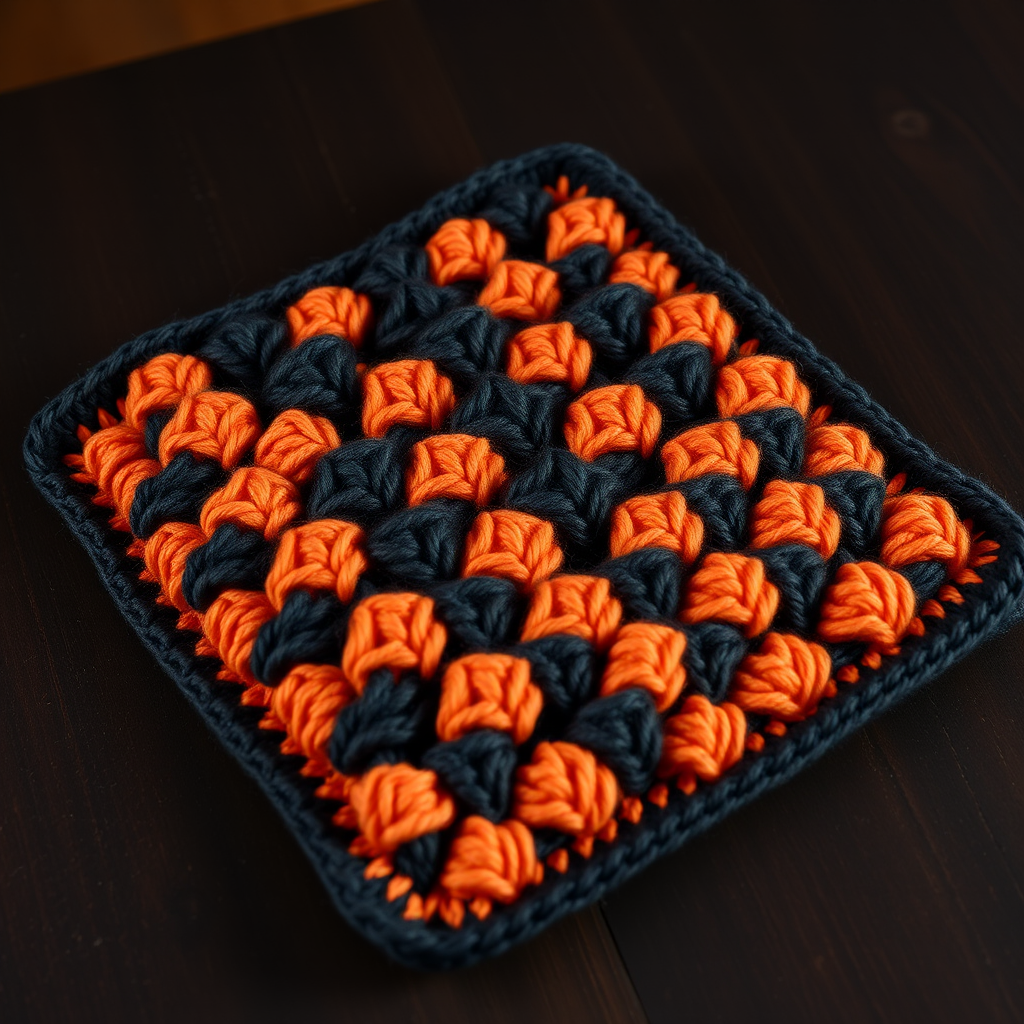
The Riverstone Silt Stitch Dishcloth: A Free Knitting Pattern for a Textured, Earthen Kitchen Essential

The Riverstone Silt Stitch Dishcloth: A Free Knitting Pattern for a Textured, Earthen Kitchen Essential
Elevate your kitchen with this deeply textured dishcloth, featuring the unique silt stitch that creates a beautiful, pebbled fabric. Knit in a warm, earthy palette, it's both a practical tool and a charming handmade accent. This pattern is perfect for beginners looking to expand their skills beyond basic knits and purls, as the silt stitch is surprisingly simple yet yields a stunning, scrubbable texture. The two-color slipped stitch technique adds visual depth without complex colorwork, making this a satisfying and quick project.
Materials Needed
- Yarn: Worsted weight cotton yarn (e.g., Lily Sugar'n Cream or Knit Picks Dishie) in two colors:
- Main Color (MC) - a warm, clay-like terracotta (approximately 50 yards)
- Contrast Color (CC) - a soft, sandy beige (approximately 50 yards)
- Needles: US Size 7 (4.5 mm) knitting needles
- Notions: Tapestry needle for weaving ends, scissors, blocking pins (optional)
Gauge & Finished Size
- Gauge: 20 stitches and 28 rows = 4 inches in silt stitch pattern (blocked)
- Finished Size: Approximately 8 inches square
Abbreviations
- CO: Cast on
- K: Knit
- P: Purl
- Sl1 wyif: Slip 1 stitch purlwise with yarn in front
- Sl1 wyib: Slip 1 stitch purlwise with yarn in back
- MC: Main Color (terracotta)
- CC: Contrast Color (sandy beige)
Pattern Notes
- The silt stitch creates a dense, textured fabric that is excellent for scrubbing.
- Carry the unused yarn loosely up the side of the work; do not cut at each color change. Simply pick up the new color when needed, leaving a small loop of the unused color along the edge.
- The slipped stitches create the 'silt' texture. When slipping, always insert the needle as if to purl (purlwise) to maintain the correct stitch orientation.
- The garter stitch border (knit every row) provides a clean, non-curling edge.
Step-by-Step Instructions
Cast On & Base Rows
With MC, CO 40 stitches using your preferred method (long-tail cast-on works well).
Row 1 (Right Side):
With MC, K all stitches.
Row 2 (Wrong Side):
With MC, K all stitches.
Row 3 (Right Side):
With CC, K1, *Sl1 wyif, K1; repeat from * to last stitch, K1. Note: The first and last stitches are always knit to maintain a neat edge. The slipped stitches are slipped purlwise with the yarn held in front of the work.
Row 4 (Wrong Side):
With CC, K1, *Sl1 wyib, K1; repeat from * to last stitch, K1. Note: On the wrong side, you slip with the yarn in back (wyib) so the slipped stitch creates a bar on the right side. The first and last stitches are knit.
Row 5 (Right Side):
With MC, K all stitches.
Row 6 (Wrong Side):
With MC, K all stitches.
Row 7 (Right Side):
With CC, K2, *Sl1 wyif, K1; repeat from * to last 2 stitches, K2. Note: This row offsets the slipped stitches by one, creating the staggered pebble texture. The first two and last two stitches are knit.
Row 8 (Wrong Side):
With CC, K2, *Sl1 wyib, K1; repeat from * to last 2 stitches, K2. Note: Again, slip with yarn in back on the wrong side. The first two and last two stitches are knit.
Repeat Pattern
Repeat Rows 1-8 until the piece measures approximately 7.5 inches from the cast-on edge, ending after a Row 6 (a MC row). This ensures the final border is worked in MC.
Final Border
With MC, knit 4 rows (garter stitch border). Note: Knit every stitch on every row for these four rows. This creates a clean, stable edge that matches the cast-on and bind-off.
Bind Off
Bind off loosely knitwise. Tip: To avoid a tight edge, use a needle one size larger for the bind-off, or bind off with a very loose tension. Insert the left needle into the stitch on the right needle, knit the next stitch, then pass the first stitch over the second and off the needle.
Finishing
Weave in all ends using a tapestry needle. Weave each end into the wrong side of the fabric, following the path of the stitches for about 1-2 inches, then trim close. Block gently to even out stitches and open the texture. To block, wet the dishcloth with lukewarm water, gently squeeze out excess (do not wring), lay flat on a towel, shape to 8 inches square, and allow to dry completely. The blocked fabric will have a more defined pebbled texture and a professional finish.