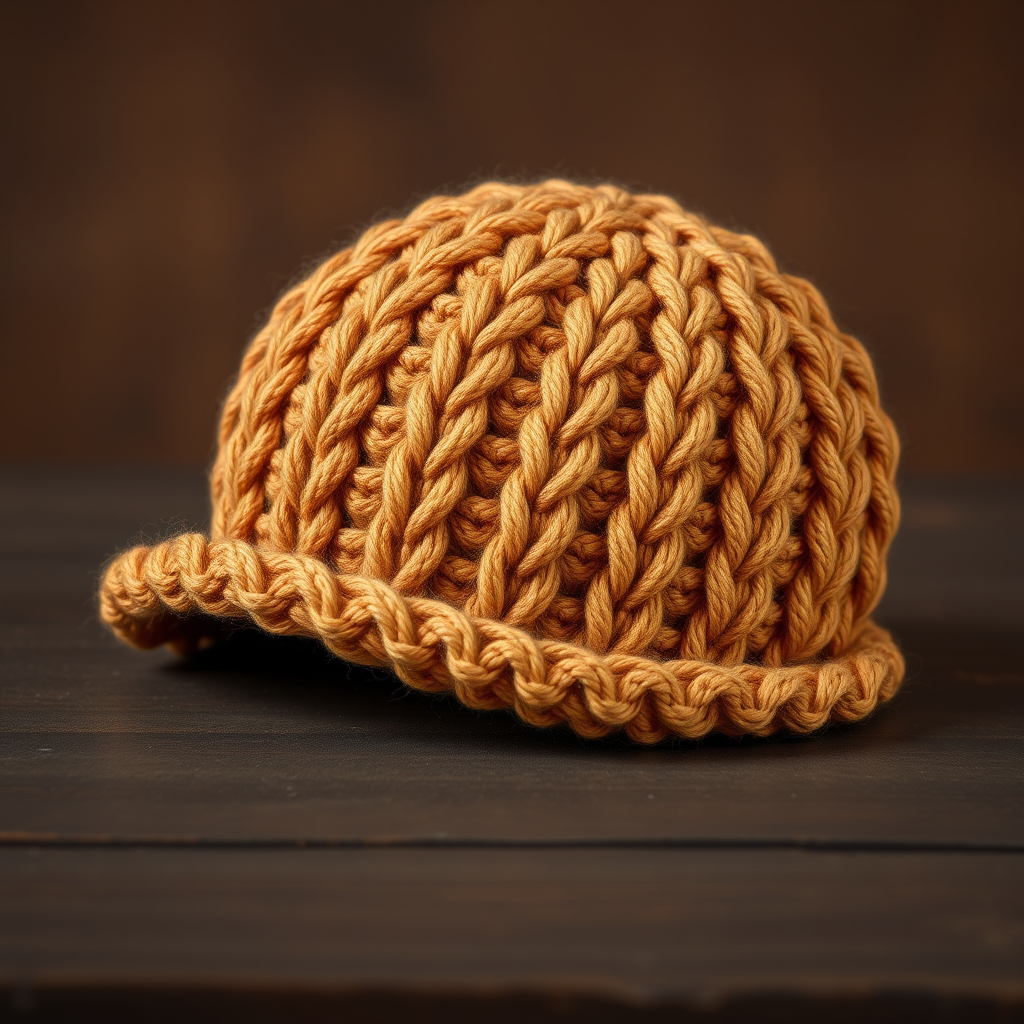
The Gilded Garden Hat: A Free Knitting Pattern for a Textured, 1950s-Inspired Wide Brimmed Hat

Channel Vintage Glamour: Knit the Gilded Garden Hat
Step into a world of timeless elegance with this free knitting pattern for the Gilded Garden Hat. Inspired by the sophisticated silhouettes of the 1950s, this wide-brimmed hat features a lush, textured stitch pattern that beautifully mimics the overlapping petals of a rose. Crafted from soft, worsted-weight cotton, this accessory is perfect for sunny days, garden parties, or any occasion where you want to add a touch of vintage charm. The sculptural brim and elegant crown are surprisingly achievable for a confident beginner, making this a rewarding project that you'll treasure for years.
Materials Needed
Before you begin, gather the following materials to ensure a smooth and enjoyable knitting experience.
- Yarn: Worsted weight cotton or cotton-blend yarn (approx 250-300 yards). The sample is shown in a soft blush pink and a creamy ivory.
- Needles: US 7 (4.5 mm) 16-inch circular needle and a set of double-pointed needles (or size needed to obtain gauge).
- Notions: Stitch marker, tapestry needle for weaving in ends.
- Gauge: 20 stitches and 28 rows = 4 inches in stockinette stitch, blocked. Always check your gauge for best results.
Step-by-Step Instructions
This pattern is worked in the round from the brim up to the crown. Follow each step carefully, and you'll have a beautiful, textured hat in no time.
Sizes & Abbreviations
Sizes: One size fits most adults (head circumference approx 21-23 inches).
Abbreviations:
- CO: cast on
- K: knit
- P: purl
- K2tog: knit two together (right-leaning decrease)
- SSK: slip slip knit (left-leaning decrease)
- M1L: make one left (increase)
- M1R: make one right (increase)
- St(s): stitch(es)
- Rep: repeat
- Rnd(s): round(s)
Pattern Notes
- The hat is worked in the round from the brim up to the crown.
- The brim is worked in a textured stitch pattern, then the crown is shaped with decreases.
- Blocking is essential to open up the lace-like texture and set the brim shape.
Instructions
Brim
CO 120 sts. Join to work in the round, being careful not to twist. Place a stitch marker to mark the beginning of the round.
- Rnd 1: *K2, P2; rep from * around.
- Rnd 2: *K2, P2; rep from * around.
- Rnd 3: *K2, P2; rep from * around.
- Rnd 4: *K2, P2; rep from * around.
- Rnd 5: *K2, P2; rep from * around.
- Rnd 6: *K2, P2; rep from * around.
After completing Rnd 6, you will have a neat, ribbed edge for the brim.
Crown (Textured Pattern)
Now you will begin the textured stitch pattern that creates the rose-petal effect. This pattern is a 10-stitch repeat.
- Rnd 7: *K1, P1, K1, P1, K1, P1, K1, P1, K1, P1; rep from * around.
- Rnd 8: *K1, P1, K1, P1, K1, P1, K1, P1, K1, P1; rep from * around.
- Rnd 9: *P1, K1, P1, K1, P1, K1, P1, K1, P1, K1; rep from * around.
- Rnd 10: *P1, K1, P1, K1, P1, K1, P1, K1, P1, K1; rep from * around.
- Rnd 11: *K1, P1, K1, P1, K1, P1, K1, P1, K1, P1; rep from * around.
- Rnd 12: *K1, P1, K1, P1, K1, P1, K1, P1, K1, P1; rep from * around.
- Rnd 13: *P1, K1, P1, K1, P1, K1, P1, K1, P1, K1; rep from * around.
- Rnd 14: *P1, K1, P1, K1, P1, K1, P1, K1, P1, K1; rep from * around.
Repeat Rnds 7-14 until the piece measures 4 inches from the cast-on edge, ending with a Rnd 8 or Rnd 12. This ensures the pattern is consistent before you begin decreasing.
Crown Shaping
Switch to double-pointed needles when the stitches become too tight for the circular needle.
- Rnd 1 (Decrease): *K8, K2tog; rep from * around. (108 sts)
- Rnd 2 and all even rounds: Knit all sts.
- Rnd 3: *K7, K2tog; rep from * around. (96 sts)
- Rnd 5: *K6, K2tog; rep from * around. (84 sts)
- Rnd 7: *K5, K2tog; rep from * around. (72 sts)
- Rnd 9: *K4, K2tog; rep from * around. (60 sts)
- Rnd 11: *K3, K2tog; rep from * around. (48 sts)
- Rnd 13: *K2, K2tog; rep from * around. (36 sts)
- Rnd 15: *K1, K2tog; rep from * around. (24 sts)
- Rnd 17: *K2tog; rep from * around. (12 sts)
Cut yarn, leaving a 6-inch tail. Thread the tail through the remaining 12 stitches, pull tight to close the top, and secure firmly.
Finishing
Weave in all ends neatly on the inside of the hat. Blocking is crucial for this pattern: wet the hat thoroughly, then gently squeeze out excess water. Shape the hat over a dinner plate or wide bowl to set the brim's curve. Allow it to dry completely. This will open up the texture and give the hat its signature 1950s silhouette.
Enjoy your stunning, hand-knit Gilded Garden Hat—a true statement piece that blends vintage glamour with modern craftsmanship!