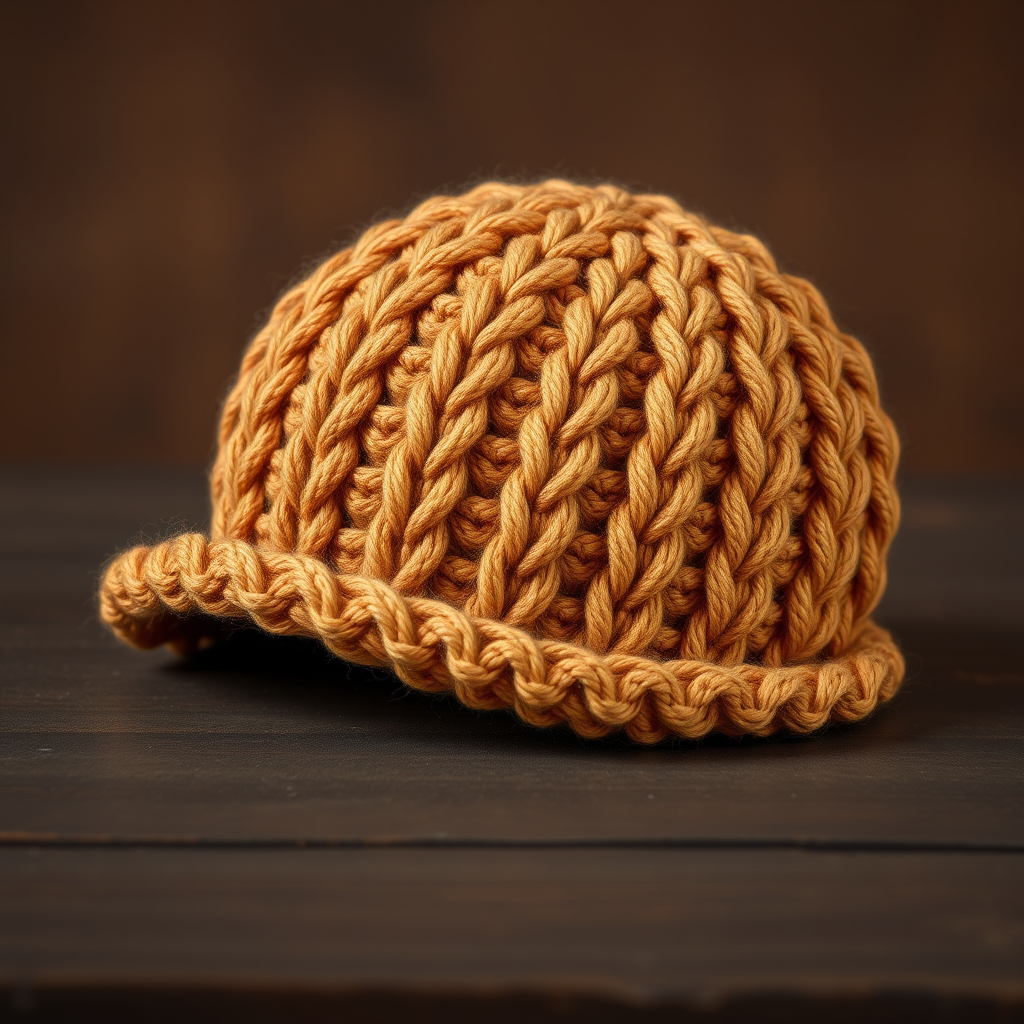
The Buckeye Beanie: A Free Knitting Pattern for a Textured, Color-Blocked Slouchy Hat

Introduction: Cozy Up with The Buckeye Beanie
Embrace the cozy spirit of autumn with this uniquely textured, color-blocked beanie that mimics the rich, nutty hues of a buckeye. The combination of a deep chocolate brown and a warm, golden amber creates a stunning, modern accessory perfect for crisp days. This free knitting pattern is designed for adventurous beginners and intermediate knitters alike, offering a satisfying project that builds confidence in working with color changes and simple textured stitches. The slouchy silhouette and woven-like texture make this hat a standout piece in any fall wardrobe.
Materials Needed
Before you begin, gather the following supplies. The sample uses Lion Brand Wool-Ease in 'Mink' (Color A) and 'Butterscotch' (Color B), but any worsted weight yarn will work beautifully.
Yarn
- Color A (Chocolate Brown): 100g of worsted weight yarn
- Color B (Golden Amber): 80g of worsted weight yarn
- Note: The sample uses Lion Brand Wool-Ease in 'Mink' and 'Butterscotch'.
Needles & Notions
- US 8 (5.0 mm) 16-inch circular needle
- Set of US 8 (5.0 mm) double-pointed needles (DPNs) for the crown
- Stitch marker for marking the beginning of the round
- Tapestry needle for weaving in ends
- Scissors
Gauge
18 stitches and 24 rows = 4 inches in stockinette stitch, after blocking. Achieving the correct gauge is essential for the hat to fit properly.
Step-by-Step Instructions
Sizes & Abbreviations
Sizes: Adult S/M (M/L). Finished circumference: 20 (22) inches, height: 10 (11) inches.
Abbreviations:
- CO – cast on
- K – knit
- P – purl
- k2tog – knit two together (decrease)
- p2tog – purl two together (decrease)
- st(s) – stitch(es)
- rnd(s) – round(s)
Pattern Notes
The hat is worked in the round from the bottom up. The color-block sections are created by alternating stripes of Color A and Color B, with a textured stitch pattern in the main body. The crown is worked in Color B only.
Ribbing
- With Color A, CO 88 (96) sts using your preferred method.
- Place a stitch marker and join in the round, being very careful not to twist the stitches.
- Work in K2, P2 ribbing for 1.5 inches. This means: *Knit 2, Purl 2; repeat from * around for every round.
Body – Textured Stitch Pattern
Switch to Color B. Work the following 8-round textured stitch pattern. This creates a beautiful woven-like texture.
- Rounds 1-4: *K2, P2; repeat from * around.
- Rounds 5-8: *P2, K2; repeat from * around.
Repeat these 8 rounds for the pattern throughout the body.
Color Block Sequence
- First Band (Color B): Work in pattern for 2 inches from the ribbing, ending after a Round 4 or Round 8 (so you are ready to start the next section cleanly).
- Second Band (Color A): Switch to Color A. Continue in the same textured stitch pattern for another 2 inches.
- Third Band (Color B): Switch to Color B. Continue in pattern for 2 inches.
- Fourth Band (Color A): Switch to Color A. Continue in pattern for 2 inches.
At this point, the hat should measure approximately 8 inches from the cast-on edge. If you want a slouchier hat, you can add one more 2-inch band in Color B before starting the crown.
Crown Decreases
Switch to Color B for the crown. Work the following decrease rounds. When stitches become too few for the circular needle (usually after Round 5 or 6), switch to your double-pointed needles.
- Rnd 1: *K2, P2, k2tog, P2; repeat from * around. (77, 84 sts)
- Rnd 2: *K2, P2, K1, P2; repeat from * around.
- Rnd 3: *K2, P2, k2tog, P1; repeat from * around. (66, 72 sts)
- Rnd 4: *K2, P2, K1, P1; repeat from * around.
- Rnd 5: *K2, P2, k2tog; repeat from * around. (55, 60 sts)
- Rnd 6: *K2, P2, K1; repeat from * around.
- Rnd 7: *K2, P2, k2tog; repeat from * around. (44, 48 sts)
- Rnd 8: *K2, P1, k2tog; repeat from * around. (33, 36 sts)
- Rnd 9: *K2tog, P1; repeat from * around. (22, 24 sts)
- Rnd 10: *K2tog; repeat from * around. (11, 12 sts)
Finishing
- Cut the yarn, leaving a 6-inch tail.
- Thread the tail through a tapestry needle.
- Carefully thread the needle through all remaining stitches on your needle, slipping them off as you go.
- Pull the tail tight to close the top of the hat completely.
- Weave the tail securely into the inside of the hat.
- Weave in all other ends from color changes.
Blocking
Block the hat gently to even out the stitches and enhance the texture. To block, wet the hat with lukewarm water, gently squeeze out excess water (do not wring), and lay it flat on a towel. Shape it to the desired dimensions and allow it to dry completely. This step is optional but highly recommended for a professional finish.
Your Buckeye Beanie is now complete! Wear it with pride on those crisp autumn days, and enjoy the compliments that are sure to come your way.