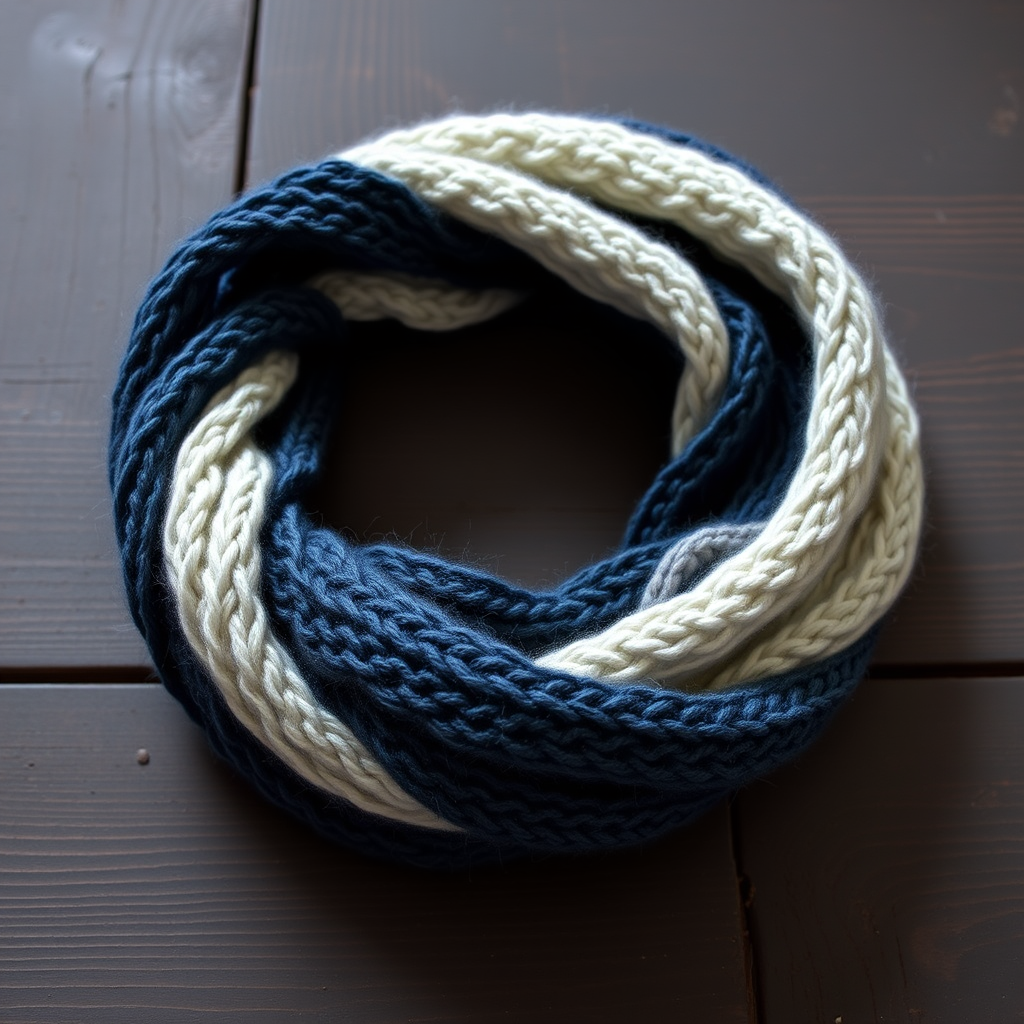
Sunkissed Citrus Scarf Free Pattern – Knit a Zesty Marigold Wrap

Sunkissed Citrus Scarf Free Pattern – Knit a Zesty Marigold Wrap
Wrap yourself in the cheerful warmth of a hand-knitted scarf with a vibrant marigold and cream palette, featuring a playful twisted fringe. This cozy accessory adds a pop of sunshine to any winter outfit. Whether you're a seasoned knitter or picking up needles for the first time, this pattern is designed to be approachable, rewarding, and utterly delightful to create. The alternating textured bands and bright colors make this scarf a standout piece that you'll be proud to wear or gift.
This free knitting pattern is perfect for those crisp autumn days or chilly winter evenings. The combination of smooth stockinette sections and ridged garter stitch bands creates a tactile rhythm that is both visually appealing and satisfying to knit. The twisted fringe adds a dynamic, playful finish that elevates the entire piece. Let's dive into this wonderful project!
Materials Needed
Before you begin, gather all your materials. Having everything ready will make your knitting experience smooth and enjoyable. Here's what you'll need:
Yarn
- Color A (Marigold): Worsted weight yarn, approximately 350 yards. This bright, sunny yellow will be the star of your scarf.
- Color B (Cream): Worsted weight yarn, approximately 350 yards. This soft, off-white provides a beautiful contrast and balance.
Pro Tip: Choose a soft, durable worsted weight yarn like a merino wool blend or a high-quality acrylic. This will ensure your scarf is both cozy and long-lasting.
Needles and Notions
- Knitting Needles: US Size 8 (5 mm) needles. Straight needles are perfect for this project, but circular needles can also be used if you prefer.
- Tapestry Needle: For weaving in ends and finishing.
- Scissors: For cutting yarn.
- Crochet Hook (optional): A hook (any size) can be helpful for attaching the fringe, though you can also do it by hand.
Gauge
18 stitches and 24 rows = 4 inches in stockinette stitch. It's always a good idea to knit a small swatch to check your gauge. This ensures your scarf will be the correct size and have the right drape.
Abbreviations
- CO: Cast on
- K: Knit
- P: Purl
- K2tog: Knit two stitches together (decrease)
- Sl: Slip stitch
- YO: Yarn over (increase)
Step-by-Step Instructions
Follow these detailed instructions carefully, and you'll have a beautiful scarf in no time. The pattern is broken down into two main parts: the scarf body and the twisted fringe.
Part 1: Knitting the Scarf Body
The scarf is knit lengthwise in a series of alternating bands. This creates a beautiful, structured texture.
- Cast On: With Color A (Marigold), cast on 36 stitches. Use a method you're comfortable with, such as the long-tail cast on. This will be the width of your scarf (approximately 8 inches).
- First Garter Section (Color A):
- Row 1 (Right Side): Knit all stitches.
- Row 2 (Wrong Side): Purl all stitches.
- Repeat Rows 1 and 2 for a total of 10 rows. This will create 5 visible ridges of garter stitch. This solid, textured edge gives the scarf a nice, sturdy foundation.
- First Stockinette Section (Color B):
- Switch to Color B (Cream).
- Row 1 (RS): Knit all stitches.
- Row 2 (WS): Purl all stitches.
- Repeat these two rows for a total of 20 rows. This creates a smooth, classic stockinette fabric. Remember to carry the unused yarn up the side of your work loosely to avoid puckering.
- Second Garter Section (Color A):
- Switch back to Color A (Marigold).
- Row 1 (RS): Knit all stitches.
- Row 2 (WS): Knit all stitches.
- Repeat these two rows for a total of 10 rows. Knitting every row creates the ridged garter stitch texture.
- Continue Alternating: Now you will continue the established pattern:
- Work 20 rows of stockinette stitch in Color B (Cream).
- Work 10 rows of garter stitch in Color A (Marigold).
- Keep repeating this sequence until the scarf measures approximately 60 inches from the cast-on edge. It's a good idea to measure as you go to ensure you have enough yarn.
- Final Section: End the scarf with a 10-row garter stitch section in Color A. This will mirror the beginning of the scarf, creating a balanced, symmetrical look.
- Bind Off: Bind off all stitches loosely in pattern. If you're on a knit row, bind off knitwise; if on a purl row, bind off purlwise. A loose bind-off is crucial to prevent the edges from being too tight. You can also use a larger needle to bind off if needed.
Part 2: Creating the Twisted Fringe
The twisted fringe is what gives this scarf its playful, dynamic finish. It's easier than it looks and adds a professional touch.
- Cut the Yarn: Cut 12 strands of Color A (Marigold) and 12 strands of Color B (Cream), each measuring 12 inches long. You will have 24 strands in total.
- Form the Fringe Groups: For each fringe group, you will take 2 strands of Color A and 2 strands of Color B (4 strands total). You will make 6 groups for each end of the scarf, using all 24 strands.
- Attach the Fringe:
- Fold the 4-strand group in half to find the midpoint.
- Using a crochet hook (or your fingers), insert the hook from the wrong side to the right side of the scarf through an edge stitch.
- Catch the folded loop of the fringe group and pull it through the stitch, creating a loop on the outside of the scarf.
- Pull the loose ends of the fringe through this loop and pull tight to secure. This is called a lark's head knot.
- Attach Evenly: Attach the fringe groups evenly across both short ends of the scarf. You should have about 6 groups per end. Try to space them out evenly for a polished look.
- Twist the Fringe: This is the fun part!
- Take one attached fringe group and hold it taut.
- Twist the entire group clockwise with your fingers until it starts to coil tightly on itself.
- Fold the twisted group in half. It will naturally twist together into a neat, spiral cord.
- Let it twist together and secure the very end with a small, tight overhand knot to prevent it from unraveling.
- Repeat this twisting and knotting process for all 12 fringe groups.
Part 3: Finishing Touches
- Weave in Ends: Using your tapestry needle, carefully weave in all loose yarn ends along the edges of the scarf. Weave them in on the wrong side of the work, following the path of the stitches to hide them completely.
- Blocking (Optional but Recommended): To even out your stitches and give the scarf a professional finish, lightly block it. You can do this by pinning the scarf to its intended dimensions on a blocking mat and lightly misting it with water. Allow it to dry completely before unpinning. This will help the scarf lay flat and drape beautifully.
And there you have it! Your very own Sunkissed Citrus Scarf. This vibrant, textured wrap is sure to become a favorite accessory. The bright marigold and cream colors are reminiscent of sunny days, bringing a little warmth and joy to even the coldest months. Enjoy wearing your handcrafted creation, and don't be surprised if you get asked where you bought it!
Happy Knitting!