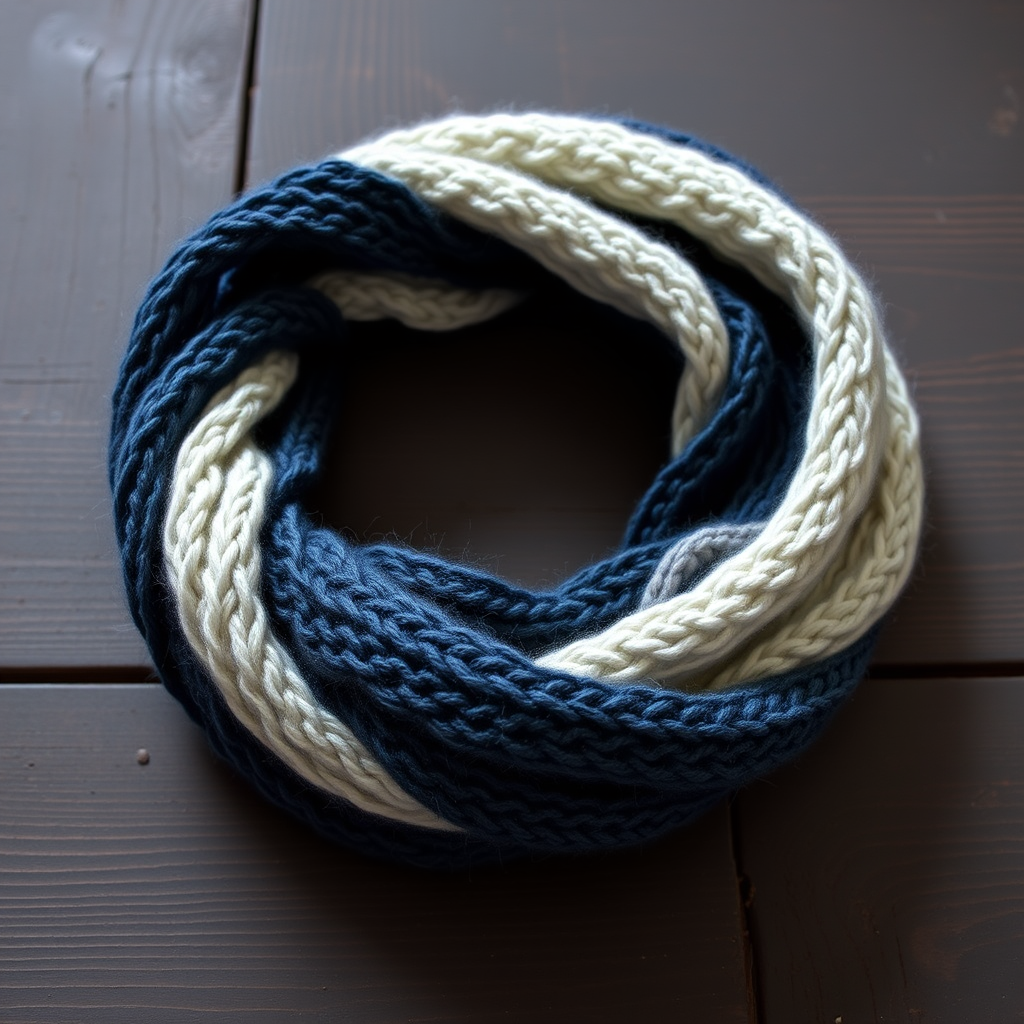
Sun-Kissed Citrus Slice Scarf Free Pattern – A Knitted Zesty Neck Wrap
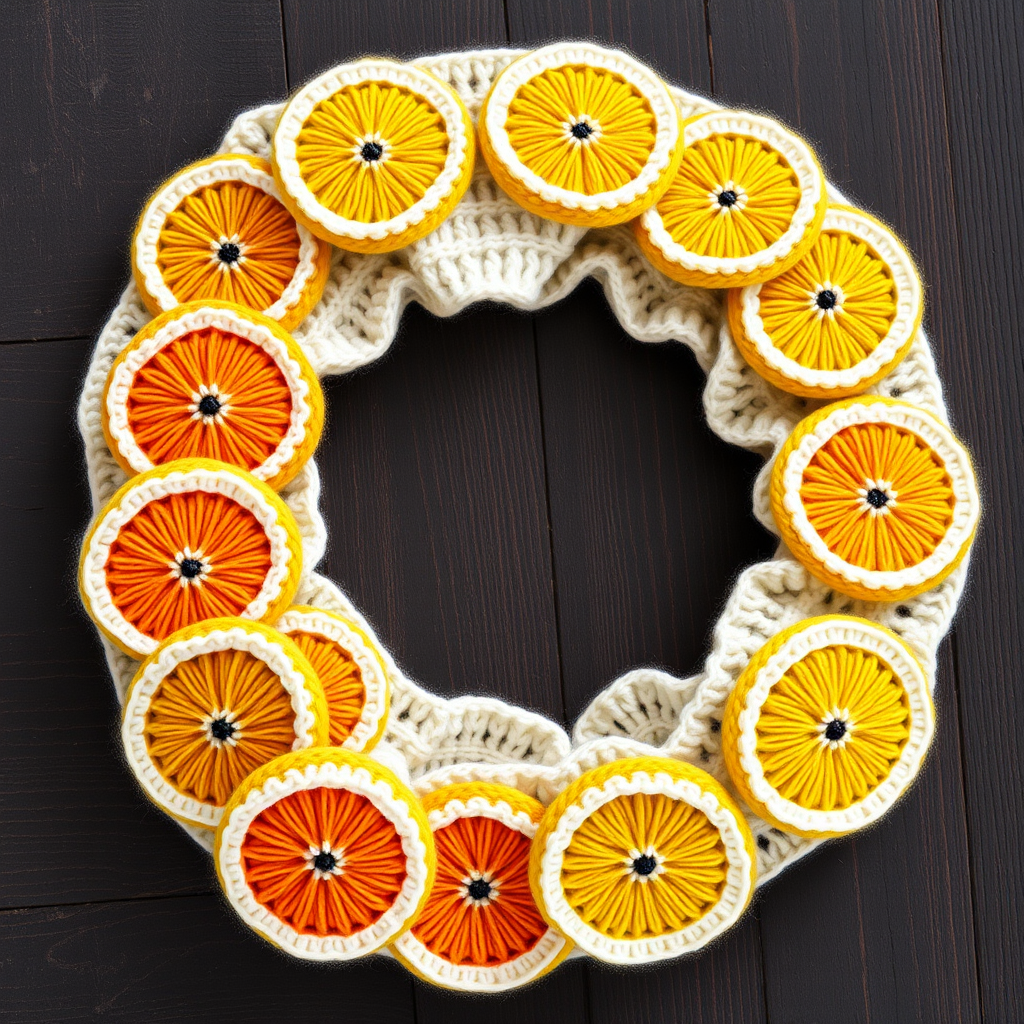
Sun-Kissed Citrus Slice Scarf: A Zesty Knitting Adventure
Imagine wrapping yourself in the juicy brightness of a summer orchard, even when the frost is on the ground. That's the magic of the Sun-Kissed Citrus Slice Scarf. This isn't just a winter accessory; it's a statement piece, a conversation starter, and a delightful knitting project that brings a pop of color to the dreariest days. Each textured citrus wheel—vibrant orange, sunny lemon, and zesty lime—is knitted flat and then joined, creating a playful yet sophisticated chain of fruit that drapes elegantly over any coat. Whether you're a seasoned knitter looking for a quick, satisfying project or a beginner ready to tackle something fun and rewarding, this scarf is the perfect way to add a handcrafted touch of summer to your wardrobe.
Materials Needed: Gathering Your Knitting Toolkit
Before you dive into this juicy project, let's make sure you have everything you need. The beauty of this pattern lies in its simplicity—you only need a few basic supplies to create something truly spectacular.
Yarn & Colors
You'll be working with worsted weight cotton or cotton-blend yarn. Cotton is ideal because it provides excellent stitch definition, making the textured stockinette pattern pop, and it's durable enough for everyday wear. Here’s the color breakdown you'll need:
- Orange (#FF8C00): For the vibrant orange slices (4 slices)
- Yellow (#FFD700): For the sunny lemon slices (4 slices)
- Lime Green (#32CD32): For the zesty lime slices (4 slices)
- White (#FFFFFF): For the clean, crisp rims on all slices
- Black (small amount): For embroidering the tiny seeds
Needles & Notions
- US 7 (4.5 mm) Knitting Needles: A standard pair of straight needles is perfect for this project.
- Tapestry Needle: You'll need this for seaming the slices together and weaving in all those ends.
- Scissors: For cutting yarn.
Gauge
To ensure your scarf has the perfect drape and dimensions, it's important to match the gauge: 20 stitches and 26 rows = 4 inches in stockinette stitch. While this is a forgiving pattern, taking a moment to knit a quick swatch will help you achieve the best results.
Step-by-Step Instructions: Knitting Your Citrus Slices
This scarf is ingeniously simple. You'll knit 12 individual citrus slices (4 of each color) and then seam them together. Each slice is worked flat, starting from the center and increasing outward to create a beautiful, textured circle. Let's get started!
Citrus Slice Pattern (Make 12 Total)
Note: This pattern is worked flat, so you'll be turning your work at the end of each row.
Row 1 (Center): With your chosen fruit color (orange, yellow, or lime), cast on 8 stitches.
Row 2: Knit across all 8 stitches. (8 stitches)
Row 3 (Increase Row): K1, M1 (make one), K6, M1, K1. (10 stitches)
Tip: To make one (M1), pick up the horizontal bar between the stitch you just knit and the next one, place it on the left needle, and knit it through the back loop. This creates a neat, invisible increase.
Row 4: Purl across all 10 stitches. (10 stitches)
Row 5: K1, M1, K8, M1, K1. (12 stitches)
Row 6: Purl across all 12 stitches. (12 stitches)
Row 7: K1, M1, K10, M1, K1. (14 stitches)
Row 8: Purl across all 14 stitches. (14 stitches)
Row 9: K1, M1, K12, M1, K1. (16 stitches)
Row 10: Purl across all 16 stitches. (16 stitches)
Row 11: K1, M1, K14, M1, K1. (18 stitches)
Row 12: Purl across all 18 stitches. (18 stitches)
Row 13 (Switch to White): Now, attach your white yarn. K1, M1, K16, M1, K1. (20 stitches)
Row 14: Purl across all 20 stitches. (20 stitches)
Row 15: K1, M1, K18, M1, K1. (22 stitches)
Row 16: Purl across all 22 stitches. (22 stitches)
Row 17: K1, M1, K20, M1, K1. (24 stitches)
Row 18: Purl across all 24 stitches. (24 stitches)
Row 19: Bind off loosely knitwise. Cut the yarn, leaving a long tail (about 12 inches) for seaming later.
Repeat this entire process for all 12 slices, alternating your fruit colors as you go. You should have 4 orange, 4 yellow, and 4 lime slices.
Seed Embroidery (Optional but Adorable)
To give your citrus slices that authentic, juicy look, let's add some seeds. Thread your tapestry needle with the black yarn. In the center of each slice (on the right side of the fabric), embroider a few small French knots or simple straight stitches. Arrange them in a starburst pattern to mimic the seeds of a real citrus fruit. This tiny detail adds so much charm!
Assembly: Joining Your Fruit Wheels
Now for the fun part—bringing your scarf together!
Step 1: Lay out your 12 slices on a flat surface in a row. Alternate the colors to create a pleasing rhythm, such as orange, lemon, lime, orange, and so on.
Step 2: With the right sides of the slices facing up, pick up two adjacent slices. Using your tapestry needle and the long yarn tail from one of the slices, use a whip stitch or mattress stitch to seam the straight edges together. Be sure to match the white rims perfectly so they form a continuous, clean line.
Step 3: Continue seaming the slices together, one by one, until all 12 are joined into a long, beautiful chain of fruit.
Finishing Touches
Once all your slices are seamed, it's time to finish your masterpiece.
Weave in Ends: Using your tapestry needle, carefully weave in all the loose yarn ends on the wrong side of the scarf. Take your time here—a clean finish makes a world of difference.
Blocking: This step is crucial for a professional look. Gently wet-block your scarf by soaking it in lukewarm water, squeezing out the excess (don't wring!), and laying it flat on a towel. Gently shape it, ensuring the slices are even and the seams lie flat. Allow it to dry completely. This will even out the stitches and enhance the beautiful texture of the stockinette.
And there you have it—your very own Sun-Kissed Citrus Slice Scarf! This project is a joy to knit, and the result is a wearable piece of art that's sure to brighten your winter and earn you compliments wherever you go. Happy knitting!