Mountain Ridge Textured Throw Free Pattern
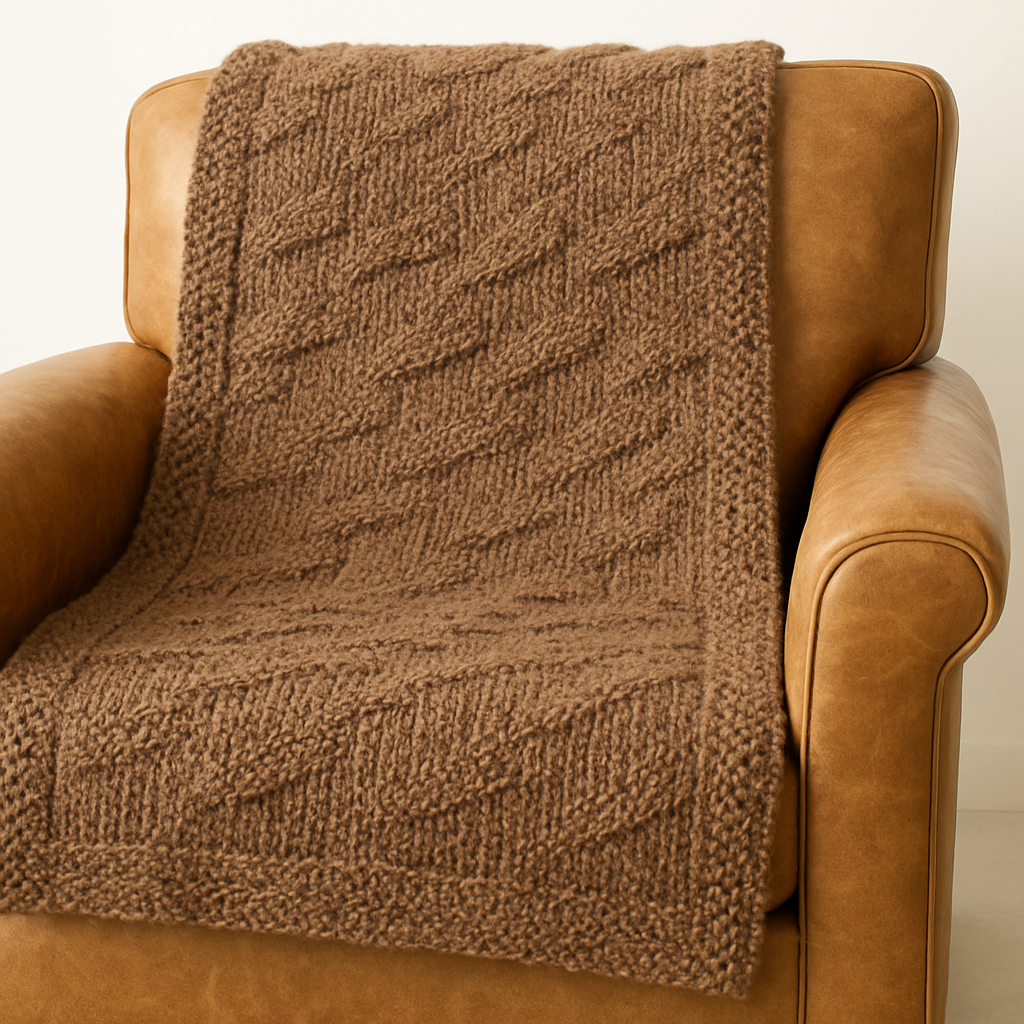
Mountain Ridge Textured Throw Free Pattern
Introduction
Capture the essence of rugged mountain landscapes with the Mountain Ridge Textured Throw. This pattern combines intricate textures and earthy tones to create a cozy, nature-inspired blanket that is perfect for any home. Whether you're snuggling up on a chilly evening or adding a touch of warmth to your living space, this throw will not only keep you warm but also serve as a beautiful piece of art.
Materials Needed
- Yarn: Bulky weight, 100% wool
- Knitting Needles: US 11 (8 mm) knitting needles
- Gauge: 12 stitches and 16 rows = 4 inches in stockinette stitch
Step-by-Step Instructions
- Cast On: Begin by casting on 120 stitches onto your knitting needle. Ensure that your stitches are not too tight to allow for easy movement while knitting.
- Garter Stitch Border (Rows 1-4):
- Row 1: Knit all stitches across the row.
- Row 2: Knit all stitches across the row.
- Row 3: Knit all stitches across the row.
- Row 4: Knit all stitches across the row.
- Textured Pattern (Rows 5-20):
Now we will create the alternating textured blocks.
- Row 5: *Knit 4 stitches, Purl 4 stitches; repeat from * to end of the row.
- Row 6: *Purl 4 stitches, Knit 4 stitches; repeat from * to end of the row.
- Repeat Rows 5 and 6 for a total of 12 rows.
- Row 19: *Purl 4 stitches, Knit 4 stitches; repeat from * to end of the row.
- Row 20: *Knit 4 stitches, Purl 4 stitches; repeat from * to end of the row.
- Repeat Rows 19 and 20 for a total of 12 rows.
- Continue the Pattern:
Continue alternating between the two block patterns (Rows 5-6 and Rows 19-20) until the blanket measures approximately 60 inches in length.
- Finish with Garter Stitch: Once you reach the desired length, knit 4 additional rows in garter stitch to create a finished border.
- Bind Off: Bind off all stitches loosely to ensure the edge of your blanket is not too tight.
- Weave in Ends: Use a tapestry needle to weave in any loose ends from your yarn, ensuring a clean finish.
Your Mountain Ridge Textured Throw is now complete! Enjoy the warmth and beauty of your handmade blanket, and don't forget to share your creation with friends and family!


