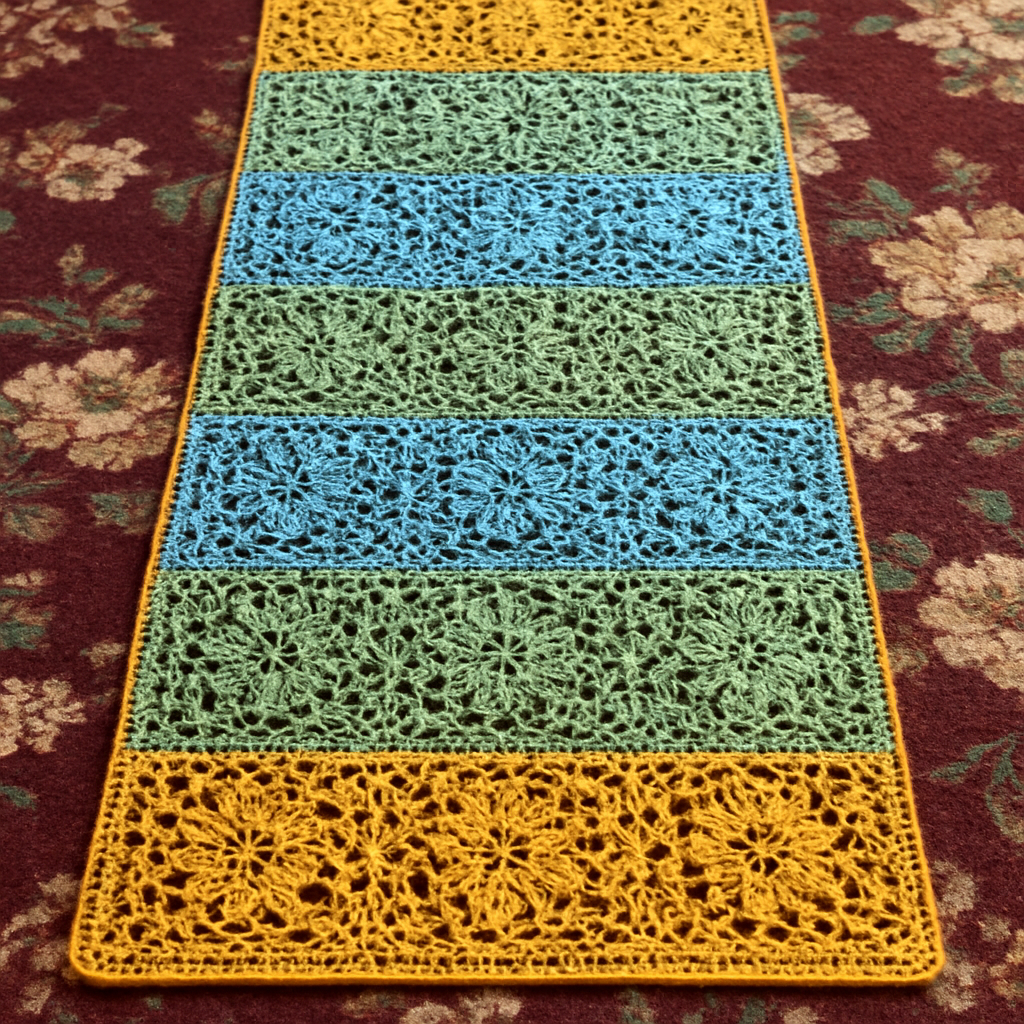
Harvest Hearth Textured Crochet Table Runner Free Pattern

Harvest Hearth Textured Crochet Table Runner: A Free Farmhouse Pattern
Bring the cozy warmth of a farmhouse autumn to your dining table with this richly textured crochet runner. Featuring a stunning combination of bobbles and front-post ridges, this heirloom-quality piece is surprisingly simple to make and adds a handcrafted touch to any gathering. Whether you're hosting Thanksgiving or simply enjoying a quiet fall evening, this runner in cream, rust, and olive will become a seasonal favorite. Best of all, it's a free pattern designed for confident beginners and beyond.
Materials Needed
Before you begin, gather the following supplies. This project uses worsted weight cotton or cotton-blend yarn, which provides excellent stitch definition and durability for a table runner.
- Yarn: Worsted weight cotton or cotton-blend yarn in three colors:
- Color A (Cream): Approx. 600 yards
- Color B (Rust): Approx. 200 yards
- Color C (Olive): Approx. 200 yards
- Hook: US Size H/8 (5.0 mm) crochet hook
- Gauge: 14 dc x 8 rows = 4 inches in pattern stitch (always check your gauge for best results)
- Extras: Yarn needle for weaving in ends, scissors
Pattern Notes & Special Stitches
This runner is worked in one piece from end to end. The pattern uses a multiple of 4 + 2 stitches. The finished runner is approximately 14 inches wide and 36 inches long, but you can easily adjust the length by adding or subtracting rows. The pattern is written in standard US crochet terms.
Special Stitches
- Bobble (BO): Yarn over, insert hook into stitch, yarn over, pull up a loop, yarn over, pull through two loops (2 loops on hook). Repeat 3 more times in the same stitch (5 loops on hook). Yarn over, pull through all 5 loops. This creates a beautiful, raised texture.
- Front Post Double Crochet (FPdc): Yarn over, insert hook from front to back around the post of the indicated stitch, yarn over, pull up a loop, yarn over, pull through two loops, yarn over, pull through remaining two loops. This creates a ridged, braided effect.
Step-by-Step Instructions
Follow these detailed instructions carefully. Remember to count your stitches at the end of each row to ensure accuracy.
Foundation & First Color Section (Color A)
Foundation Row: With color A, chain 58.
Row 1: Dc in 4th chain from hook and in each chain across. (56 dc) Turn.
Row 2: Chain 3 (counts as first dc), dc in each dc across. Turn.
Row 3: Chain 3, *dc in next 3 dc, BO in next dc*; repeat from * to * across, ending with dc in last 3 dc. Turn.
Row 4: Chain 3, dc in each stitch across. Turn.
Row 5: Chain 3, *FPdc around next 3 dc, dc in next dc (the bobble from row 3)*; repeat from * to * across, ending with FPdc around last 3 dc. Turn.
Row 6: Chain 3, dc in each stitch across. Turn.
Row 7: Repeat Row 3.
Row 8: Chain 3, dc in each stitch across. Turn.
Row 9: Repeat Row 5.
Row 10: Chain 3, dc in each stitch across. Turn.
Row 11: Repeat Row 3. Fasten off color A.
Second Color Section (Color B - Rust)
Row 12: With color B, join with a slip stitch in the first stitch. Chain 3, dc in each stitch across. Turn.
Row 13: Chain 3, *dc in next 3 dc, BO in next dc*; repeat from * to * across, ending with dc in last 3 dc. Turn.
Row 14: Chain 3, dc in each stitch across. Turn.
Row 15: Chain 3, *FPdc around next 3 dc, dc in next dc*; repeat from * to * across, ending with FPdc around last 3 dc. Turn.
Row 16: Chain 3, dc in each stitch across. Turn.
Row 17: Repeat Row 13. Fasten off color B.
Third Color Section (Color C - Olive)
Row 18: With color C, join with a slip stitch in the first stitch. Chain 3, dc in each stitch across. Turn.
Row 19: Chain 3, *dc in next 3 dc, BO in next dc*; repeat from * to * across, ending with dc in last 3 dc. Turn.
Row 20: Chain 3, dc in each stitch across. Turn.
Row 21: Chain 3, *FPdc around next 3 dc, dc in next dc*; repeat from * to * across, ending with FPdc around last 3 dc. Turn.
Row 22: Chain 3, dc in each stitch across. Turn.
Row 23: Repeat Row 19. Fasten off color C.
Continuing the Pattern
Row 24: With color A, join with a slip stitch in the first stitch. Chain 3, dc in each stitch across. Turn.
Rows 25-72: Repeat Rows 3-24 two more times, maintaining the color sequence (A, B, C, A, B, C). This will create two more full color blocks.
Rows 73-80: Repeat Rows 3-10 with color A. This creates the final cream section. Fasten off.
Finishing Border
Border: With color A, join with a slip stitch in any corner. Work a round of single crochet evenly around the entire runner, working 3 sc in each corner. Join with a slip stitch to the first sc. Fasten off and weave in all ends with your yarn needle.
Tips for a Perfect Finish
- Weave in ends securely: Since this is a table runner that will be used and washed, weave in your ends in a zigzag pattern to prevent them from working loose.
- Blocking: After weaving in ends, gently block your runner to ensure it lies flat and the stitches are even. Cotton yarn responds beautifully to steam blocking.
- Customization: To make a longer runner for a larger table, simply repeat Rows 3-24 more times before the final border. Each repeat adds approximately 12 inches in length.
This Harvest Hearth runner is a joy to create and even more satisfying to display. The combination of bobbles and front-post stitches creates a tactile, dimensional fabric that will impress your guests. Enjoy the process, and happy crocheting!