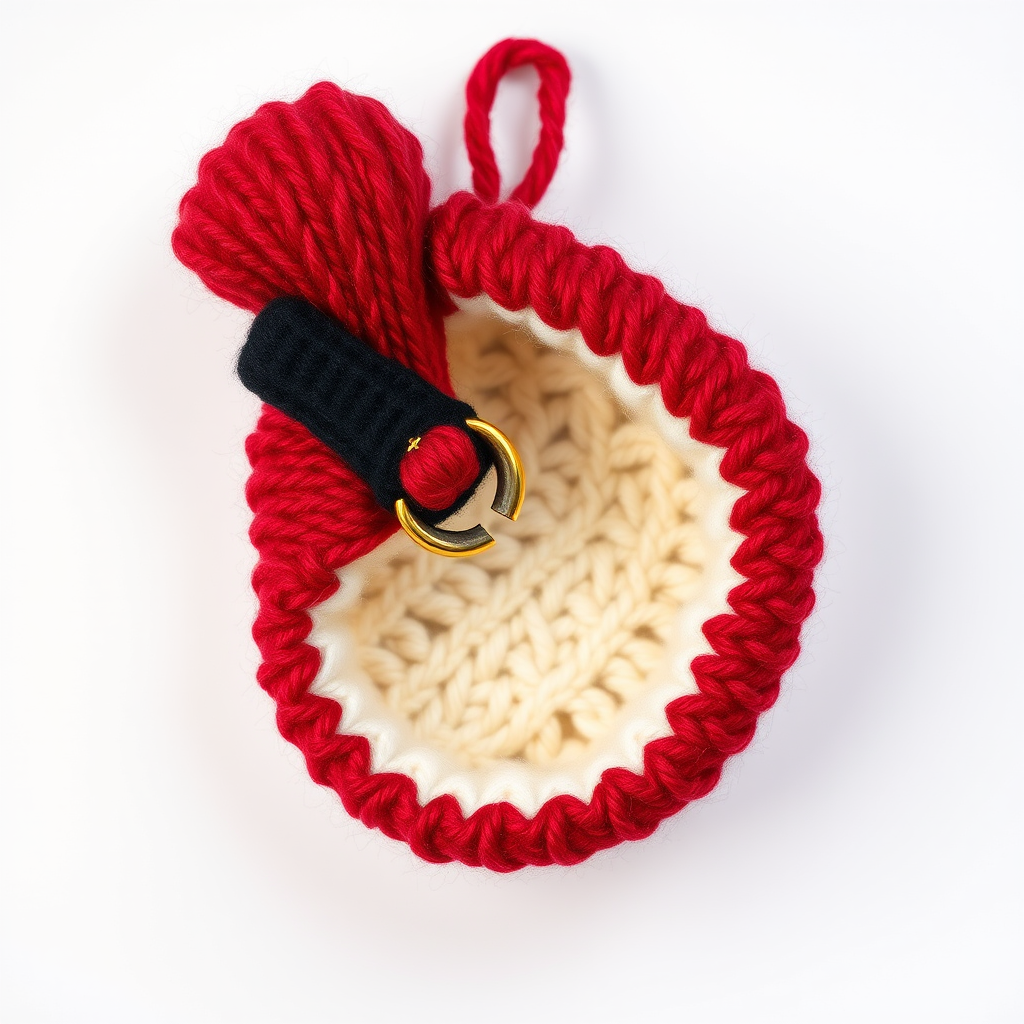
Frosted Berry Garland Ornament Free Pattern – Knitted Holiday Wreath with Cable Accents

Frosted Berry Garland Ornament Free Pattern – Knitted Holiday Wreath with Cable Accents
There’s something truly magical about handmade Christmas ornaments. They carry warmth, memory, and a personal touch that store-bought decorations simply can’t replicate. This charming knitted ornament captures the cozy spirit of a winter berry garland, complete with textured cable details and a soft, snowy finish. Perfect for adding a handmade touch to your tree or gift-giving, this pattern is accessible for beginners while still offering satisfying techniques like cabling and shaping. Let’s dive into creating this delightful holiday keepsake!
Materials Needed
Before you begin, gather the following supplies. All materials are readily available at your local craft store or online.
- Yarn: Worsted weight yarn in deep red (A), cream (B), and forest green (C), approximately 20g of each color. A soft acrylic or wool blend works beautifully.
- Needles: US 6 (4.0 mm) knitting needles (straight or circular, whichever you prefer).
- Notions: Tapestry needle for seaming and weaving in ends, stitch markers (optional), and a cable needle (or a spare double-pointed needle).
- Gauge: 20 stitches and 26 rows = 4 inches in stockinette stitch. Gauge is important for achieving the correct size, but this ornament is forgiving—slight variations won’t ruin the project.
Step-by-Step Instructions
This ornament is knitted flat in three sections: the berry cluster, the cable band, and the leaf accents, then seamed together. Follow each section carefully, and you’ll have a beautiful ornament in no time.
Berry Cluster (Make 3)
Using yarn A (deep red), cast on 6 stitches. This will form the plump, rounded berry shape.
- Row 1 (RS): Knit all stitches.
- Row 2: Purl all stitches.
- Row 3: K1, m1 (make one), K4, m1, K1 – you now have 8 stitches.
- Row 4: Purl all stitches.
- Row 5: K2, m1, K4, m1, K2 – you now have 10 stitches.
- Row 6: Purl all stitches.
- Row 7: K2tog (knit two together), K6, K2tog – back to 8 stitches.
- Row 8: Purl all stitches.
- Row 9: K2tog, K4, K2tog – now 6 stitches.
- Row 10: Purl all stitches.
- Row 11: K2tog, K2, K2tog – now 4 stitches.
- Row 12: Purl all stitches.
- Row 13: K2tog, K2tog – now 2 stitches.
- Row 14: K2tog, fasten off, leaving a long tail (about 8 inches). Thread the tail through the remaining stitch, pull tight to gather, and secure. This creates a rounded berry shape. Repeat this entire process to make three berries total.
Pro tip: When you pull the tail tight, it naturally forms a cup shape. You can stuff a tiny bit of fiberfill inside if you want a firmer berry, but it’s optional.
Cable Band
Using yarn B (cream), cast on 10 stitches. This band will wrap around the berries like a ribbon, adding elegant texture.
- Row 1 (RS): P2, K6, P2.
- Row 2: K2, P6, K2.
- Row 3: P2, C3F (slip 3 stitches to cable needle, hold in front, knit 3 from left needle, then knit 3 from cable needle), P2. This creates the cable twist.
- Row 4: K2, P6, K2.
- Row 5: P2, K6, P2.
- Row 6: K2, P6, K2.
- Repeat rows 3-6 until the band measures 6 inches, ending with a row 6. Bind off in pattern (knit the knits and purl the purls as they appear). Leave a long tail for seaming.
Note: The cable twist (C3F) is what gives the band its rope-like appearance. If you’re new to cabling, don’t worry—it’s easier than it looks. Just follow the instructions slowly, and you’ll get the hang of it.
Leaf Accents (Make 2)
Using yarn C (forest green), cast on 5 stitches. These leaves will add a natural, festive touch to the top of the ornament.
- Row 1 (RS): K2, yo (yarn over), K1, yo, K2 – you now have 7 stitches.
- Row 2: Purl all stitches.
- Row 3: K3, yo, K1, yo, K3 – now 9 stitches.
- Row 4: Purl all stitches.
- Row 5: K4, yo, K1, yo, K4 – now 11 stitches.
- Row 6: Purl all stitches.
- Row 7: K2tog, K7, K2tog – back to 9 stitches.
- Row 8: Purl all stitches.
- Row 9: K2tog, K5, K2tog – now 7 stitches.
- Row 10: Purl all stitches.
- Row 11: K2tog, K3, K2tog – now 5 stitches.
- Row 12: Purl all stitches.
- Row 13: K2tog, K1, K2tog – now 3 stitches.
- Row 14: Purl all stitches.
- Row 15: K2tog, K1 – now 2 stitches.
- Row 16: K2tog, fasten off. Weave in the ends securely.
Tip: The yarn overs create the leaf’s pointed shape. Keep your tension even for a neat, symmetrical leaf.
Assembly
Now comes the fun part—bringing all the pieces together to create your ornament!
- Sew the berries together: Using the long tails from the berries, sew the three berries together at their bases to form a tight cluster. Make sure they’re securely attached so they don’t separate.
- Wrap the cable band: Take the cream cable band and wrap it around the berry cluster, overlapping the ends slightly. Sew the band closed at the back using the tail from the bind-off. The band should fit snugly but not too tightly—adjust the overlap if needed.
- Attach the leaves: Using yarn C, sew the two leaves to the top of the cluster, one on each side. Position them so they fan out slightly, like a wreath accent. Secure them firmly with a few stitches.
- Create a hanging loop: Thread a 6-inch piece of yarn B through the top of the ornament (between the leaves). Tie a knot to form a loop, making sure it’s strong enough to hold the ornament’s weight.
- Weave in all ends: Use your tapestry needle to weave in any remaining loose ends. Trim any excess yarn.
Final Thoughts
Your Frosted Berry Garland Ornament is complete! This beautiful piece measures about 3 inches in diameter, making it perfect for hanging on a tree, adorning a gift package, or even using as a festive zipper pull. The rich red berries, creamy cable band, and deep green leaves evoke a rustic, woodland aesthetic that will complement any holiday décor.
Knitting this ornament is a wonderful way to practice shaping, cabling, and seaming—all essential skills for more advanced projects. And because it’s small, it’s a great weekend project or a thoughtful handmade gift for friends and family. Make a few to create a matching set, or experiment with different color combinations to match your own holiday theme.
Happy knitting, and may your holidays be filled with warmth, creativity, and the joy of handmade treasures!