Baby Clothing Patterns
Free Pattern: Y2K Vintage Textured Baby Romper
Anonymous
•
June 29, 2026

Free Pattern: Y2K Vintage Textured Baby Romper
Introduction
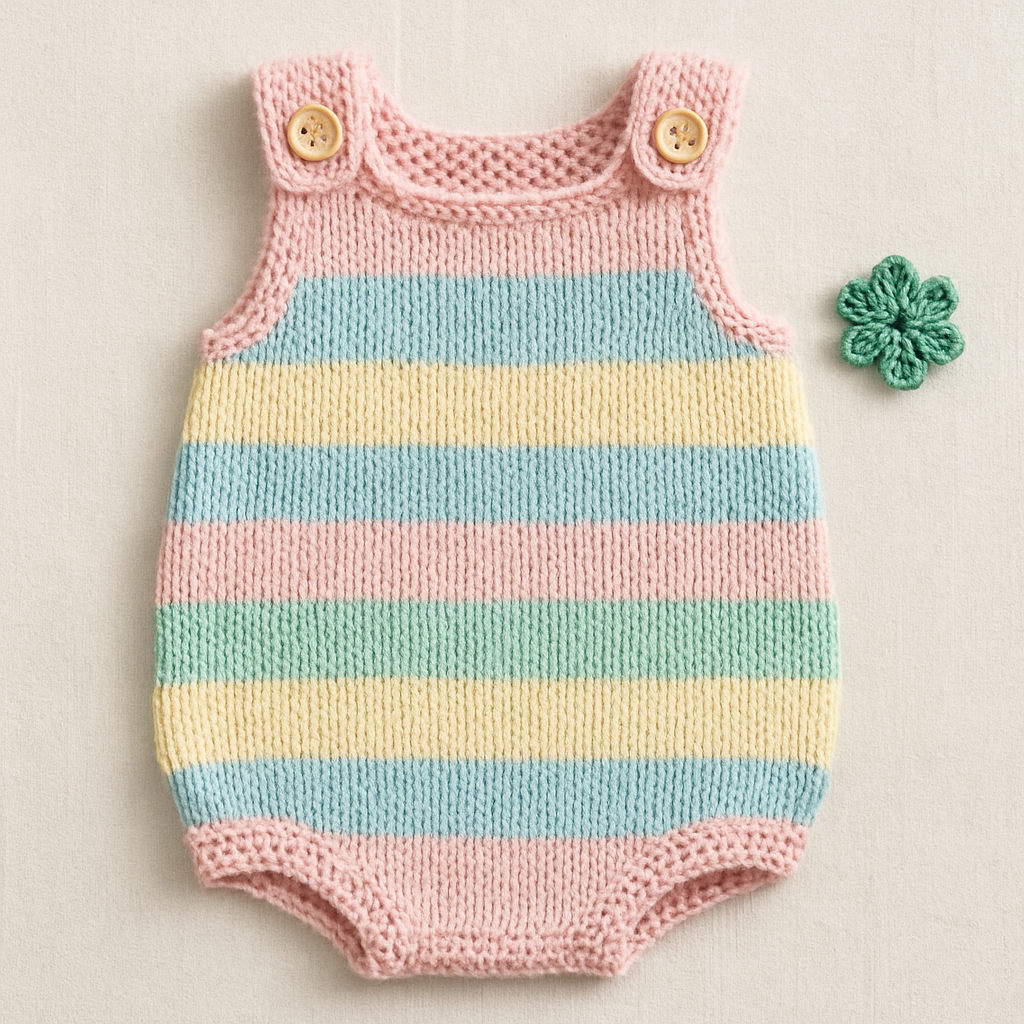
This adorable baby romper combines the nostalgic charm of Y2K fashion with a soft, muted vintage color palette. Featuring a delightful 3D bobble stitch texture, this romper is perfect for modern parents looking to dress their little ones in trendy, handmade attire. Whether you're a beginner or an experienced crafter, this pattern will guide you through creating a cozy and stylish piece for your baby.
Materials Needed
- Yarn: Soft DK weight yarn in muted pastel shades like dusty pink, sage green, and soft lavender.
- Knitting Needles: Size US 6 (4mm) for the main body and size US 4 (3.5mm) for ribbing.
- Gauge: 22 stitches and 30 rows = 4 inches in stockinette stitch.
- Buttons: Small, vintage-style buttons for the straps.
Step-by-Step Instructions
1. Back Panel
- Cast on 60 stitches using size US 4 needles.
- Work in 1x1 ribbing (knit 1, purl 1) for 1 inch.
- Switch to size US 6 needles and knit in stockinette stitch (knit one row, purl the next) for 4 inches.
- Begin the bobble stitch pattern:
- *Knit 4 stitches, then make a bobble by knitting into the front, back, and front of the next stitch. Turn your work, purl 3 stitches, turn again, knit 3 stitches, and pass the second and third stitches over the first.*
- Continue in stockinette stitch, adding a bobble row every 6th row for a total of 6 inches.
- To shape the armholes, bind off 3 stitches at the beginning of the next 2 rows.
- Then, decrease 1 stitch at each end every other row 3 times.
- Work even until the back measures 12 inches from the cast on edge.
- Bind off all stitches.
2. Front Panel
- Work as for the back panel until you reach the armhole shaping.
- To shape the neck, when the piece measures 10 inches, bind off the center 10 stitches and work each side separately.
- Decrease 1 stitch at the neck edge every other row 3 times.
- Work even until the front matches the back in length.
- Bind off all stitches.
3. Straps
- With size US 4 needles, pick up 8 stitches from each shoulder of the romper.
- Work in 1x1 ribbing for 4 inches.
- Bind off all stitches.
4. Finishing
- Sew the side seams of the romper together.
- Attach buttons to the straps and corresponding buttonholes on the back panel.
- Weave in all loose ends using a tapestry needle.
5. Leg Openings
- Pick up stitches around each leg opening using size US 4 needles.
- Work in 1x1 ribbing for 1 inch.
- Bind off loosely to ensure comfort for your baby.
Congratulations! You have now completed your Y2K Vintage Textured Baby Romper. This charming piece is sure to be a favorite for both you and your little one. Enjoy the process of creating and dressing your baby in this delightful handmade garment!
Also Check Out: We think you'd love this beautiful pattern on our sister site: Free Pattern: Enchanted Forest Fairy Amigurumi