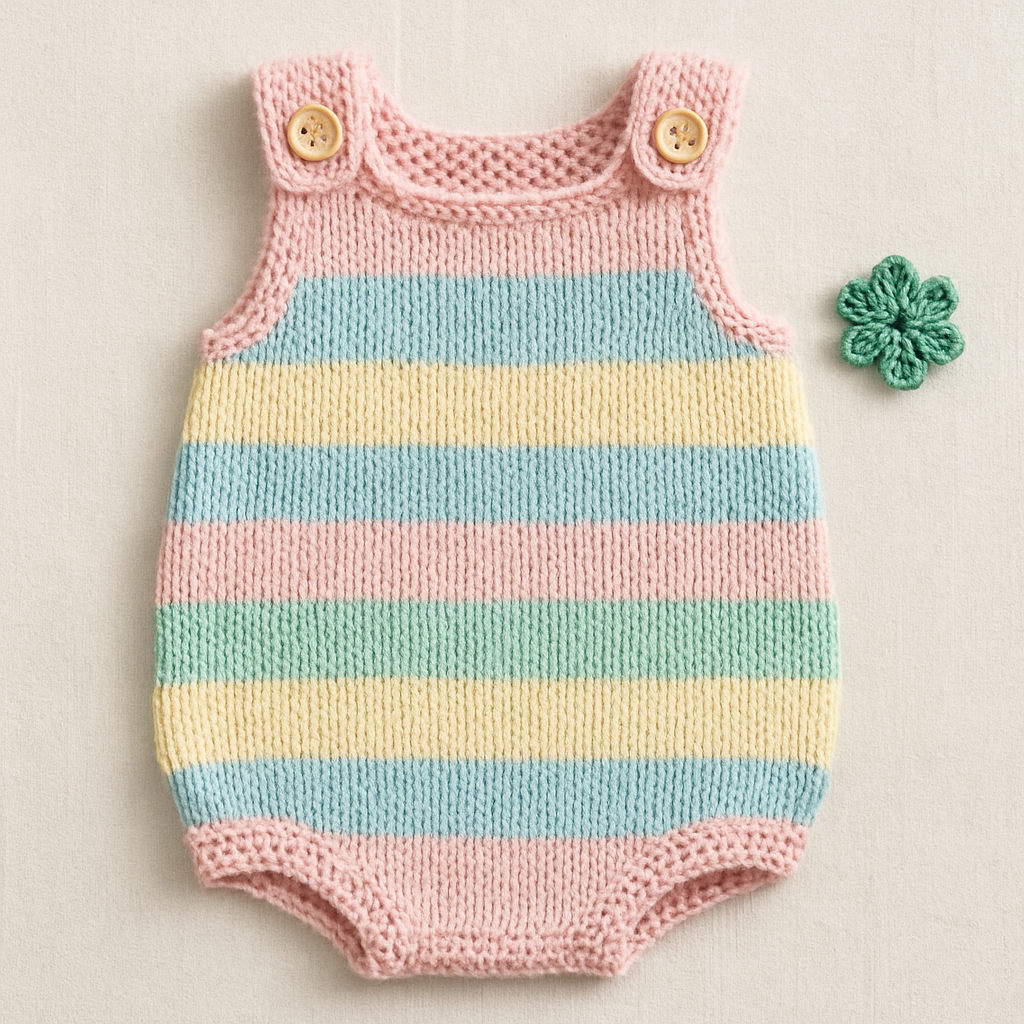
Whimsical Woodland Fox Crochet Baby Romper Dungarees Free Pattern

Whimsical Woodland Fox Crochet Baby Romper Dungarees – Free Pattern
Dress your little one in the coziest, most adorable outfit of the season with this Whimsical Woodland Fox Crochet Baby Romper Dungarees pattern! Featuring pointy fox ears, a fluffy tail, and a sweet embroidered face, this handmade dungaree set is perfect for autumn adventures, family photoshoots, or simply keeping your baby snug and stylish. The warm burnt orange, cream, and dark brown palette evokes a woodland charm that’s both timeless and heart-meltingly cute. Best of all, this pattern is worked from the top down in one piece, making it a manageable project for confident beginners and experienced crocheters alike. Let’s get started on creating a keepsake your little fox will love!
Materials Needed
Before you begin, gather the following supplies to ensure a smooth crocheting experience:
- Yarn: Worsted weight cotton blend yarn in three colors – burnt orange (main color), cream (inner ears and accents), and dark brown (for embroidery details). Approximately 200–250 yards of burnt orange, 50 yards of cream, and a small amount of dark brown.
- Crochet Hook: 5.0 mm (H-8) crochet hook – essential for achieving the correct gauge.
- Gauge: 16 single crochet (sc) x 18 rows = 4 x 4 inches. Always check your gauge to ensure the romper fits your baby correctly.
- Other Tools: Yarn needle for sewing and weaving in ends, scissors, stitch markers (optional but helpful), and fiberfill stuffing for the tail.
- Buttons: Two small buttons (about ½ inch) for the strap closures.
Step-by-Step Instructions
This romper is worked from the top down, starting with the bib front and back panel, then adding straps, legs, ears, and the tail. Follow each step carefully, and don’t forget to check your stitch counts as you go. The pattern uses US crochet terminology.
Abbreviations
ch = chain, sc = single crochet, hdc = half double crochet, dc = double crochet, sl st = slip stitch, inc = increase (2 sc in one stitch), dec = decrease (sc two together), FO = fasten off.
Bib Front (Make 1)
Using burnt orange yarn, chain 22.
- Row 1: Single crochet in the 2nd chain from the hook and in each chain across. (21 sc). Chain 1, turn.
- Rows 2–8: Single crochet in each stitch across. (21 sc). Chain 1, turn.
- Row 9 (decrease row): Sc in the first 5 stitches, decrease (sc two together), sc in the next 7 stitches, decrease, sc in the last 5 stitches. (19 sc). Chain 1, turn.
- Row 10: Sc in each stitch across. (19 sc). Chain 1, turn.
- Row 11: Sc in the first 4 stitches, decrease, sc in the next 7 stitches, decrease, sc in the last 4 stitches. (17 sc). Chain 1, turn.
- Row 12: Sc in each stitch across. (17 sc). Chain 1, turn.
- Row 13: Sc in the first 3 stitches, decrease, sc in the next 7 stitches, decrease, sc in the last 3 stitches. (15 sc). Chain 1, turn.
- Row 14: Sc in each stitch across. (15 sc). Chain 1, turn.
- Row 15: Sc in the first 2 stitches, decrease, sc in the next 7 stitches, decrease, sc in the last 2 stitches. (13 sc). Chain 1, turn.
- Row 16: Sc in each stitch across. (13 sc). Chain 1, turn.
- Row 17: Sc in the first stitch, decrease, sc in the next 7 stitches, decrease, sc in the last stitch. (11 sc). Chain 1, turn.
- Row 18: Sc in each stitch across. (11 sc). Fasten off, leaving a long tail (about 12 inches) for sewing.
Back Panel (Make 1)
Using burnt orange yarn, chain 22.
- Row 1: Sc in the 2nd chain from the hook and in each chain across. (21 sc). Chain 1, turn.
- Rows 2–18: Sc in each stitch across. (21 sc). Chain 1, turn.
- Row 19 (buttonhole row): Sc in the first 5 stitches, chain 3, skip 3 stitches, sc in the next 5 stitches, chain 3, skip 3 stitches, sc in the last 5 stitches. (This creates two buttonholes). Chain 1, turn.
- Row 20: Sc in each stitch and each chain across. (21 sc). Chain 1, turn.
- Row 21: Sc in each stitch across. (21 sc). Fasten off, leaving a long tail for sewing.
Straps (Make 2)
Using burnt orange yarn, chain 30.
- Row 1: Sc in the 2nd chain from the hook and in each chain across. (29 sc). Chain 1, turn.
- Row 2: Sc in each stitch across. (29 sc). Fasten off, leaving a long tail for sewing.
Legs (Make 2)
Using burnt orange yarn, chain 24 and join with a slip stitch to form a ring. Work in continuous rounds (do not join at the end of each round unless specified).
- Round 1: Sc in each chain around. (24 sc).
- Rounds 2–10: Sc in each stitch around. (24 sc).
- Round 11 (decrease round): Decrease (sc two together), sc in the next 10 stitches, decrease, sc in the next 10 stitches. (22 sc).
- Round 12: Sc in each stitch around. (22 sc).
- Round 13: Decrease, sc in the next 9 stitches, decrease, sc in the next 9 stitches. (20 sc).
- Round 14: Sc in each stitch around. (20 sc).
- Round 15: Decrease, sc in the next 8 stitches, decrease, sc in the next 8 stitches. (18 sc).
- Round 16: Sc in each stitch around. (18 sc).
- Round 17: Decrease, sc in the next 7 stitches, decrease, sc in the next 7 stitches. (16 sc).
- Round 18: Sc in each stitch around. (16 sc). Fasten off, leaving a long tail for sewing.
Fox Ears (Make 4 pieces – 2 orange outer, 2 cream inner)
Outer ear (make 2 with burnt orange):
- Chain 4.
- Row 1: Sc in the 2nd chain from the hook and in each chain across. (3 sc). Chain 1, turn.
- Row 2: Increase (2 sc in the first stitch), sc in the last stitch. (4 sc). Chain 1, turn.
- Row 3: Increase, sc in the next 2 stitches, increase. (6 sc). Chain 1, turn.
- Row 4: Sc in each stitch across. (6 sc). Chain 1, turn.
- Row 5: Increase, sc in the next 4 stitches, increase. (8 sc). Chain 1, turn.
- Row 6: Sc in each stitch across. (8 sc). Fasten off, leaving a long tail.
Inner ear (make 2 with cream yarn): Repeat the exact same instructions as the outer ear, but use cream yarn. Fasten off, leaving a long tail.
Fox Tail
Using burnt orange yarn, chain 6 and join with a slip stitch to form a ring. Work in continuous rounds.
- Round 1: Sc in each chain around. (6 sc).
- Round 2: Increase in each stitch around. (12 sc).
- Round 3: Sc in each stitch around. (12 sc).
- Round 4: Increase, sc in the next 5 stitches, increase, sc in the next 5 stitches. (14 sc).
- Round 5: Sc in each stitch around. (14 sc).
- Round 6: Increase, sc in the next 6 stitches, increase, sc in the next 6 stitches. (16 sc).
- Rounds 7–10: Sc in each stitch around. (16 sc).
- Round 11: Decrease, sc in the next 6 stitches, decrease, sc in the next 6 stitches. (14 sc).
- Round 12: Sc in each stitch around. (14 sc).
- Round 13: Decrease, sc in the next 5 stitches, decrease, sc in the next 5 stitches. (12 sc).
- Round 14: Sc in each stitch around. (12 sc).
- Round 15: Decrease, sc in the next 4 stitches, decrease, sc in the next 4 stitches. (10 sc).
- Round 16: Sc in each stitch around. (10 sc).
- Round 17: Decrease, sc in the next 3 stitches, decrease, sc in the next 3 stitches. (8 sc).
- Round 18: Sc in each stitch around. (8 sc). Fasten off, leaving a long tail. Stuff the tail lightly with fiberfill before closing.
Assembly
Now it’s time to bring your little fox to life! Follow these steps carefully:
- Sew the bib front to the back panel: Place the bib front on top of the back panel, aligning the side edges. Using the long tail from the bib front, whip stitch the sides together, leaving the top edge open for the neck. The bottom edges should also be left open for the legs.
- Attach the straps: Sew one end of each strap to the top corners of the back panel (on the wrong side). Cross the straps over the shoulders and bring them to the front bib. Sew a button on each side of the bib front, and use the buttonholes on the back panel to secure the straps. Alternatively, you can sew the straps directly to the front bib and use the buttons as decoration.
- Sew the legs: Position the legs on the bottom edge of the back panel, spacing them evenly. Using the long tails, sew each leg securely to the back panel, making sure the right side of the leg faces outward.
- Attach the ears: Place the cream inner ear on top of the orange outer ear, aligning the edges. Using the long tail from the orange piece, sew the two pieces together along the sides, leaving the bottom open. Then sew the ears to the top of the bib front, positioning them slightly apart for a cute fox look.
- Sew the tail: Attach the tail to the bottom center of the back panel, using the long tail to sew it securely. Make sure the tail is positioned so it peeks out from under the romper.
- Embroider the face: Using dark brown yarn and a yarn needle, embroider two small eyes and a tiny nose on the bib front. For the eyes, make small French knots or satin stitches. For the nose, create a small triangle or a simple vertical line. Keep it subtle and adorable!
- Weave in all ends: Use your yarn needle to weave in any remaining loose ends, ensuring a clean and professional finish.
And there you have it – a Whimsical Woodland Fox Crochet Baby Romper Dungarees that’s as charming as it is cozy! This pattern is perfect for gifting at baby showers, capturing autumn memories, or simply spoiling your own little one. The dense single crochet stitches create a warm, durable fabric, while the fox details add a playful touch that’s sure to bring smiles. Happy crocheting, and don’t forget to share your finished creation with us!