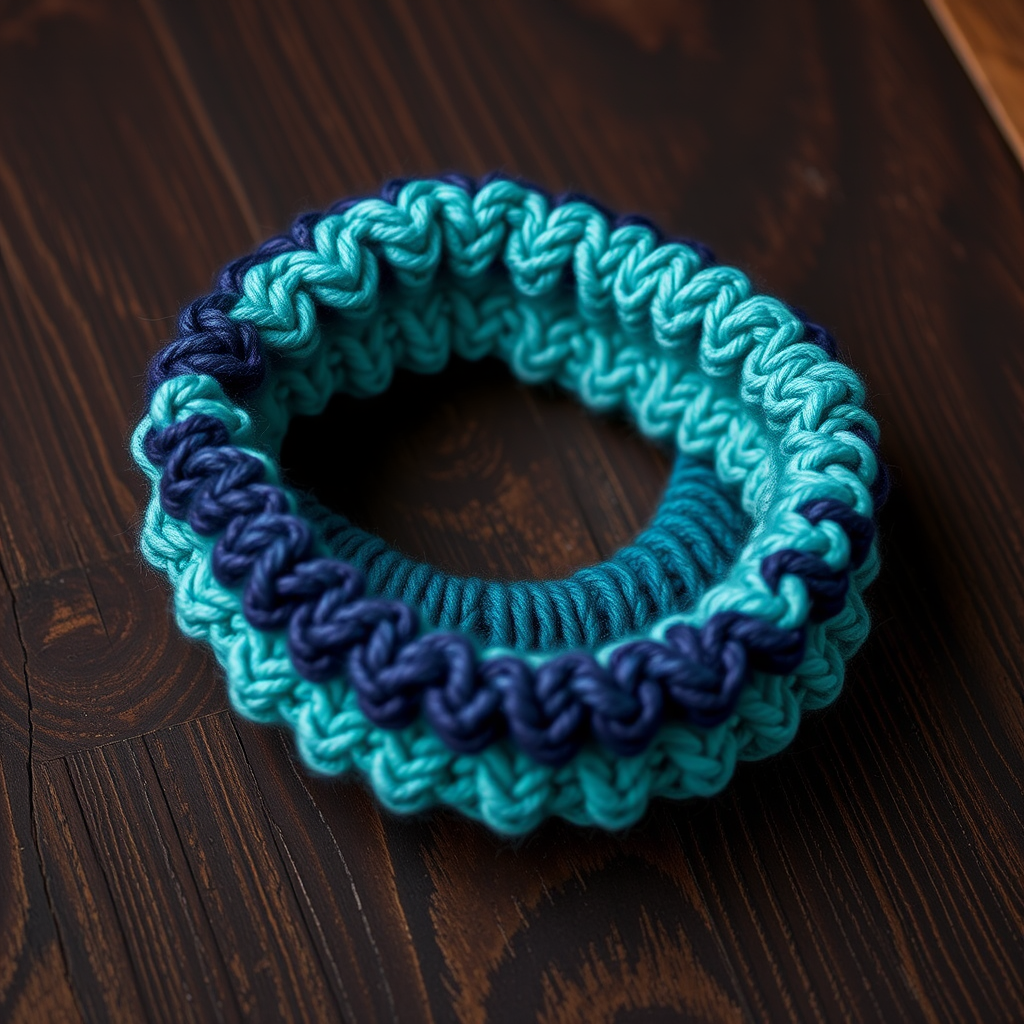
Ear Warmer Knitting Patterns
Falling Flowers Ear Warmer Free Pattern
Anonymous
•
July 18, 2026

Falling Flowers Ear Warmer Free Pattern
Introduction
Embrace the beauty of cascading petals with this Falling Flowers Ear Warmer, a cozy and elegant accessory perfect for chilly days. This pattern combines intricate floral motifs with a snug fit to keep you warm and stylish. Whether you're heading out for a brisk walk or just want to add a touch of charm to your winter wardrobe, this ear warmer is the perfect project for knitters of all skill levels.
Materials Needed
- Yarn: Worsted weight yarn in soft pastel colors (e.g., lavender, blush pink, mint green)
- Needles: US 8 (5mm) knitting needles
- Gauge: 18 stitches and 24 rows = 4 inches in stockinette stitch
- Other: Scissors, tapestry needle for weaving in ends
Step-by-Step Instructions
- Cast On: Begin by casting on 96 stitches using your chosen yarn and US 8 (5mm) knitting needles. Make sure to use a long-tail cast-on method for a stretchy edge.
- Join in the Round: Carefully join the stitches in the round, ensuring that they are not twisted. You can do this by laying the cast-on stitches flat and checking that they are aligned correctly.
- Ribbing: Work in a k2, p2 ribbing for 6 rounds. This will create a snug and stretchy band for your ear warmer.
- Begin Falling Flowers Pattern:
- Rounds 1-4: Knit all stitches.
- Round 5: This is where the floral motif begins. Work the following pattern: *K2tog, yo, k1, yo, ssk, k1; repeat from * to end.
- Round 6: Knit all stitches.
- Repeat Pattern: Continue repeating Rounds 1-6 until the piece measures 4 inches from the cast-on edge. This will give your ear warmer the desired height and allow the floral motifs to develop beautifully.
- Finish with Ribbing: After reaching the desired height, work in k2, p2 ribbing for 6 more rounds to finish off the top edge of the ear warmer.
- Bind Off: Bind off loosely in pattern to maintain the elasticity of the ribbing. This is important for ensuring a comfortable fit around your head.
- Weave in Ends: Using a tapestry needle, weave in any loose ends from your yarn. This will give your ear warmer a neat and polished finish.
Congratulations! You have successfully created your very own Falling Flowers Ear Warmer. Enjoy wearing it or gifting it to someone special!