Enchanted Woodland Earflap Hat Free Pattern
Enchanted Woodland Earflap Hat Free Pattern
Introduction
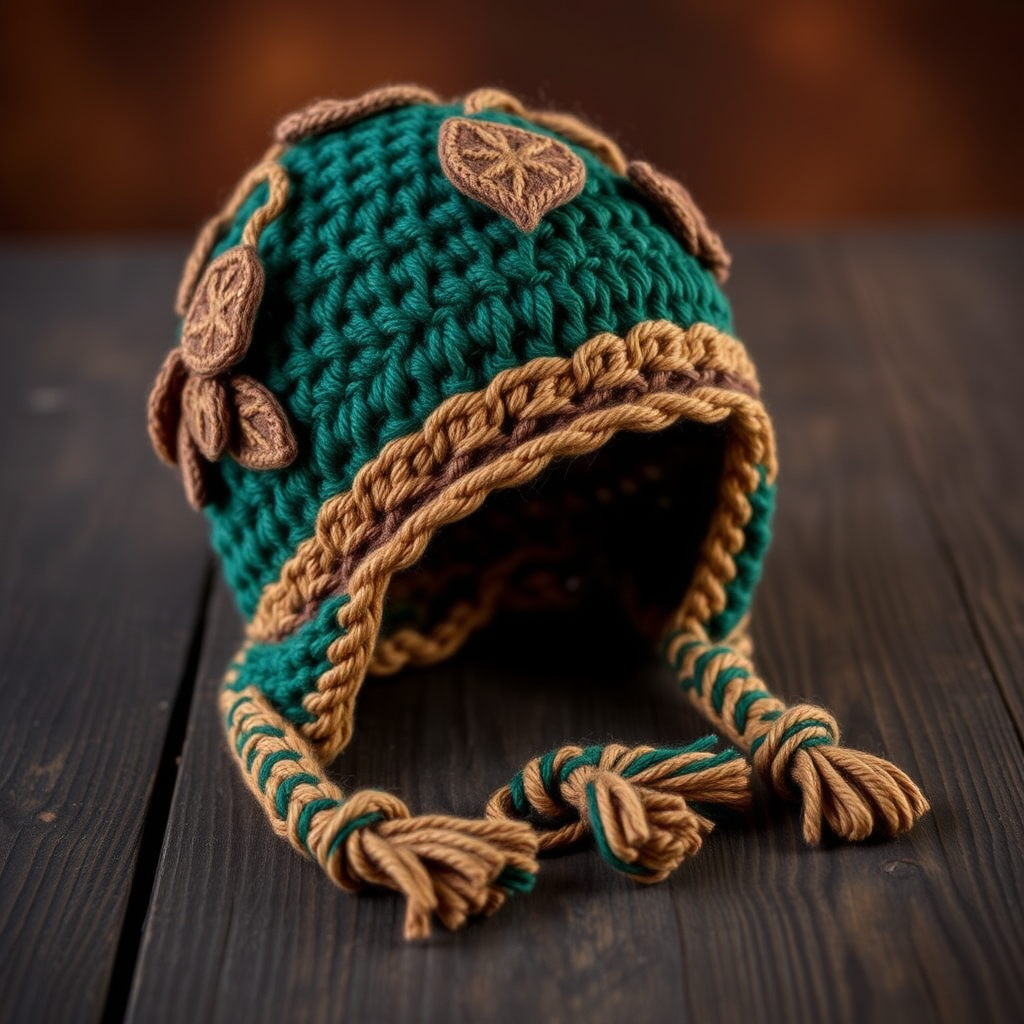
Delve into the magic of the forest with this Enchanted Woodland Earflap Hat, featuring intricate leaf motifs and a whimsical tassel finish. Perfect for keeping little adventurers warm and stylish during their woodland explorations, this hat is a delightful addition to any child's winter wardrobe. With its cozy design and nature-inspired elements, your little ones will be ready for any adventure that awaits them!
Materials Needed
- Yarn: Worsted weight, 100% wool in forest green and earthy brown
- Needles: US 8 (5mm) circular needles and double-pointed needles
- Gauge: 18 stitches and 24 rows = 4 inches in stockinette stitch
Step-by-Step Instructions
1. Cast On
Using the forest green yarn, cast on 80 stitches using your circular needles. Ensure that the stitches are not twisted and join in the round.
2. Ribbing
Work in a k2, p2 ribbing for 1 inch. This will create a stretchy brim that comfortably fits around the head.
3. Stockinette Stitch
After completing the ribbing, switch to stockinette stitch by knitting every round. Continue knitting in stockinette for 3 inches.
4. Leaf Motif Pattern
Now, it's time to begin the leaf motif pattern. Follow these instructions:
- *k8, p2, k2tog, yo, k1, yo, ssk, p2* - repeat this pattern around the entire hat.
Continue in this leaf pattern for 2 inches, ensuring that the motifs are evenly distributed around the hat.
5. Begin Decreases
To shape the top of the hat, begin decreasing as follows:
- *k6, k2tog* - repeat this around the hat.
- Knit 1 round without any decreases.
- *k5, k2tog* - repeat this around the hat.
Continue decreasing in this manner (reducing the number of knit stitches before each k2tog) until you have 8 stitches remaining.
6. Finishing the Hat
Once you have 8 stitches left, break the yarn, leaving a long tail. Thread the tail through the remaining stitches and pull tight to close the top of the hat. Secure the yarn and weave in any loose ends.
7. Create Earflaps
To add earflaps, pick up 16 stitches on each side of the hat using your circular needles. Work in stockinette stitch for 2 inches.
8. Decrease for Earflaps
To shape the earflaps, decrease as follows:
- Every other row, decrease 1 stitch at each edge until you have 2 stitches remaining.
Once you reach 2 stitches, bind off these stitches and repeat for the second earflap.
9. Add Tassels
To finish your hat, create a tassel at the end of each earflap using both yarn colors. Cut several strands of each color, tie them together at one end, and attach them to the tip of each earflap.
Conclusion
Your Enchanted Woodland Earflap Hat is now complete! This cozy and stylish hat will keep your little adventurers warm during their explorations in the great outdoors. Enjoy the process of knitting and the joy of gifting this handmade treasure!


