Enchanted Acorn Rattle Free Crochet Pattern – Woodland Wonder
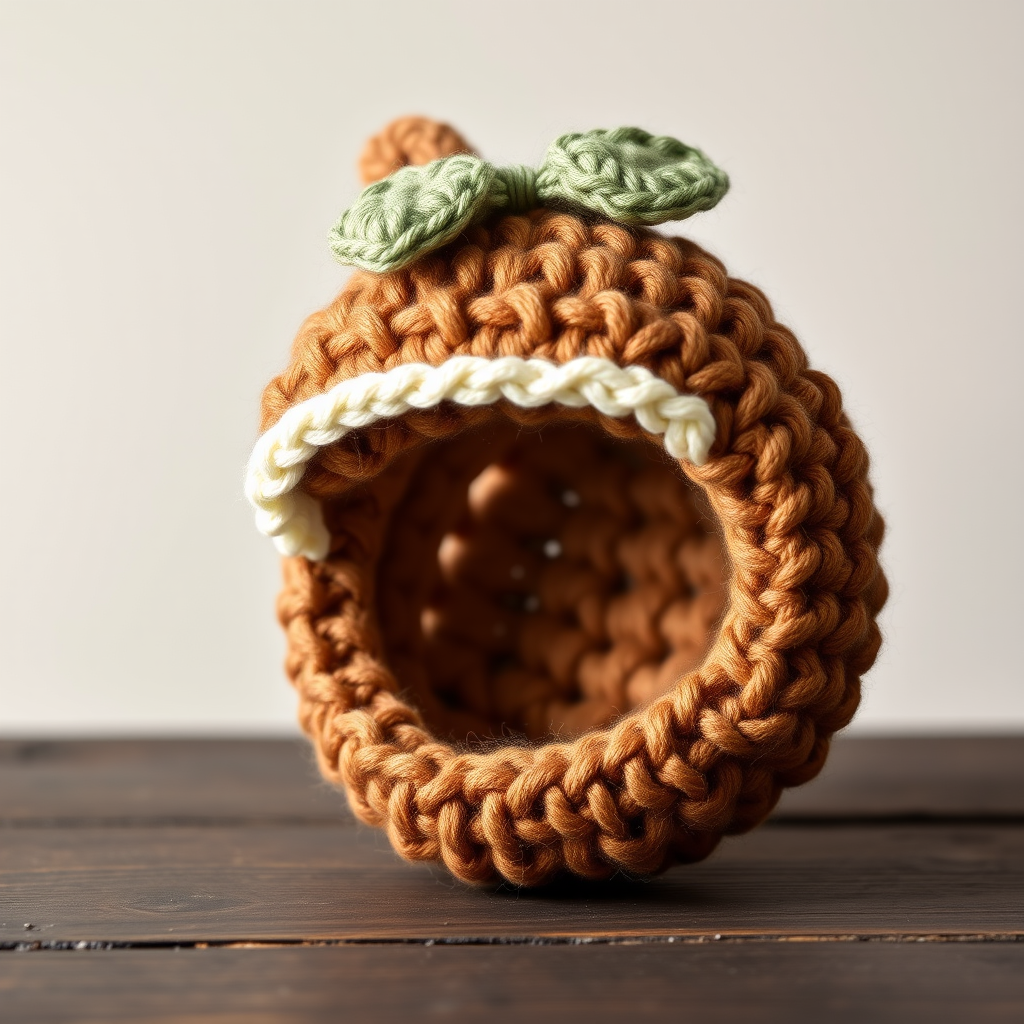
Enchanted Acorn Rattle Free Crochet Pattern – Woodland Wonder
Welcome to a world of whimsy and woodland charm! Today, I am absolutely thrilled to share a pattern that has captured my heart: the Enchanted Acorn Rattle. This isn't just a baby toy; it's a piece of heirloom-quality art designed to become a treasured keepsake. Shaped like a magical acorn with a soft, textured cap and a hidden rattle, this sensory toy is perfect for baby showers, nature-themed nurseries, or as a simply gorgeous handmade gift.
With its gentle, natural aesthetic and huggable size, this rattle is more than just a plaything—it's a little piece of forest magic. The combination of warm brown, soft cream, and sage green creates a calming, earthy palette that fits beautifully into any modern or rustic nursery. Whether you're a seasoned crocheter or a confident beginner looking for a rewarding project, this pattern is designed to guide you every step of the way. Let's dive in and create some enchantment!
Materials Needed
Before we begin our magical crafting journey, let's gather our supplies. The beauty of this project lies in its simplicity and the quality of its materials. Here’s what you'll need to bring your acorn to life:
- Yarn: Worsted weight cotton yarn in three colors:
- Warm brown (for the acorn body)
- Cream (for the acorn cap)
- Sage green (for the leaf)
- Hook: 3.5mm (E) crochet hook
- Rattle Insert: A 2.5cm plastic rattle insert or a small, securely enclosed bell
- Stuffing: Polyester fiberfill
- Notions: Yarn needle for weaving in ends and assembly, and a stitch marker
Note on Gauge: The gauge is 4 sc x 4 rows = 1 inch. While gauge isn't critical for this project, maintaining consistent tension is key to creating a firm fabric that will hold its shape and securely encase the rattle.
Step-by-Step Instructions
This pattern is worked in continuous spirals unless otherwise noted. This means we won't be joining rounds with a slip stitch; instead, we'll work continuously in a spiral. Pro-tip: Use a stitch marker to mark the beginning of each round so you don't lose your place!
Abbreviations
- MR: Magic ring
- sc: Single crochet
- inc: Increase (2 sc in one stitch)
- dec: Decrease (sc two stitches together)
- sl st: Slip stitch
- ch: Chain
- st(s): Stitch(es)
Acorn Body (Make 1 in Warm Brown)
We'll start with the plump, round base of our acorn. This piece is worked from the bottom up, creating a lovely flat base that allows the rattle to stand on its own.
- Round 1: MR, 6 sc in ring. (6)
- Round 2: inc in each st around. (12)
- Round 3: (sc in next st, inc) around. (18)
- Round 4: (sc in next 2 sts, inc) around. (24)
- Round 5: (sc in next 3 sts, inc) around. (30)
- Rounds 6-10: sc in each st around. (30) This creates the straight sides of the acorn body.
- Round 11: (sc in next 3 sts, dec) around. (24)
- Round 12: (sc in next 2 sts, dec) around. (18)
Important Step: Now is the time to insert the rattle insert into the body. Place it inside, then stuff firmly with fiberfill around it. Ensure the rattle is completely surrounded by stuffing so it doesn't rattle against the yarn harshly.
- Round 13: (sc in next st, dec) around. (12)
- Round 14: dec around. (6)
Fasten off, leaving a long tail. Thread the tail through a yarn needle and weave it through the front loops of the remaining 6 stitches. Pull tight to close the hole completely, and secure the end with a knot.
Acorn Cap (Make 1 in Cream)
Now for the distinctive, textured cap that gives our acorn its character. The increases create a lovely ridged effect.
- Round 1: MR, 6 sc in ring. (6)
- Round 2: inc in each st around. (12)
- Round 3: (sc in next st, inc) around. (18)
- Round 4: (sc in next 2 sts, inc) around. (24)
- Rounds 5-6: sc in each st around. (24) This creates the rim of the cap.
- Round 7: (sc in next 3 sts, inc) around. (30)
- Round 8: sc in each st around. (30)
Fasten off, leaving a long tail for sewing. The cap should fit snugly over the top of the acorn body, like a little hat.
Leaf (Make 1 in Sage Green)
This simple leaf adds the perfect finishing touch, mimicking the stem of a real acorn.
- Ch 8.
- Row 1: Starting in the 2nd ch from hook: sc in next st, hdc in next st, dc in next 3 sts, hdc in next st, sc in last st. You are now at the end of the chain.
- Now, work along the other side of the chain (the underside): sc in next st, hdc in next st, dc in next 3 sts, hdc in next st, sc in last st.
- Sl st to the first sc to join. Fasten off, leaving a long tail.
Assembly
We're in the final stretch! This is where our acorn comes together.
- Attach the Cap: Place the acorn cap over the top of the acorn body, aligning the edges. Using the long tail from the cap, sew it securely to the body. Stitch through both layers, going around the entire circumference to ensure a firm, gap-free attachment.
- Add the Leaf: Fold the leaf in half slightly to give it a bit of dimension. Sew it to the very top of the cap using its long tail, creating a small stem effect. Make sure it's securely fastened.
- Weave in Ends: Use your yarn needle to weave in any remaining loose ends neatly inside the rattle.
And there you have it—your very own Enchanted Acorn Rattle is complete! This delightful project is a joy to make and an even greater joy to gift. The combination of textures, the gentle rattle sound, and the whimsical design make it a truly special present for a new little one. I hope you've enjoyed this pattern as much as I enjoyed sharing it. Happy crocheting, and may your days be filled with woodland wonder!


