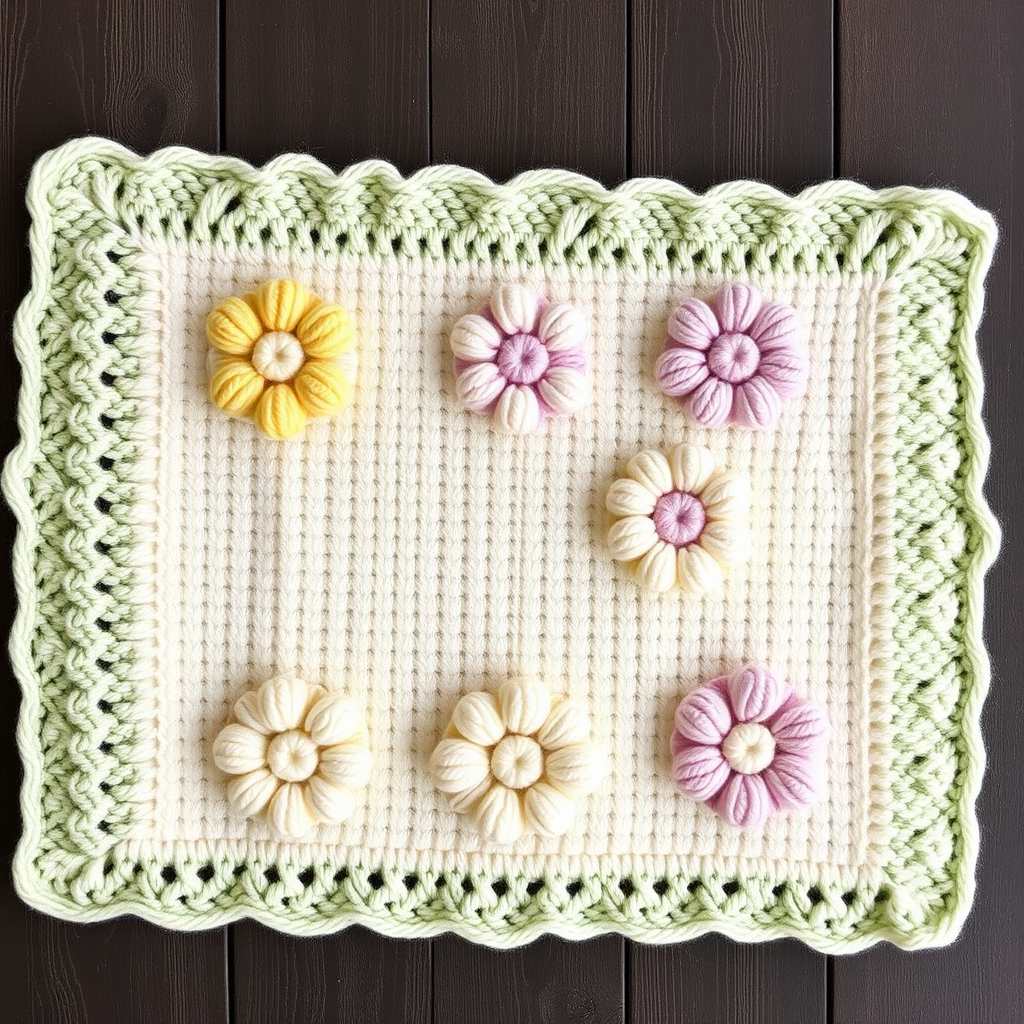
Electric Bubblegum Baby Blanket Free Pattern – A Knitted Pop-Art Cloud Throw

Electric Bubblegum Baby Blanket Free Pattern – A Knitted Pop-Art Cloud Throw
Wrap your little one in a dreamy explosion of hot pink, coral, and lavender with this ultra-soft, textured baby blanket. The bubbly bobble stitch clusters mimic candy clouds, making it a playful yet cozy heirloom piece. This pattern is perfect for intermediate knitters looking to add a pop of color to their nursery décor or create a memorable handmade gift. The bold diagonal stripes and squishy texture make this blanket as delightful to create as it is to cuddle.
Materials Needed
Before you begin, gather the following supplies to ensure a smooth knitting experience:
- Yarn: Worsted weight (Category 4) in 3 colors:
- Color A (Hot Pink) – approx. 400g
- Color B (Coral) – approx. 250g
- Color C (Lavender) – approx. 150g
- Needle: US 8 (5.0 mm) circular knitting needle, 32-inch cable (for working flat)
- Other: Tapestry needle for weaving in ends, stitch markers (optional), blocking pins and mat
Gauge
18 stitches and 24 rows = 4 inches in stockinette stitch (after blocking). Always knit a gauge swatch to ensure your blanket matches the intended size.
Step-by-Step Instructions
This blanket is knitted flat in one piece, using a simple bobble stitch pattern that creates a squishy, cloud-like texture. The color changes form bold, diagonal stripes. Follow along carefully, and you'll have a stunning pop-art throw in no time.
Abbreviations
- K = knit
- P = purl
- K2tog = knit two together
- YO = yarn over
- MB = make bobble (knit into front and back of same stitch 3 times, then pass 3 stitches over the last one – or use your preferred bobble method)
Getting Started
Cast on: With Color A, cast on 120 stitches loosely. A long-tail cast-on works beautifully here, ensuring a stretchy edge that won't pucker.
Border and Foundation
Rows 1-4 (Garter Border): Knit all stitches. This creates a sturdy, flat border that will frame your blanket beautifully.
Row 5 (Right Side): With Color A, knit all stitches.
Row 6 (Wrong Side): Purl all stitches.
Begin Bobble Pattern (Repeat 6-Row Sequence)
Now you'll start the magical bobble texture. The pattern repeats every 6 rows, with color changes creating the diagonal stripe effect. Pay close attention to the stitch counts and bobble placement.
Row 7 (RS): With Color A, *K5, MB, K4*; repeat from * to * across (12 repeats). End with K5.
Tip: The bobble should be worked into a knit stitch on the right side. Make sure your bobbles are snug but not tight, so they pop out nicely.
Row 8 (WS): Purl all stitches.
Row 9 (RS): With Color A, knit all stitches.
Row 10 (WS): Purl all stitches.
Row 11 (RS): Switch to Color B. *K4, MB, K5*; repeat from * to * across (12 repeats). End with K4.
Note: The bobble shifts one stitch to the left, creating the diagonal movement. Keep your tension even when changing colors.
Row 12 (WS): Purl all stitches.
Row 13 (RS): With Color B, knit all stitches.
Row 14 (WS): Purl all stitches.
Row 15 (RS): Switch to Color C. *K3, MB, K6*; repeat from * to * across (12 repeats). End with K3.
Row 16 (WS): Purl all stitches.
Row 17 (RS): With Color C, knit all stitches.
Row 18 (WS): Purl all stitches.
Continue the Pattern
Repeat Rows 7-18 until the blanket measures approximately 36 inches from the cast-on edge, ending with a Row 18 (WS). This will give you a beautiful, balanced pattern with the diagonal stripes flowing seamlessly.
Final Border
Knit 4 rows of garter stitch in Color A. This mirrors the cast-on border and gives your blanket a polished, finished look.
Bind off loosely in knit. A stretchy bind-off (like the knit-two-together bind-off) is recommended to prevent the edge from pulling.
Finishing Touches
Weave in all ends using a tapestry needle. Be sure to weave in securely, especially at color changes, to prevent unraveling.
Block gently to shape. Pin the edges to ensure straight lines and allow the bobbles to pop out beautifully. Use a spray bottle with cool water and let it air dry completely. Blocking will even out your stitches and give the blanket a professional, polished appearance.
Final Thoughts
This Electric Bubblegum Baby Blanket is a true labor of love. The combination of vibrant colors and tactile bobbles makes it a standout piece in any nursery. Whether you're knitting it as a gift or for your own little one, the joy of watching the pattern emerge is unmatched. Happy knitting!