Eames Twist Cabled Mittens Free Pattern: Mid-Century Two-Tone Knit Mittens

Eames Twist Cabled Mittens: A Beginner-Friendly First Cable Project
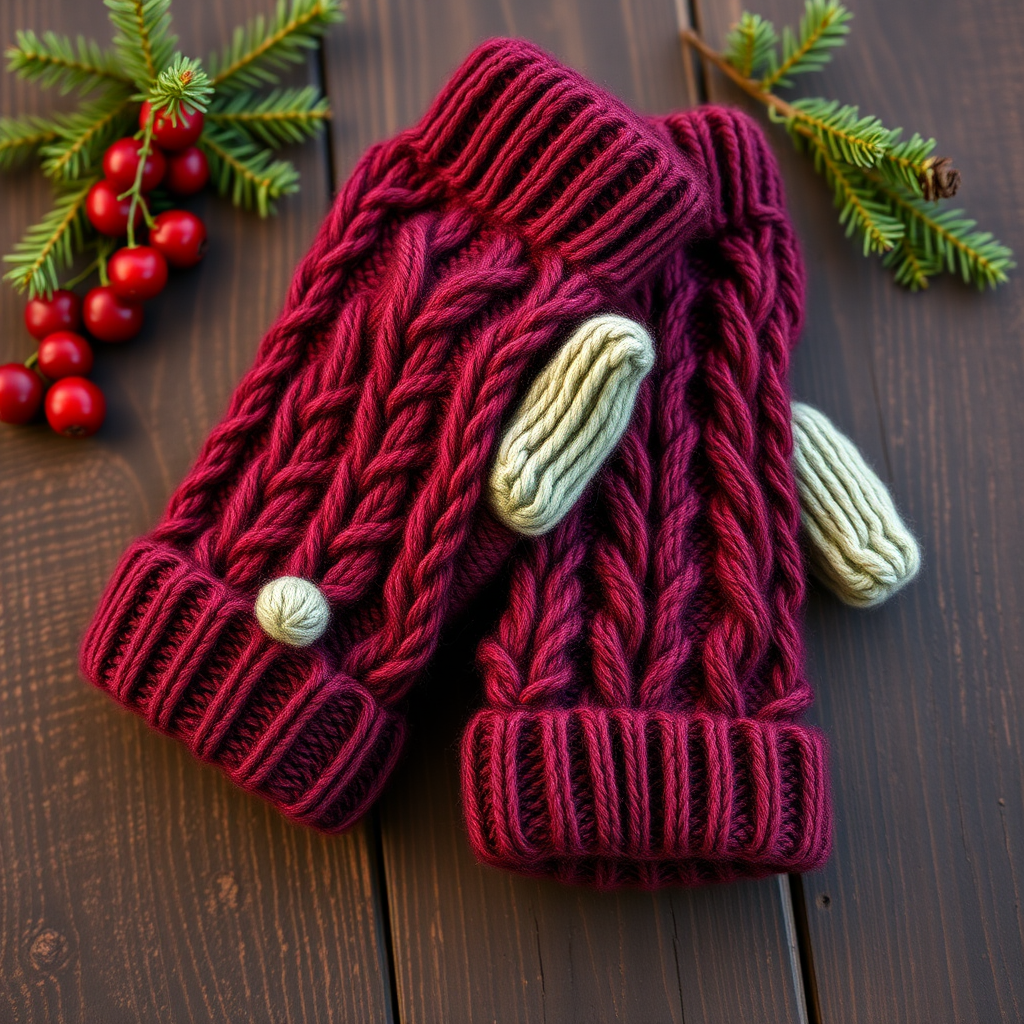
If you have ever admired a crisp black-and-white mid-century living room and thought, "I want that on my hands," these mittens are for you. The Eames Twist Cabled Mittens pair a bold vertical twist cable in black with a clean white palm, giving you that geometric, modern look with cozy worsted-weight warmth. They are knit flat on straight needles and seamed up the side, which means you never have to wrestle with double-pointed needles or magic loop on your very first pair. The finished mitten is about 8 inches long, soft and squishy in the hand, with a raised braided cable column running up the back and a neat little thumb poking out the side. If you can knit and purl, you can make these.
Materials Needed
- Yarn: Worsted weight (Category 4) yarn, approximately 130 yards total per pair: 70 yards black (Color A) and 60 yards white (Color B). A smooth, round wool/acrylic blend works best so the cable pops.
- Needles: US 7 (4.5 mm) straight knitting needles.
- Cable needle (CN): A short, double-pointed needle used to hold stitches temporarily while you cross them.
- Stitch markers: 2 (to mark off the 12-stitch cable panel).
- Tapestry needle: A large blunt needle for seaming and weaving in ends.
- Scissors for cutting yarn.
- Stitch holder or scrap yarn to hold the thumb stitches.
- Finished size: Women's Medium, fits a hand circumference of 7.5–8 inches (19–20 cm). Finished mitten measures 8 inches (20 cm) long from cuff to fingertip and 3.75 inches (9.5 cm) wide flat (7.5 inches / 19 cm around when seamed).
Abbreviations and Beginner Glossary
- k – knit: insert the right needle into the front of the stitch, wrap yarn around, and pull a loop through.
- p – purl: insert the right needle into the front of the stitch with yarn in front, wrap, and pull a loop through to the back.
- st(s) – stitch(es): one loop on your needle.
- RS – right side: the front, public face of your work.
- WS – wrong side: the back, hidden face of your work.
- 2/2 LC – 2-over-2 Left Cross: slip 2 sts to the cable needle and hold them in front of the work, k2 from the left needle, then k2 from the cable needle. This makes the cable lean left.
- 2/2 RC – 2-over-2 Right Cross: slip 2 sts to the cable needle and hold them in back of the work, k2 from the left needle, then k2 from the cable needle. This makes the cable lean right.
- M1L – make one left: lift the horizontal bar between two stitches with your left needle and knit into the back of it, creating a new stitch.
- k2tog – knit two together: insert the needle through two stitches at once and knit them as one, decreasing by one stitch.
- * ... * – repeat the instructions between the asterisks.
- Stockinette stitch – knit on RS rows, purl on WS rows; gives a smooth flat fabric.
- Mattress stitch – a seaming method that joins two edges invisibly.
Gauge
20 stitches and 26 rows = 4 inches (10 cm) in stockinette stitch on US 7 needles. The cable panel measures approximately 2.25 inches (5.5 cm) wide over 12 stitches.
Why gauge matters: Gauge is how many stitches and rows fit in one inch. If your stitches are bigger than the pattern expects, your mitten will come out too large; if smaller, too tight. How to swatch: Cast on about 30 stitches, work 4 inches of stockinette (knit one row, purl one row), then lay it flat and count how many stitches fit across 4 inches. If you have more than 20, go up a needle size; if fewer, go down. Always swatch before you start.
Beginner Tips Before You Start
- Use stitch markers. Place one before and one after the 12 cable stitches so you always know exactly where the cable panel begins and ends.
- Do not pull your yarn too tight. Tension is the number one beginner struggle. Keep your yarn relaxed so the cable can puff up and the mitten stays stretchy.
- Count your stitches at the end of every row. Cables and increases are easy to lose track of; a quick count saves hours of ripping back.
- Keep your cable needle close. Slip stitches onto it gently and do not let them twist; hold it exactly as the instruction says (front or back).
- Make a note of which mitten is which. You will knit a Left and a Right mitten with the thumb on opposite sides. Label them as you go.
- Trust the process on the seam. The mitten looks like a flat rectangle until the very end; it becomes a mitten only after seaming.
Step-by-Step Instructions
Cable Panel (12 sts, worked over Rows 1–8)
Row 1 (RS): 2/2 LC, k4, 2/2 RC. (12 sts)
Row 2 (WS): p12. (12 sts)
Row 3: k12. (12 sts)
Row 4: p12. (12 sts)
Row 5: 2/2 RC, k4, 2/2 LC. (12 sts)
Row 6: p12. (12 sts)
Row 7: k12. (12 sts)
Row 8: p12. (12 sts)
Repeat Rows 1–8 for the twist pattern.
Cuff (make 2)
With Color A (black), cast on 44 sts.
Row 1 (RS): *k2, p2; repeat from * to end. (44 sts)
Row 2: *p2, k2; repeat from * to end. (44 sts)
Repeat Rows 1–2 until the cuff measures 2 inches (5 cm), ending on a WS row. (About 13 rib rows total.)
Hand Setup
Change to Color B (white) for the palm and Color A for the cable panel.
Next row (RS): k16 with B (palm), place marker, work Cable Panel Row 1 over the next 12 sts with A, place marker, k16 with B (palm). (44 sts)
Next row (WS): p16 with B, work Cable Panel Row 2 over 12 sts with A, p16 with B. (44 sts)
Continue in this arrangement: work the 16 sts each side in stockinette with B and the center 12 sts in the Cable Panel with A, following the 8-row cable repeat.
Thumb Gusset (worked on the palm side at the side edge)
Work 6 rows even as established. (44 sts)
Increase row (RS): k1 with B, M1L, knit to marker, work Cable Panel, knit to last st, M1L, k1 with B. (46 sts)
Repeat the increase row every 4th row 4 more times total, then every 2nd row 2 times. (56 sts total; 12 gusset sts added, 6 each side)
Work 3 rows even. (56 sts)
Divide for Thumb
Next row (RS): k1, slip next 12 gusset sts to a holder, cast on 2 sts, knit to marker, work Cable Panel, knit to end. (46 sts on needle)
Hand
Work even in the established pattern until the hand measures 6.5 inches (16.5 cm) from the cast-on edge, ending after Cable Panel Row 4 or 8. (46 sts)
Shape Tip
Row 1 (RS): *k2tog, k3; repeat from * to last st, k1. (37 sts)
Row 2: purl all sts, working cable sts as they appear. (37 sts)
Row 3: *k2tog, k2; repeat from * to last st, k1. (28 sts)
Row 4: purl. (28 sts)
Row 5: *k2tog, k1; repeat from * to last st, k1. (19 sts)
Row 6: purl. (19 sts)
Row 7: *k2tog; repeat from * to last st, k1. (10 sts)
Break yarn, thread the tail through the remaining sts, pull tight, and secure.
Thumb
Slip the 12 held gusset sts to the needle. With B, pick up and knit 2 sts at the cast-on gap. (14 sts)
Work 8 rows in stockinette stitch. (14 sts)
Decrease row: *k2tog; repeat to end. (7 sts)
Break yarn, thread through the remaining sts, pull tight, and secure.
Second Mitten
Make the second mitten mirroring the thumb placement: work the gusset increases on the opposite side edge so you have a Left and a Right mitten.
Assembly and Finishing
Weave in ends: Thread each yarn tail onto the tapestry needle and run it through the back of several stitches, then trim close. Do this before seaming so the ends hide inside the seam.
Block lightly: Spritz the flat pieces with water, pat them to the measurements above (8 inches long, 3.75 inches wide flat), and let them dry flat. This relaxes the cable and evens the stitches.
Seam the side: Fold the mitten in half with right sides together. Using mattress stitch and matching yarn, join the side edges from the cuff up to the fingertip, leaving the thumb opening free. To work mattress stitch, bring the needle under the horizontal bar between the first and second stitch on each edge, alternating sides, and pull gently every few stitches.
Seam the thumb: Fold the thumb flat and seam its edges closed with mattress stitch, joining it neatly to the hand opening.
Final check: Turn the mitten right side out, give it a gentle press with your hands, and try it on. Repeat for the second mitten.
Pro Tips and Variations
- Swap the colors: Try a cream cable on a charcoal palm, or a deep teal and mustard pairing for a bolder mid-century palette. Keep one color solid for the cable so the twist stays crisp.
- Adjust the size: For a larger hand, add 4 stitches to the cast-on (48 sts) and add one extra gusset increase; for a smaller hand, subtract 4 stitches. Gauge stays the same.
- Substitute yarn: Any worsted weight (Category 4) yarn works; just swatch first, because fiber content changes gauge. A wool-heavy blend blocks and holds the cable best.
- Add a folded cuff: Knit the ribbed cuff 4 inches instead of 2 and fold it up for extra warmth and a chunkier look.