Tutorials
Crochet Textured Pink Beanie Free Pattern
Anonymous
•
June 27, 2026
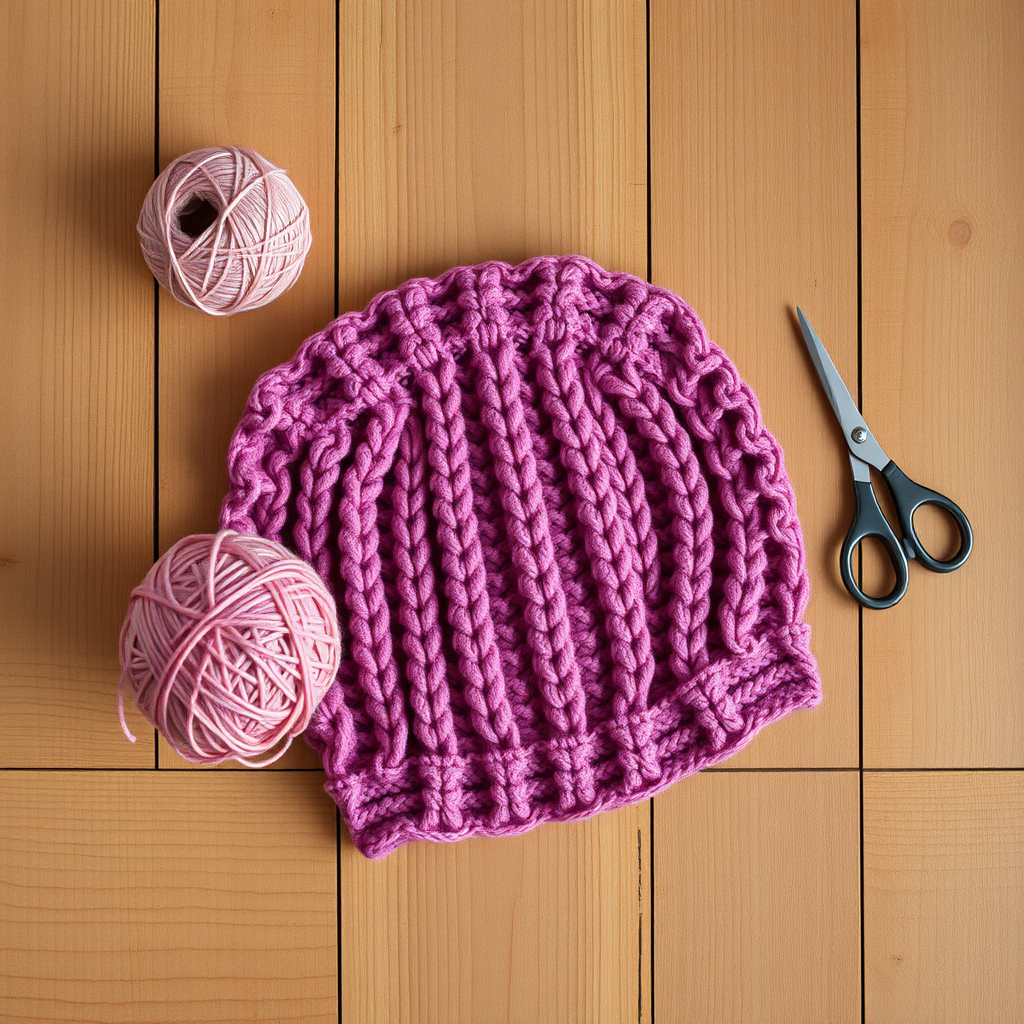
Crochet Textured Pink Beanie Free Pattern
Introduction
Welcome to your next crochet adventure! This cozy and stylish textured pink beanie is the perfect project for beginners looking to enhance their crochet skills while creating a functional and fashionable accessory. Whether you're braving the winter chill or simply want to add a pop of color to your outfit, this beanie will keep you warm and stylish. Let’s dive into the materials you’ll need and the step-by-step instructions to create your very own beanie!
Materials Needed
- Yarn: Bulky weight yarn (approx. 100g), pink
- Crochet Hook: 6.5 mm (K) crochet hook
- Gauge: 8 stitches and 10 rows = 4 inches in pattern
- Scissors: For cutting yarn
- Tapestry Needle: For weaving in ends
Step-by-Step Instructions
- Start with a Magic Ring:
- Wrap the yarn around your fingers to form a loop.
- Insert your hook into the loop, yarn over, and pull through to create a slip knot.
- Chain 2: This will count as your first double crochet (dc).
- Round 1:
- Work 12 double crochet (dc) into the magic ring.
- Pull the tail of the yarn to tighten the ring.
- Join with a slip stitch to the top of the first dc to close the round.
- Round 2:
- Chain 2, then dc in the same stitch.
- Work 2 dc in each stitch around (total of 24 dc).
- Join with a slip stitch to the top of the first dc.
- Round 3:
- Chain 2, *dc in the next stitch, 2 dc in the next stitch; repeat from * around (total of 36 dc).
- Join with a slip stitch to the top of the first dc.
- Rounds 4-10:
- Chain 2, dc in each stitch around.
- Repeat this for 7 more rounds (total of 8 rounds). You should have 36 dc in rounds 4-10.
- Round 11:
- Chain 2, *dc in the next 5 stitches, 2 dc in the next stitch; repeat from * around (total of 42 dc).
- Join with a slip stitch to the top of the first dc.
- Round 12:
- Chain 2, dc in each stitch around.
- Join with a slip stitch to the top of the first dc.
- Brim of the Beanie:
- For the brim, switch to front post double crochet (fpdc) and back post double crochet (bpdc).
- Work in this pattern for 4 rounds.
- Finishing Touches:
- Finish with a slip stitch.
- Cut the yarn, leaving a long tail.
- Weave in all ends using a tapestry needle.
Congratulations! You have successfully created your very own textured pink beanie. Wear it proudly or gift it to someone special. Happy crocheting!
Also Check Out: We think you'd love this beautiful pattern on our sister site: Cozy Crochet Puff Stitch Beanie
Also Check Out: We think you'd love this beautiful pattern on our sister site: Knitting Bold Earflap Hat Free Pattern
Also Check Out: We think you'd love this beautiful pattern on our sister site: Cozy Crochet Ribbed Blanket Pattern
Also Check Out: We think you'd love this beautiful pattern on our sister site: Chunky Cable Knit Cushion Cover


