Cozy Cabin Ridge Mittens Free Pattern – Textured Knit with Braided Cuff
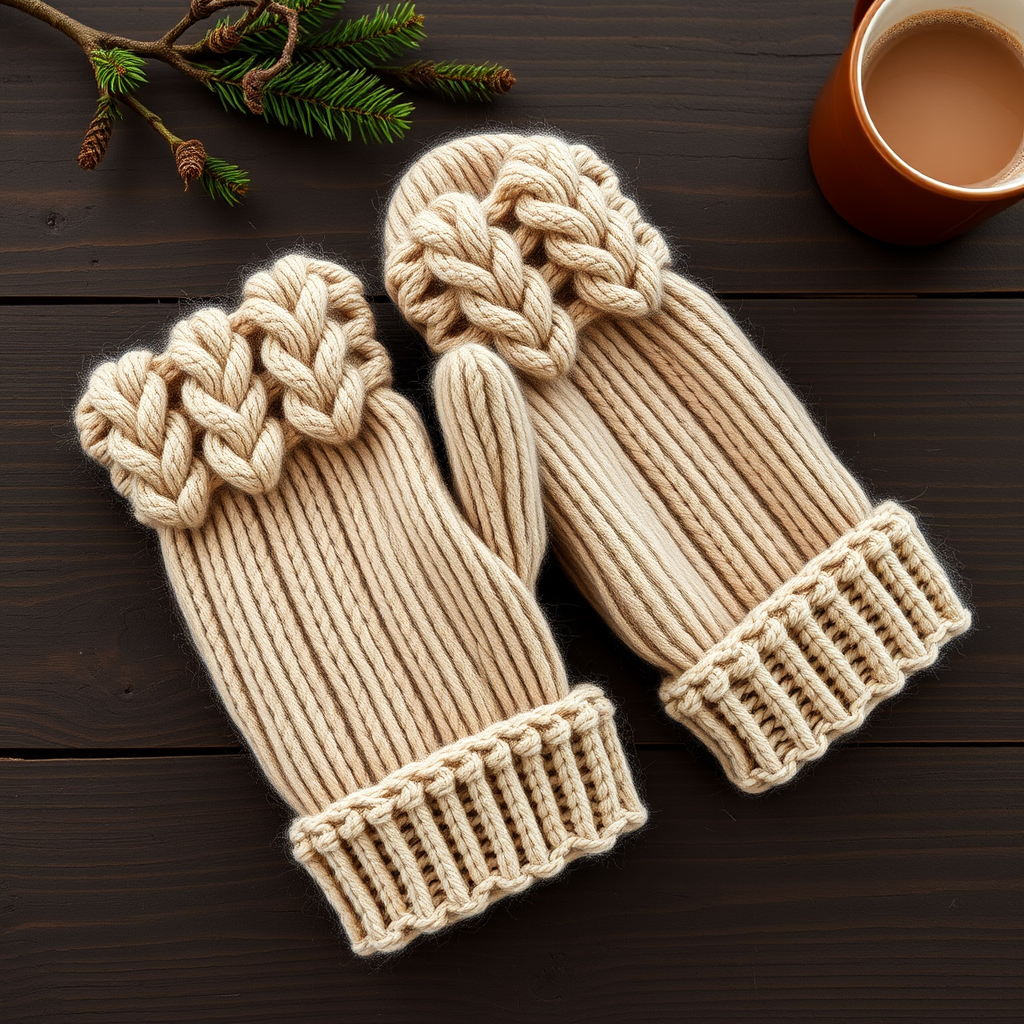
Cozy Cabin Ridge Mittens Free Pattern – Textured Knit with Braided Cuff
There’s something deeply satisfying about knitting a pair of mittens that come together in a single weekend. The Cozy Cabin Ridge Mittens are exactly that—a quick, rewarding project designed for chilly commutes, snowy walks, or as a heartfelt handmade gift. With chunky yarn, a distinctive braided cuff, and a soft ridge texture that flows into a smooth stockinette body, these mittens are as stylish as they are warm. Whether you're a seasoned knitter looking for a fast make or a confident beginner ready to tackle cables, this pattern is your perfect companion. Let’s cast on and create something cozy!
Materials Needed
Before you begin, gather these simple supplies. The chunky yarn ensures your mittens knit up quickly, and the cable needle adds that special braided detail.
- Yarn: Super bulky weight yarn (approx. 120–150 yards per mitten). A great choice is Lion Brand Wool-Ease Thick & Quick in a warm oatmeal or any color you love.
- Needles: US 10.5 (6.5 mm) knitting needles—either straight or circular for magic loop—plus a cable needle for the braided cuff.
- Notions: Stitch markers, a waste yarn holder (or scrap yarn), a tapestry needle for weaving in ends, and scissors.
- Gauge: 12 stitches and 16 rows = 4 inches in stockinette stitch. Always check your gauge to ensure a perfect fit!
Step-by-Step Instructions
Follow these detailed instructions to knit both mittens. The pattern is written for a pair, so repeat the process twice. Take your time with the braided cuff—it’s easier than it looks and adds a beautiful, professional touch.
Mitten Cuff (Make 2)
- Cast on: Cast on 28 stitches using your preferred method (long-tail cast on works well).
- Ribbing: Work in k2, p2 ribbing for 2 inches. This creates a snug, stretchy cuff that will keep the cold out.
- Braided cuff detail: Now, create the signature braid. *Slip the next 2 stitches onto your cable needle and hold it to the front of your work. Knit the next 2 stitches from your left needle, then knit the 2 stitches from the cable needle. Repeat from * across the row. This twist forms a lovely braided ridge.
- Stockinette section: Continue in stockinette stitch (knit all rows on the right side, purl all rows on the wrong side) for 1.5 inches, ending with a purl row (wrong side facing you).
Hand and Thumb Gusset
- Increase row: On the next right-side row, work as follows: K1, M1 (make one by lifting the bar between stitches and knitting it through the back loop), knit until 1 stitch remains, M1, k1. You now have 30 stitches.
- Work even: Knit in stockinette stitch for 2 inches, keeping the fabric smooth and even.
- Right mitten thumb gusset: K14, place a marker, M1, k1, M1, place a second marker, then knit to the end of the row. You now have 32 stitches, with the thumb increases marked.
- Left mitten thumb gusset: K15, place a marker, M1, k1, M1, place a second marker, then knit to the end. (Also 32 stitches.)
- Increase every other row: Continue working in stockinette, but on every right-side row, increase by working M1 immediately after the first marker and M1 just before the second marker. Keep the markers in place. Repeat this until you have 9 stitches between the markers. This forms the thumb gusset.
- Separate the thumb: On the next row, knit to the first marker. Slip the 9 thumb stitches onto a waste yarn holder. Cast on 1 stitch (this bridges the gap), then knit to the end of the row. You now have 30 stitches for the hand.
Mitten Body and Decreases
- Work even: Continue in stockinette stitch until the mitten measures 6 inches from the cuff (or your desired length to cover the ring finger). Try it on as you go for a custom fit.
- Decrease round 1: K1, k2tog (knit two together), knit until the last 3 stitches, ssk (slip, slip, knit), k1. You now have 28 stitches.
- Repeat decreases: Work this decrease row every other row (i.e., on every right-side row) until 12 stitches remain. This shapes the top of the mitten nicely.
- Finish the top: Cut your yarn, leaving a 12-inch tail. Thread the tail through a tapestry needle, slip it through the remaining 12 stitches, and pull tight to close. Secure with a knot and weave in the end.
Thumb
- Pick up stitches: Carefully transfer the 9 thumb stitches from the waste yarn holder back onto your needle. Pick up and knit 1 stitch from the cast-on edge at the base of the thumb. You now have 10 stitches.
- Knit the thumb: Work in stockinette stitch (knit every row if working flat, or knit in the round if you prefer) for 1.5 inches. This length covers the thumb comfortably.
- Decrease and close: On the next row, k2tog across the row—you’ll have 5 stitches. Cut the yarn, thread it through the remaining stitches, pull tight, and secure. Weave in the end.
Finishing Touches
- Weave in all ends: Use your tapestry needle to hide any loose yarn tails on the inside of the mitten. This ensures a clean, professional finish.
- Block lightly (optional): If desired, mist your mittens with water and lay them flat to dry. This helps even out the stitches and gives the braided cuff a crisp look.
Repeat the entire process for the second mitten, and you’re done! These mittens are designed to be slightly oversized and cozy, so don’t worry if they feel roomy—that’s part of their charm. Pair them with a warm coat, a cup of hot cocoa, and a crackling fire for the ultimate cabin-in-the-woods vibe. Happy knitting!


