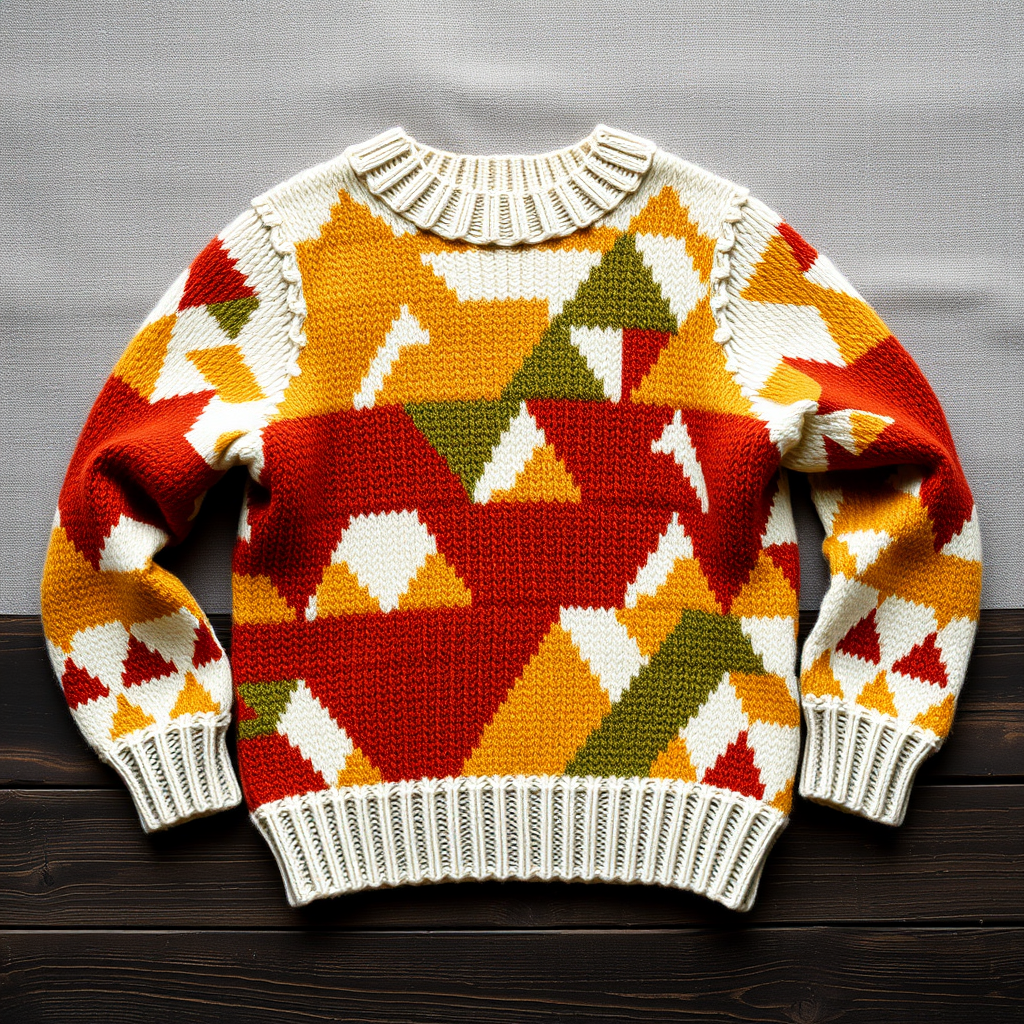
Chestnut Sweater 184211 Free Pattern – Knit a Cozy Textured Pullover

Knit the Chestnut Sweater: A Cozy Textured Pullover for Autumn
Wrap yourself in the warmth of autumn with this richly textured pullover, featuring a unique chestnut-inspired cable motif and a relaxed, modern fit. Knit in a soft, heathered worsted yarn, this sweater is the perfect layering piece for crisp days and cozy evenings. The central cable panel, reminiscent of the intricate texture of chestnut shells, is framed by smooth stockinette stitch, creating a beautiful contrast that is both visually striking and deeply satisfying to knit. Whether you're a seasoned knitter looking for a new textured project or a confident beginner ready to tackle cables, this free pattern will guide you through every step to create a handmade heirloom you'll reach for all season long.
Materials Needed
Before you begin, gather the following materials to ensure a smooth and enjoyable knitting experience. The pattern is written for sizes M-L, with instructions for smaller and larger sizes in parentheses.
- Yarn: Worsted weight yarn (e.g., Lion Brand Wool-Ease) in Chestnut Heather. You will need approximately 1200-1500 yards for sizes M-L. The heathered tone adds depth to the cable pattern.
- Needles:
- US 7 (4.5 mm) 24-inch circular needles for the body (or size needed to obtain gauge).
- US 7 (4.5 mm) double-pointed needles for the sleeves (or size needed to obtain gauge).
- US 6 (4.0 mm) needles (circular and DPNs) for ribbing.
- Notions: Cable needle, stitch markers, tapestry needle for weaving in ends, and a tape measure.
- Gauge: 18 stitches and 24 rows = 4 inches in stockinette stitch on US 7 needles. Always knit a swatch to ensure your gauge matches to achieve the correct fit.
Step-by-Step Instructions
This sweater is knit in pieces from the bottom up and seamed, with a unique chestnut cable panel running down the center front and back. Follow these detailed instructions carefully, and you'll be amazed at the professional-looking result.
Abbreviations
- CO: cast on
- K: knit
- P: purl
- K2tog: knit two together (right-leaning decrease)
- P2tog: purl two together (decrease)
- SSK: slip, slip, knit (left-leaning decrease)
- C4F: cable 4 front (slip 2 stitches to cable needle, hold in front, knit next 2 stitches, then knit 2 from cable needle)
- C4B: cable 4 back (slip 2 stitches to cable needle, hold in back, knit next 2 stitches, then knit 2 from cable needle)
- M1: make one (increase)
- St st: stockinette stitch (knit on right side, purl on wrong side)
Chestnut Cable Panel (worked over 16 stitches)
This is the heart of the sweater. The pattern is a 8-row repeat that creates the beautiful, braided chestnut shell texture. Place a marker on each side of this panel to keep track of it easily.
- Row 1 (RS): P2, C4F, P4, C4B, P2
- Row 2 and all WS rows: K2, P4, K4, P4, K2
- Row 3: P2, K4, P4, K4, P2
- Row 5: P2, C4B, P4, C4F, P2
- Row 7: P2, K4, P4, K4, P2
- Row 8: repeat row 2
Back Panel
- Cast On: CO 90 (100, 110) stitches with the smaller US 6 needles.
- Ribbing: Work in K2, P2 ribbing for 3 inches. This creates a neat, stretchy hem.
- Switch to Larger Needles: Switch to US 7 needles. Work in St st with the Chestnut Cable Panel centered. To do this, knit 37 (42, 47) stitches in St st, place a marker, work the 16-stitch cable panel, place another marker, and knit the remaining 37 (42, 47) stitches in St st.
- Work Even: Continue in pattern, working the cable panel as established, until the piece measures 14 (15, 16) inches from the cast-on edge.
- Armhole Shaping: Bind off 5 (6, 7) stitches at the beginning of the next 2 rows. Then, decrease 1 stitch at each edge every other row 4 (5, 6) times. To decrease at the beginning of a row, K2tog. To decrease at the end of a row, SSK. Work even until the armhole measures 8 (9, 10) inches.
- Shoulder Shaping: Bind off 8 (9, 10) stitches at the beginning of the next 6 rows. Bind off the remaining 28 (30, 32) stitches for the back neck.
Front Panel
- Work as Back: Work the same as the back until the armhole shaping is complete.
- Work Even: Continue in pattern until the armhole measures 6 (7, 8) inches.
- Neck Shaping: Work across 30 (33, 36) stitches. Join a second ball of yarn and bind off the center 16 (18, 20) stitches. Work to the end of the row. You will now work both sides of the neck simultaneously with separate balls of yarn.
- Decrease for Neck: Decreasing 1 stitch at each neck edge every other row 4 times. To do this, on the right side of the neck, K2tog before the neck edge. On the left side of the neck, SSK after the neck edge.
- Finish: Work even until the armhole measures 8 (9, 10) inches. Bind off the shoulders as for the back.
Sleeves (make 2)
- Cast On: CO 40 (44, 48) stitches with the smaller US 6 double-pointed needles.
- Ribbing: Work in K2, P2 ribbing for 3 inches.
- Switch to Larger Needles: Switch to US 7 needles. Work in St st, increasing 1 stitch at each edge every 6 rows until you have 60 (66, 72) stitches. To increase, use M1 before the last stitch and M1 after the first stitch of the row.
- Work Even: Continue in St st until the sleeve measures 18 (19, 20) inches from the cast-on edge.
- Cap Shaping: Bind off 5 (6, 7) stitches at the beginning of the next 2 rows. Decrease 1 stitch at each edge every other row until 20 (22, 24) stitches remain. Bind off all stitches.
Finishing
- Seam Shoulders: Use a tapestry needle and mattress stitch to seam the shoulder seams together.
- Set in Sleeves: Pin the sleeves into the armholes, matching the center of the sleeve cap to the shoulder seam. Sew the sleeves in place.
- Seam Sides and Sleeves: Seam the sides of the sweater and the underside of the sleeves using mattress stitch for an invisible finish.
- Neckband: With the smaller US 6 circular needle, pick up and knit 80 (88, 96) stitches evenly around the neckline. Work in K2, P2 ribbing for 1.5 inches. Bind off loosely in pattern to ensure the neckband remains stretchy.
- Weave in Ends: Weave in all loose ends with a tapestry needle.
- Block: Finally, block your sweater to the specified measurements. This will even out the stitches, open up the cables, and give your sweater a polished, professional finish. Lay it flat to dry.
Congratulations! You've just completed a beautiful, textured pullover that captures the essence of autumn. The Chestnut Sweater is a testament to your skill and a cozy addition to your wardrobe. Enjoy wearing your handmade creation!