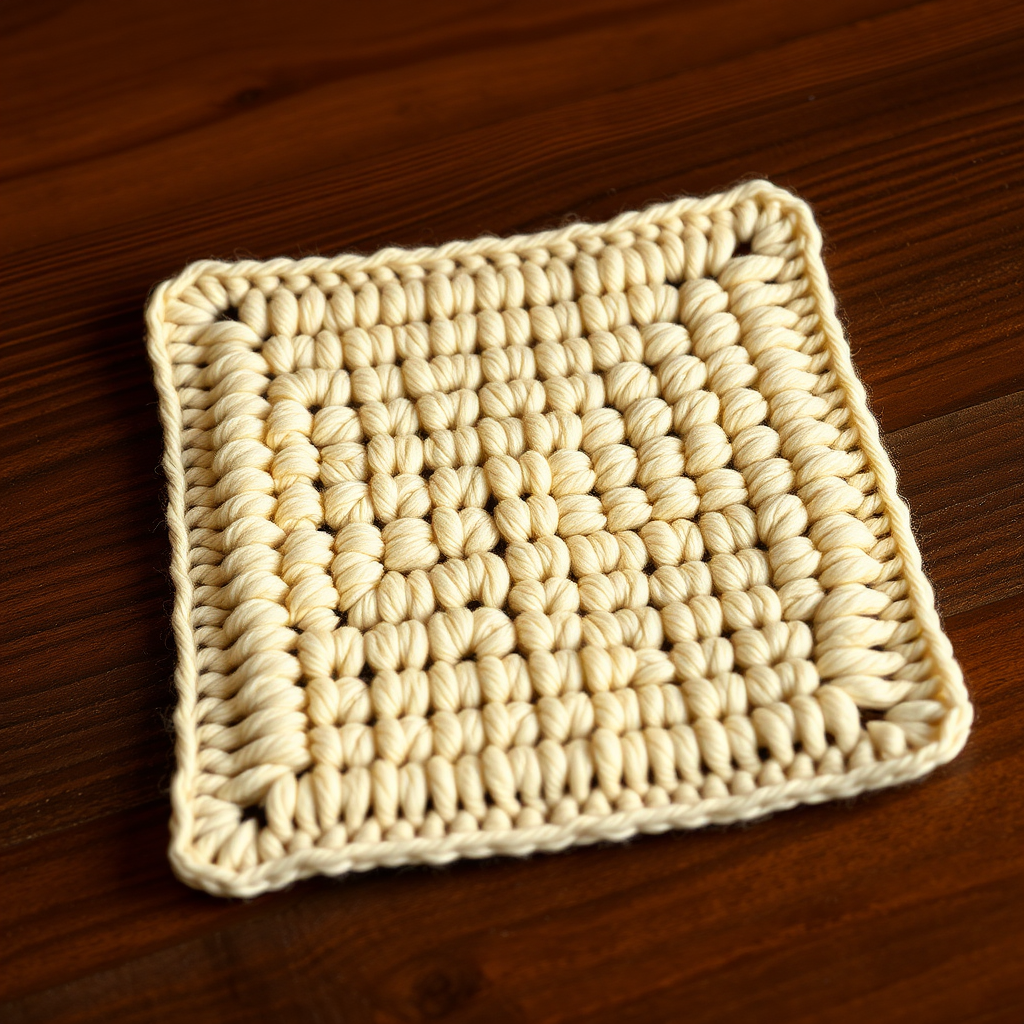
Champagne Star Alt Dishcloth Free Crochet Pattern

Champagne Star Alt Dishcloth: A Parisian-Chic Star for Your Kitchen
If you have never held a crochet hook before, this is the perfect first project to fall in love with. The Champagne Star Alt Dishcloth is a five-pointed star worked in soft DK cotton, with points that alternate between ocean blue and cream for a breezy, Parisian-chic look. It is small, quick, and forgiving — you will finish it in an evening and have something beautiful and useful to show for it. The finished cloth is about 9 inches point to point, flat and slightly textured, with a delicate cream scalloped edge that makes it feel far fancier than the few stitches it takes. Best of all, it is worked almost entirely in one continuous round, so there is very little to learn before you see a star appear in your hands.
Materials Needed
- Yarn: DK weight (category 3) cotton yarn, approximately 60–70 yards total — 35 yards ocean blue and 25 yards cream. Cotton is ideal because it absorbs water and can be washed again and again.
- Crochet hook: H/8 (5.0 mm). The "H/8" is the US size and "5.0 mm" is the metric size — they are the same hook.
- Stitch marker (one is enough, or a scrap of contrasting yarn).
- Tapestry needle (a blunt needle with a large eye) for weaving in ends.
- Scissors.
- Finished size: approximately 9 inches (23 cm) point to point.
Abbreviations and Beginner Glossary
Every pattern is written in shorthand. Here is every abbreviation used in this pattern, explained as if you have never crocheted before. All terms are US crochet terms.
- ch – chain. Make a loop of yarn on your hook, then pull the yarn through the loop on your hook. That is one chain. Chains are the foundation of most crochet.
- sl st – slip stitch. Insert your hook into the stitch, wrap the yarn over the hook, and pull it through both the stitch and the loop on your hook at the same time. It makes an almost invisible join.
- sc – single crochet. Insert hook into stitch, pull up a loop (2 loops on hook), yarn over, pull through both loops. One loop remains. This is the shortest, tightest basic stitch.
- hdc – half double crochet. Yarn over first, insert hook into stitch, pull up a loop (3 loops on hook), yarn over, pull through all 3 loops at once.
- dc – double crochet. Yarn over, insert hook into stitch, pull up a loop (3 loops on hook), yarn over, pull through 2 loops, yarn over, pull through the last 2 loops.
- tr – treble crochet. Yarn over twice, insert hook into stitch, pull up a loop (4 loops on hook), yarn over and pull through 2 loops, yarn over and pull through 2 loops, yarn over and pull through the last 2 loops.
- st(s) – stitch(es). One completed stitch, or several.
- sp – space. The gap between stitches, usually under a chain.
- magic ring – an adjustable loop of yarn you make with your fingers, then crochet into. When you pull the tail, the center closes tight with no hole. (If you prefer, chain 4 and join with a sl st to make a small ring instead.)
- join – connect the last stitch to the first with a slip stitch.
- fasten off – cut the yarn a few inches from your work and pull the tail all the way through the last loop to lock it.
- drop – stop using a color and leave its loop hanging at the back of the work, to be picked up again later.
Gauge
16 sc x 18 rounds = 4 inches (10 cm) in single crochet.
Gauge simply means how big your stitches come out. If your stitches are bigger than the pattern expects, your star will be larger than 9 inches; if smaller, it will shrink. Because this is a dishcloth, gauge is not life-or-death — but checking it means your star will lie flat and match the photos.
How to make a gauge swatch: With your hook and yarn, chain 18. Work 1 sc in the second chain from the hook and in each chain across (17 sts). Work 18 rows of sc. Lay the swatch flat and measure a 4-inch square in the middle with a ruler. Count the stitches across and the rows up. If you have more than 16 stitches in 4 inches, your stitches are tight — try a hook one size larger. If you have fewer, your stitches are loose — try a hook one size smaller.
Beginner Tips Before You Start
- Use a stitch marker. Place it in the first stitch of each point so you always know where a point begins and ends. It is the single easiest way to avoid losing your place.
- Do not pull the yarn too tight. Tension should feel relaxed — like holding a pencil, not gripping a rope. Tight stitches make a stiff, curly star that will not lie flat.
- Carry the unused color loosely. When you drop ocean blue and pick up cream, leave the resting yarn a little slack along the back. If you pull it snug, the star will pucker in the center.
- Count after every point. Each point has exactly 5 stitches. Count them before moving to the next color — it takes five seconds and saves frogging (unpicking) later.
- Keep your magic ring tail long. Leave a 6-inch tail at the center so you can pull the ring closed tightly at the very end and weave it in securely.
- Work in good light. Cotton yarn splits easily; bright light helps you see exactly where the hook should go.
Step-by-Step Instructions
Note: The star is worked in one continuous round, alternating colors for each point. Carry the unused color loosely along the back of the work. Do not turn your work between points.
Star Body
With ocean blue, make a magic ring.
Round 1, Point 1 (ocean blue): Ch 3 (this counts as your first dc), work 2 dc, 1 tr, 2 dc into the ring. Do not join. Drop ocean blue to the back. (5 sts in point)
Round 1, Point 2 (cream): With cream, join to the ring with a sl st, ch 3, work 2 dc, 1 tr, 2 dc into the same ring. Drop cream. (5 sts in point)
Round 1, Point 3 (ocean blue): Pick up ocean blue, join to the ring with a sl st, ch 3, work 2 dc, 1 tr, 2 dc into the ring. Drop ocean blue. (5 sts in point)
Round 1, Point 4 (cream): Pick up cream, join to the ring with a sl st, ch 3, work 2 dc, 1 tr, 2 dc into the ring. Drop cream. (5 sts in point)
Round 1, Point 5 (ocean blue): Pick up ocean blue, join to the ring with a sl st, ch 3, work 2 dc, 1 tr, 2 dc into the ring. Fasten off ocean blue. (5 sts in point)
You now have 5 star points alternating ocean blue and cream: cream at Points 2 and 4, ocean blue at Points 1, 3, and 5. Total: 25 stitches around the star. Pull the magic ring tail gently to close the center hole.
Scalloped Edge
Round 2 (cream): Join cream with a sl st to the tip of Point 1 (an ocean blue point). Ch 1, sc in the same stitch.
Then repeat this sequence around all 5 points: *Sc in next 2 sts, hdc in next st, dc in next st, hdc in next st, sc in next 2 sts, sc in the tip of the point.* Work an sc in the valley between points as you go, so the edge flows smoothly from one point to the next.
When you reach the tip of Point 1 again, join with a sl st to the first sc. Fasten off cream. (The scalloped edge adds one sc per stitch plus one sc at each of the 5 tips and 5 valleys.)
Assembly and Finishing
Weave in the ends. Thread each yarn tail onto your tapestry needle. Turn the cloth to the back and run the needle through the backs of several stitches in one direction, then back through a few stitches in the other direction. This "back-and-forth" path locks the tail so it will not work loose in the wash. Trim the yarn close to the fabric.
Close the center. Pull the magic ring tail firmly so the center hole disappears, then weave that tail in as above.
Block the star. Lightly mist the cloth with cool water until it is damp but not soaking. Lay it flat on a towel or blocking mat and pin each of the five points outward with rustproof pins so the star is crisp and symmetrical. Smooth the scalloped edge with your fingers. Leave it to dry completely — usually several hours or overnight. Blocking is what turns a slightly wavy star into a perfectly flat, professional-looking one.
Care: Machine wash gentle, lay flat to dry.
Pro Tips and Variations
- Change the colors. Swap ocean blue and cream for any two colors you love — sage and ivory, mustard and white, or two shades of the same hue for a subtle ombre star. Keep the alternation the same so the points still pop.
- Make it bigger or smaller. Use worsted weight yarn with a J/10 (6.0 mm) hook for a larger, chunkier cloth, or sport weight with a G/6 (4.0 mm) hook for a daintier one. Your gauge swatch will tell you the finished size before you commit.
- Try a different fiber. Cotton is best for dishcloths, but a cotton-linen blend gives a lovely rustic texture. Avoid acrylic for anything that will touch hot pans or scrub dishes.
- Add a hanging loop. After the scalloped edge, ch 12 and sl st back into the same stitch to make a small loop, then fasten off. Hang your star by the sink for a Parisian-chic touch.