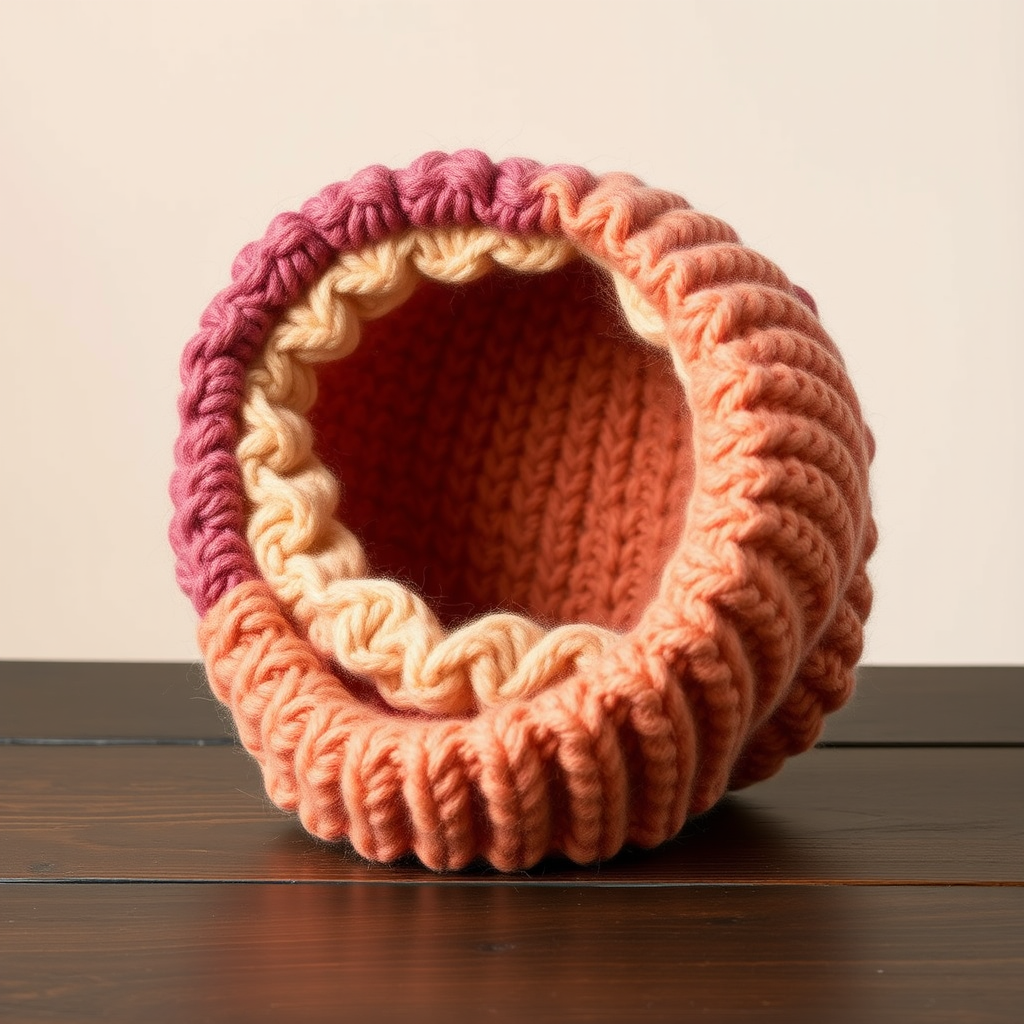
Celtic Winters Slouchy Hat Free Pattern – Braided Cable Knit Beanie

Celtic Winters Slouchy Hat: A Free Cable Knit Pattern for Cozy Heritage Style
Wrap yourself in the timeless elegance of Celtic knotwork with this richly textured slouchy hat. Featuring intricate braided cables and a cozy, oversized fit, this pattern is perfect for knitters ready to elevate their skills while creating a stunning winter accessory. Knit in a deep heathery blue, this beanie adds a touch of heritage charm to any outfit—and the best part? It's completely free!
Whether you're looking for a thoughtful handmade gift or a rewarding personal project, this slouchy hat delivers on both style and substance. The combination of braided ropes and diamond motifs creates a dimensional fabric that catches light beautifully, making every stitch worth the effort.
Materials Needed
Before you begin, gather the following supplies to ensure a smooth knitting experience:
Yarn
- Worsted weight yarn (e.g., Lion Brand Wool-Ease in Heather Blue)
- Approximately 220 yards (200 meters)
Needles
- US Size 8 (5.0 mm) 16-inch circular knitting needle
- US Size 8 (5.0 mm) double-pointed needles (for crown decreases)
- Or size needed to obtain gauge
Notions
- Cable needle
- Stitch markers
- Tapestry needle for weaving in ends
- Scissors
Gauge
- 18 stitches and 24 rows = 4 inches in stockinette stitch
- 24 stitches and 28 rows = 4 inches in cable pattern (blocked)
Always knit a gauge swatch before starting to ensure your hat fits perfectly. Adjust needle size if necessary.
Pattern Information
Sizes
One size fits most adults (head circumference 21-23 inches)
Abbreviations
- CO: cast on
- K: knit
- P: purl
- C4F: slip 2 stitches to cable needle, hold in front, knit next 2 stitches, then knit 2 stitches from cable needle
- C4B: slip 2 stitches to cable needle, hold in back, knit next 2 stitches, then knit 2 stitches from cable needle
- C6F: slip 3 stitches to cable needle, hold in front, knit next 3 stitches, then knit 3 stitches from cable needle
- C6B: slip 3 stitches to cable needle, hold in back, knit next 3 stitches, then knit 3 stitches from cable needle
- K2tog: knit 2 stitches together
- P2tog: purl 2 stitches together
- PM: place marker
- RM: remove marker
Step-by-Step Instructions
Ribbing (Brim)
Cast On: CO 96 stitches. Join in the round, being careful not to twist. PM to mark beginning of round.
Rounds 1-12: *K2, P2* repeat around.
This 2x2 ribbing creates a snug, stretchy brim that will keep the hat securely in place while providing comfort throughout the day.
Body (Cable Pattern)
Now we begin the beautiful Celtic-inspired cable work. The pattern consists of a 16-round repeat that creates braided ropes and diamond motifs.
Round 13: *K6, P2, C4F, P2, K6, P2, C4B, P2* repeat around (4 repeats total).
Rounds 14-16: *K6, P2, K4, P2, K6, P2, K4, P2* repeat around.
Round 17: *C6F, P2, K4, P2, C6B, P2, K4, P2* repeat around.
Rounds 18-20: *K6, P2, K4, P2, K6, P2, K4, P2* repeat around.
Round 21: *K6, P2, C4B, P2, K6, P2, C4F, P2* repeat around.
Rounds 22-24: *K6, P2, K4, P2, K6, P2, K4, P2* repeat around.
Round 25: *C6B, P2, K4, P2, C6F, P2, K4, P2* repeat around.
Rounds 26-28: *K6, P2, K4, P2, K6, P2, K4, P2* repeat around.
Repeat Rounds 13-28 until piece measures approximately 8 inches from cast-on edge, ending with Round 28.
Pro Tip: Place a removable stitch marker at the beginning of each pattern repeat to help you keep track of where you are in the cable sequence. This is especially helpful when knitting in the round for extended periods.
Crown Decreases
Now we shape the crown with a series of decreases that create a soft, rounded top. Follow each round carefully, as the stitch counts change progressively.
Round 1: *K6, P2, K4, P2, K6, P2, K2tog, P1* repeat around (96 stitches).
Round 2: *K6, P2, K4, P2, K6, P2, K1, P1* repeat around.
Round 3: *K6, P2, K4, P2, K6, P2, K2tog* repeat around (88 stitches).
Round 4: *K6, P2, K4, P2, K6, P2, K1* repeat around.
Round 5: *K6, P2, K4, P2, K6, P2tog, P1* repeat around (84 stitches).
Round 6: *K6, P2, K4, P2, K6, P1, P1* repeat around.
Round 7: *K6, P2, K4, P2, K6, P2tog* repeat around (80 stitches).
Round 8: *K6, P2, K4, P2, K6, P1* repeat around.
Round 9: *K6, P2, K4, P2, K6, K2tog* repeat around (76 stitches).
Round 10: *K6, P2, K4, P2, K6, K1* repeat around.
Round 11: *K6, P2, K4, P2, K5, K2tog* repeat around (72 stitches).
Round 12: *K6, P2, K4, P2, K6* repeat around.
Round 13: *K6, P2, K4, P2, K4, K2tog* repeat around (68 stitches).
Round 14: *K6, P2, K4, P2, K5* repeat around.
Round 15: *K6, P2, K4, P2, K3, K2tog* repeat around (64 stitches).
Round 16: *K6, P2, K4, P2, K4* repeat around.
Round 17: *K6, P2, K4, P1, K2tog, P1* repeat around (60 stitches).
Round 18: *K6, P2, K4, P1, K3* repeat around.
Round 19: *K6, P2, K4, P2tog, K2* repeat around (56 stitches).
Round 20: *K6, P2, K4, P3* repeat around.
Round 21: *K6, P2, K2tog, K2, P2* repeat around (52 stitches).
Round 22: *K6, P2, K3, P2* repeat around.
Round 23: *K6, P2, K2tog, K1, P2* repeat around (48 stitches).
Round 24: *K6, P2, K2, P2* repeat around.
Round 25: *K6, P2, K2tog, P2* repeat around (44 stitches).
Round 26: *K6, P2, K1, P2* repeat around.
Round 27: *K6, P2tog, K1, P2* repeat around (40 stitches).
Round 28: *K6, P1, K1, P2* repeat around.
Round 29: *K6, P2tog, P2* repeat around (36 stitches).
Round 30: *K6, P3* repeat around.
Round 31: *K2tog, K4, P3* repeat around (32 stitches).
Round 32: *K5, P3* repeat around.
Round 33: *K2tog, K3, P3* repeat around (28 stitches).
Round 34: *K4, P3* repeat around.
Round 35: *K2tog, K2, P3* repeat around (24 stitches).
Round 36: *K3, P3* repeat around.
Round 37: *K2tog, K1, P3* repeat around (20 stitches).
Round 38: *K2, P3* repeat around.
Round 39: *K2tog, P3* repeat around (16 stitches).
Round 40: *K1, P3* repeat around.
Round 41: *K2tog, P2* repeat around (12 stitches).
Round 42: *K1, P2* repeat around.
Round 43: *K2tog, P1* repeat around (8 stitches).
Round 44: *K2tog* repeat around (4 stitches).
Finishing
Cut yarn, leaving a 6-inch tail. Thread tail through remaining stitches, pull tight, and secure. Weave in all ends with your tapestry needle.
Blocking Tip: For best results, gently hand wash your finished hat in cool water with a mild wool wash, then lay flat to dry on a towel. Gently shape the hat while damp to enhance the cable definition and ensure the slouchy silhouette drapes beautifully.
Wearing and Styling Your Celtic Winters Hat
This slouchy hat is designed to be worn with the ribbed brim folded once for a classic look, or unfolded for extra slouch and warmth. The deep heather blue pairs beautifully with neutral winter coats, chunky scarves, and leather gloves. The intricate cable pattern makes it a statement piece that elevates even the simplest winter outfit.
Because of its generous slouch, this hat works well for those with longer hair or who prefer a relaxed, effortless silhouette. The 2x2 ribbed brim ensures a secure fit without being too tight, making it comfortable for all-day wear.
Care Instructions
To keep your Celtic Winters hat looking its best:
- Hand wash in cold water with mild detergent
- Reshape while damp and lay flat to dry
- Store folded flat, never hung
- Pill gently with a fabric comb if needed
This pattern is perfect for intermediate knitters looking to expand their cable skills, or confident beginners ready for a rewarding challenge. The repetitive nature of the cable pattern makes it meditative once you get into the rhythm, and the stunning result is well worth the time invested.
Happy knitting! We'd love to see your finished Celtic Winters Slouchy Hat—share your creation on social media with the hashtag #CelticWintersHat and inspire fellow knitters with your beautiful work.