Whimsical Woodland Fox Baby Beanie Free Pattern – Textured Knitted Hat
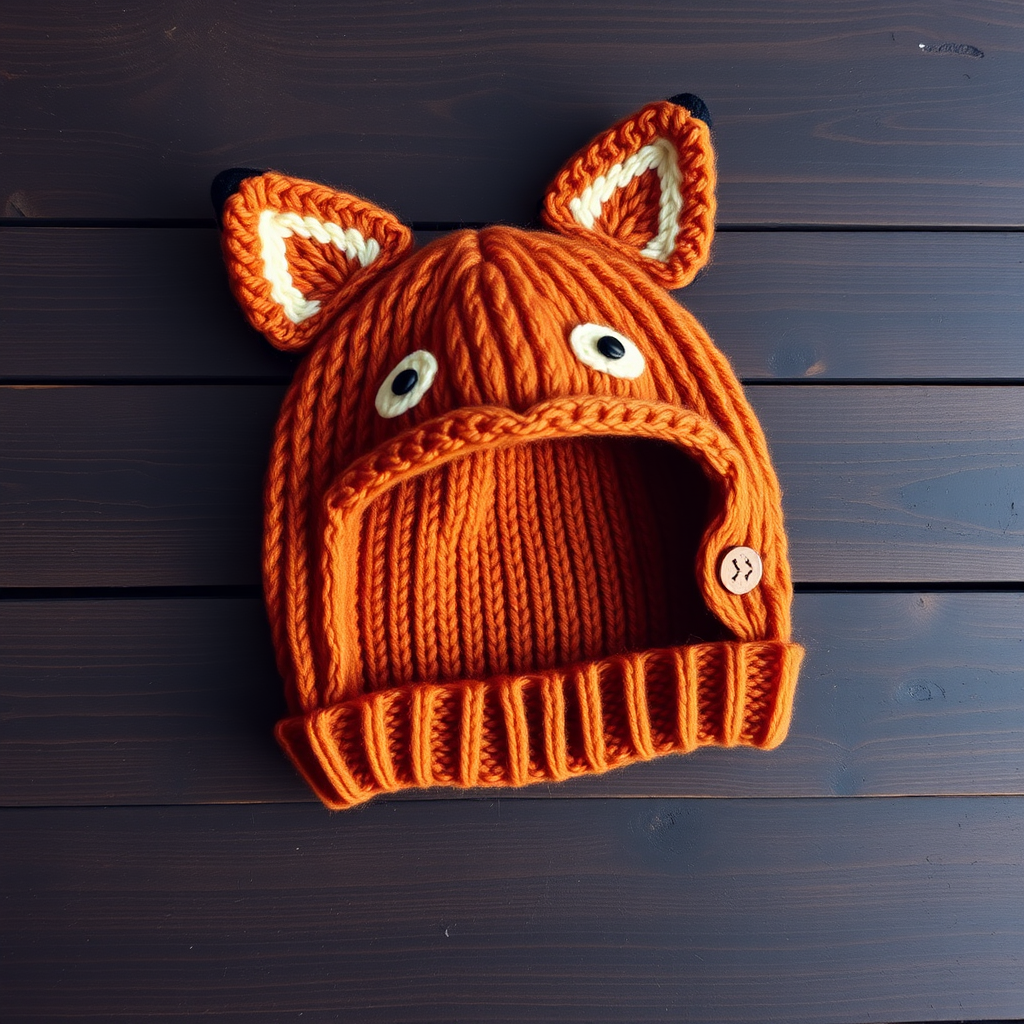
Step 2: Work in K1, P1 ribbing for 1 inch. This creates a snug, stretchy brim that will keep the hat securely on your baby's head.
Step 3: Switch to stockinette stitch (knit every round) and work until the piece measures 4 (4.5) {5} inches from the cast-on edge. The textured stockinette stitch creates that beautiful, classic knitted look with visible V-shaped stitches.
Shape Crown
Now we'll decrease to shape the top of the hat. Follow these rounds carefully, noting that the numbers in parentheses and braces correspond to the different sizes:
Round 1: *K8 (9) {10}, K2tog*; repeat from * to * around. (54 (60) {66} sts)
Round 2 and all even rounds: Knit all stitches.
Round 3: *K7 (8) {9}, K2tog*; repeat from * to * around. (48 (54) {60} sts)
Round 5: *K6 (7) {8}, K2tog*; repeat from * to * around. (42 (48) {54} sts)
Round 7: *K5 (6) {7}, K2tog*; repeat from * to * around. (36 (42) {48} sts)
Round 9: *K4 (5) {6}, K2tog*; repeat from * to * around. (30 (36) {42} sts)
Round 11: *K3 (4) {5}, K2tog*; repeat from * to * around. (24 (30) {36} sts)
Round 13: *K2 (3) {4}, K2tog*; repeat from * to * around. (18 (24) {30} sts)
Round 15: *K1 (2) {3}, K2tog*; repeat from * to * around. (12 (18) {24} sts)
Round 17: *K0 (1) {2}, K2tog*; repeat from * to * around. (6 (12) {18} sts)
Step 4: For sizes 3-6 months and 6-12 months, continue decreasing in this manner (knitting one fewer stitch between decreases each round) until only 6 stitches remain.
Step 5: Cut the yarn, leaving a 6-inch tail. Thread the tail through a tapestry needle, slide it through the remaining 6 stitches, pull tight to close the top of the hat, and weave in the end securely.
Ear Flaps (Make 2)
The ear flaps add both warmth and that adorable fox-like silhouette. Here's how to create them:
Step 1: With burnt orange yarn, pick up and knit 10 (12) {14}


