Whimsical Woodland Acorn Pouch Free Pattern – Knit a Forest Treasure Keeper
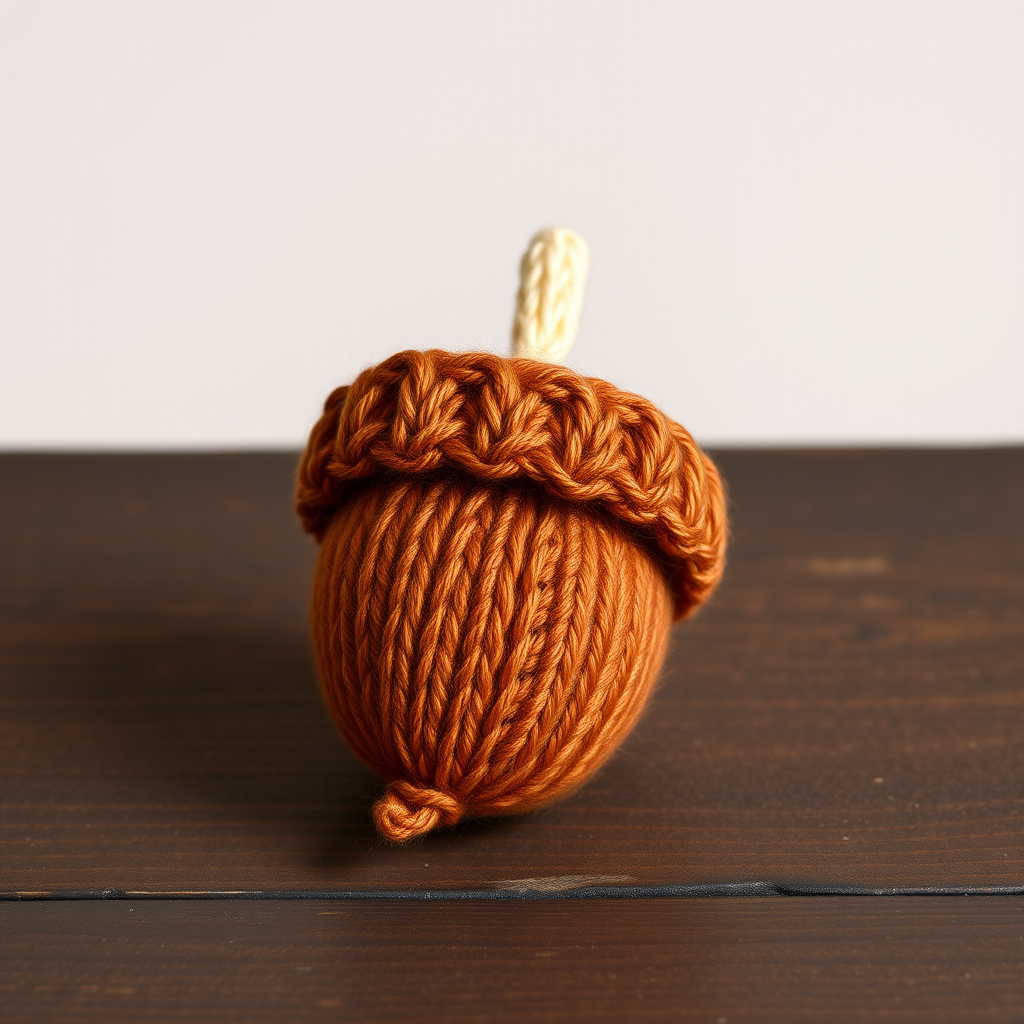
Whimsical Woodland Acorn Pouch Free Pattern – Knit a Forest Treasure Keeper
Bring a touch of woodland magic to your everyday carry with this charming acorn-shaped pouch. Perfect for stashing jewelry, earbuds, or tiny treasures, this cozy and whimsical project is knitted in soft, earthy tones with a textured cap that captures the essence of a forest floor treasure. Whether you're a seasoned crafter or just starting your knitting journey, this pattern is designed to be accessible, rewarding, and utterly delightful to create.
This free pattern guides you through knitting a flat piece that transforms into a three-dimensional acorn, complete with a removable-style cap that creates a functional pocket. The result is a squishy, handcrafted pouch that makes a wonderful gift or a lovely treat for yourself. Let's gather our materials and begin this woodland adventure!
Materials Needed
Before you begin, ensure you have all the necessary supplies. This project uses simple, readily available materials:
- Yarn: Worsted weight yarn in three colors:
- Warm brown (for the acorn body) – approximately 50 yards
- Deep rust or burnt orange (for the cap) – approximately 30 yards
- Cream or beige (for the stem) – a small scrap amount
- Knitting Needles: US Size 6 (4.0 mm) knitting needles, or the size needed to obtain gauge. Straight needles are perfect for this project.
- Tapestry Needle: For seaming and weaving in ends.
- Scissors: For cutting yarn.
- Optional: A small button or bead for a decorative closure on the cap.
Gauge: 20 stitches and 26 rows = 4 inches in stockinette stitch. While gauge is not critical for this project, maintaining consistency will ensure a neat and well-proportioned pouch.
Step-by-Step Instructions
This pouch is knitted flat in two main pieces (the body and the cap) and then seamed together. The stem is a tiny separate piece. Follow these detailed instructions carefully, and you'll have your very own acorn pouch in no time.
Acorn Body (Make 1)
The body is worked from the bottom up, starting with a small cast-on and increasing to create the rounded base, then working even, and finally decreasing to close the top.
Row 1: Cast on 6 stitches.
Row 2 (Increase Row): Knit into the front and back of each stitch (kfb) across – you will now have 12 stitches.
Row 3: Purl all stitches.
Row 4: *Kfb, k1*; repeat from * to * across – you will now have 18 stitches.
Row 5: Purl all stitches.
Row 6: *Kfb, k2*; repeat from * to * across – you will now have 24 stitches.
Row 7: Purl all stitches.
Row 8: *Kfb, k3*; repeat from * to * across – you will now have 30 stitches.
Row 9: Purl all stitches.
Row 10: *Kfb, k4*; repeat from * to * across – you will now have 36 stitches.
Rows 11-20: Work even in stockinette stitch (knit on the right side, purl on the wrong side) for 10 rows. This creates the smooth, tall sides of the acorn body.
Row 21 (Decrease Row): *K2tog, k4*; repeat from * to * across – you will now have 30 stitches.
Row 22: Purl all stitches.
Row 23: *K2tog, k3*; repeat from * to * across – you will now have 24 stitches.
Row 24: Purl all stitches.
Row 25: *K2tog, k2*; repeat from * to * across – you will now have 18 stitches.
Row 26: Purl all stitches.
Row 27: *K2tog, k1*; repeat from * to * across – you will now have 12 stitches.
Row 28: Purl all stitches.
Row 29: K2tog across – you will now have 6 stitches.
Cut the yarn, leaving a long tail (about 12 inches). Thread the tail through a tapestry needle, then pass it through the remaining 6 stitches on your knitting needle. Slide the stitches off the needle and pull the tail tight to cinch the top of the body closed. Weave in the end securely.
Acorn Cap (Make 1)
The cap is worked similarly to the body but is slightly smaller and has a flared shape to fit over the top of the body.
Row 1: Cast on 6 stitches in your rust or burnt orange yarn.
Row 2: Kfb across – you will now have 12 stitches.
Row 3: Purl all stitches.
Row 4: *Kfb, k1*; repeat across – you will now have 18 stitches.
Row 5: Purl all stitches.
Row 6: *Kfb, k2*; repeat across – you will now have 24 stitches.
Row 7: Purl all stitches.
Row 8: *Kfb, k3*; repeat across – you will now have 30 stitches.
Rows 9-12: Work even in stockinette stitch for 4 rows.
Row 13 (Decrease Row): *K2tog, k3*; repeat across – you will now have 24 stitches.
Row 14: Purl all stitches.
Row 15: *K2tog, k2*; repeat across – you will now have 18 stitches.
Row 16: Purl all stitches.
Bind off all stitches loosely. Leave a long tail (about 12 inches) for sewing.
Stem (Make 1)
This tiny piece adds the perfect finishing touch to your acorn.
Row 1: Cast on 3 stitches in your cream or beige yarn.
Rows 2-4: Knit all stitches (garter stitch) for 3 rows.
Bind off. Leave a tail for sewing.
Finishing and Assembly
Now that all your pieces are knitted, it's time to bring your acorn to life. Follow these steps carefully for a polished finish.
- Sew the Body Seam: Fold the acorn body in half with the right sides together, matching the cast-on edge to the bound-off edge. Using your tapestry needle and the yarn tail from the cast-on edge, sew the side seam using a mattress stitch or whip stitch. The bottom will naturally curve into a rounded point. Turn the body right side out.
- Sew the Cap Seam: Fold the cap in half with the right sides together and sew the side seam, just as you did for the body. However, leave a small opening at the top (the cast-on edge) for the stem to be inserted. Turn the cap right side out.
- Attach the Stem: Insert the stem into the small opening at the top of the cap. Using the yarn tail from the stem, sew it securely in place to the inside of the cap. Make sure it's firmly attached.
- Attach the Cap to the Body: Place the cap over the top of the body, aligning the bound-off edge of the cap with the gathered top of the body. The cap should fit snugly over the body. Using the long tail from the cap's bind-off, sew the cap to the body using a whip stitch. Important: Leave a small opening (about 1.5 to 2 inches) on one side unsewn to create a pocket for your treasures.
- Weave in All Ends: Use your tapestry needle to weave in any remaining loose ends inside the pouch to keep it neat.
- Optional Decorative Closure: For an extra touch, sew a small button or bead to the front of the cap. You can use the button as a functional closure by creating a small loop of yarn on the body, or simply as a decorative accent.
Your Whimsical Woodland Acorn Pouch is now complete! Admire your handiwork – a perfect little forest treasure keeper. This project is quick to knit and makes a wonderful gift for nature lovers, or a lovely addition to your own collection of handmade items. Happy knitting!



