Amigurumi Patterns
Whimsical Succulent Amigurumi Free Pattern
Anonymous
•
July 03, 2026
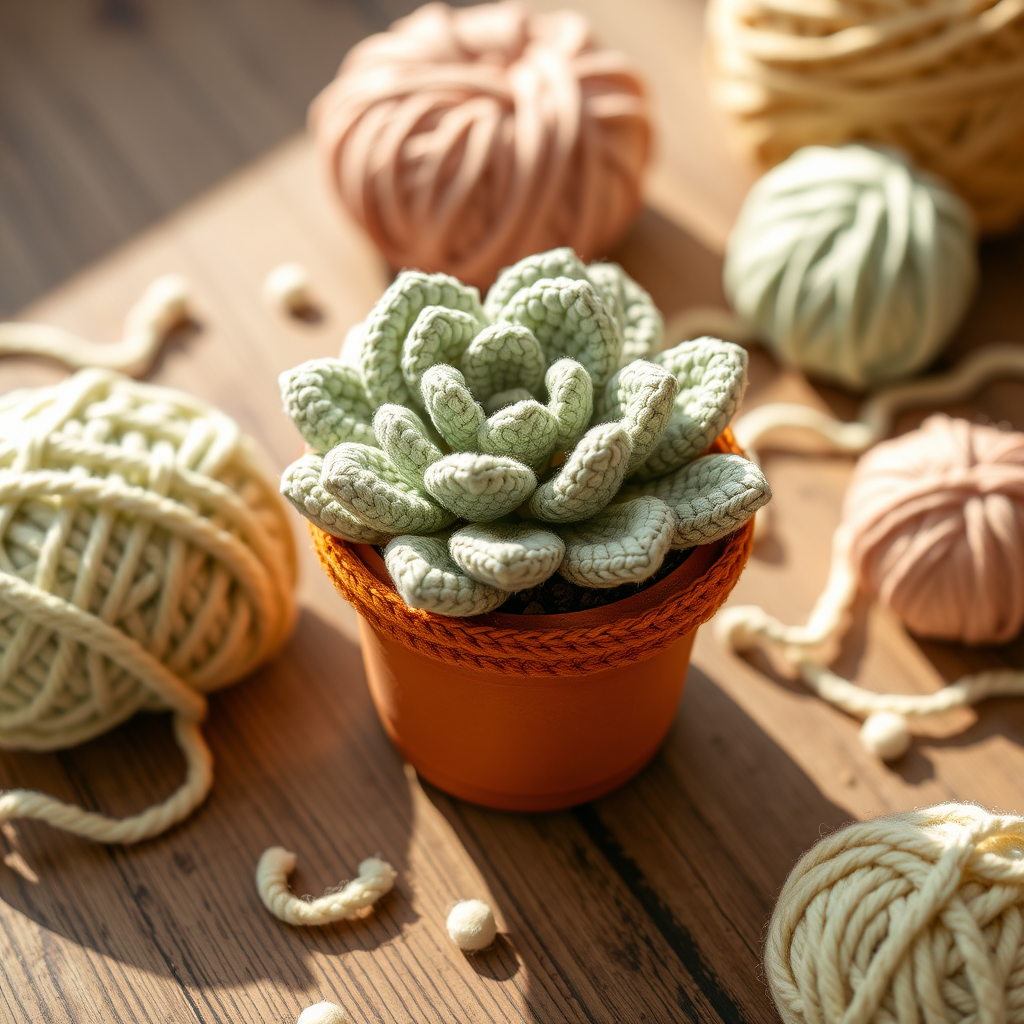
Whimsical Succulent Amigurumi Free Pattern
Introduction
Bring a touch of greenery into your home with this charming succulent amigurumi pattern. Perfect for plant lovers and crafters alike, this project is both fun and easy to make. With simple stitches and vibrant colors, you can create a delightful decoration that will brighten up any space. Whether you're new to crochet or looking for a quick project, this succulent is a great choice!
Materials Needed
- Yarn: Worsted weight cotton yarn in green, brown, and terracotta
- Hook: 3.5 mm crochet hook
- Stuffing: Fiberfill or any soft stuffing material
- Scissors: For cutting yarn
- Tapestry needle: For sewing and weaving in ends
Step-by-Step Instructions
Creating the Succulent Leaves
- Round 1: Using the green yarn, create a magic ring. Work 6 single crochets (sc) into the ring. (You should have 6 stitches.)
- Round 2: Increase in each stitch around. (You should have 12 stitches.)
- Round 3: *Sc in the next stitch, 2 sc in the next stitch*; repeat from * to * around. (You should have 18 stitches.)
- Rounds 4-6: Sc in each stitch around. (You should have 18 stitches for each round.)
- Round 7: *Sc in the next stitch, sc2tog*; repeat from * to * around. (You should have 12 stitches.)
- Round 8: Sc2tog around. (You should have 6 stitches.)
- Fasten off the green yarn and leave a long tail for sewing.
Creating the Pot
- Round 1: Using the terracotta yarn, create a magic ring. Work 6 single crochets (sc) into the ring. (You should have 6 stitches.)
- Round 2: Increase in each stitch around. (You should have 12 stitches.)
- Round 3: *Sc in the next stitch, 2 sc in the next stitch*; repeat from * to * around. (You should have 18 stitches.)
- Rounds 4-6: Sc in each stitch around. (You should have 18 stitches for each round.)
- Round 7: Switch to brown yarn and sc in each stitch around. (You should have 18 stitches.)
- Round 8: *Sc in the next stitch, sc2tog*; repeat from * to * around. (You should have 12 stitches.)
- Round 9: Sc2tog around. (You should have 6 stitches.)
- Fasten off the brown yarn and weave in the ends.
Assembly
- Lightly stuff the succulent leaves with fiberfill.
- Sew the leaves together at the base using the long tail left from the last round.
- Attach the leaves to the top of the pot, ensuring they are secure.
- Use the remaining tail to sew the leaves in place firmly.
- Weave in any remaining ends to finish your succulent amigurumi.
Congratulations! You have successfully created your own whimsical succulent amigurumi. This charming piece is perfect for home decor or as a thoughtful gift for a friend. Enjoy your crafting!



