Amigurumi Patterns
Vintage Retro Black & White Amigurumi Camera Free Pattern
Anonymous
•
June 30, 2026
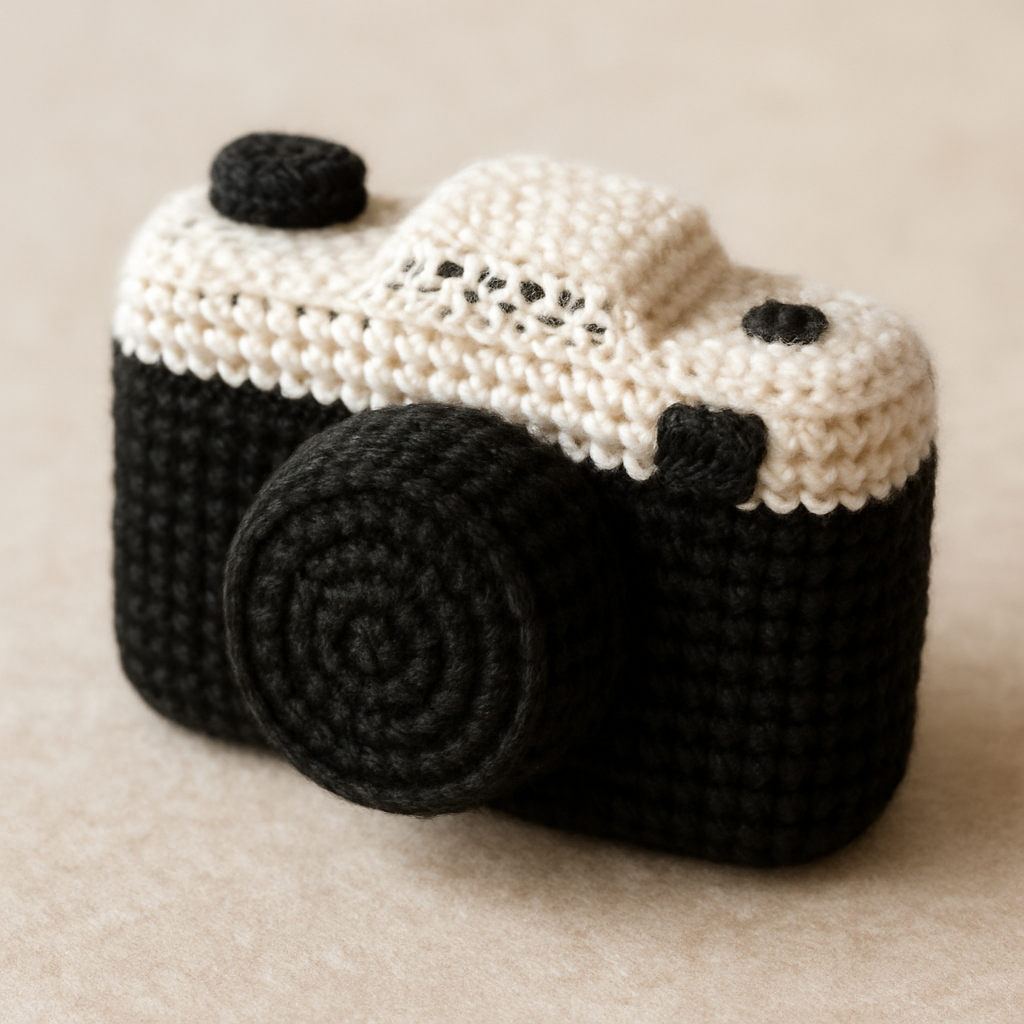
Vintage Retro Black & White Amigurumi Camera Free Pattern
Introduction
Capture the essence of nostalgia with this Vintage Retro Amigurumi Camera pattern. Featuring a striking black and white contrast and delicate lace detailing, this charming piece is perfect for adding a touch of retro flair to your decor or as a unique gift for photography enthusiasts. Whether you're a seasoned crocheter or a beginner looking for a fun project, this pattern will guide you step-by-step to create your very own amigurumi camera.
Materials Needed
- DK weight cotton yarn in black and white
- 3.5mm crochet hook
- Fiberfill stuffing (for shaping)
- Yarn needle (for weaving in ends and sewing pieces together)
- Scissors
Step-by-Step Instructions
1. Camera Body (Main Section)
- With black yarn, make a magic ring.
- Round 1: 6 single crochet (sc) into the magic ring. (6 sts)
- Round 2: 2 sc in each stitch around. (12 sts)
- Round 3: (1 sc, 2 sc in next st) around. (18 sts)
- Round 4: (2 sc, 2 sc in next st) around. (24 sts)
- Rounds 5-10: Sc in each stitch around. (24 sts)
- Change to white yarn.
- Rounds 11-15: Sc in each stitch around. (24 sts)
- Fasten off and weave in the ends securely.
2. Camera Lens
- With black yarn, make a magic ring.
- Round 1: 6 sc into the magic ring. (6 sts)
- Round 2: 2 sc in each stitch around. (12 sts)
- Round 3: (1 sc, 2 sc in next st) around. (18 sts)
- Round 4: (2 sc, 2 sc in next st) around. (24 sts)
- Fasten off and leave a long tail for sewing.
3. Lace Mesh Detail
- With white yarn, chain (ch) 30.
- Row 1: Double crochet (dc) in the 4th ch from the hook, ch 1, skip the next ch, dc in the next ch, repeat across until the end of the row.
- Row 2: Ch 3, turn, dc in the first dc, ch 1, skip the next ch, dc in the next dc, repeat across until the end of the row.
- Fasten off and sew onto the top of the camera body using the yarn needle.
4. Assembly
- Position the lens onto the front center of the camera body and sew it securely in place.
- Attach the lace mesh detail on top of the camera body, ensuring it is centered.
- Optionally, you can embroider small details like buttons or a viewfinder using black yarn to enhance the retro look.
5. Finishing Touches
- Lightly stuff the camera body with fiberfill to give it shape, ensuring it maintains a soft yet structured appearance.
- Sew the bottom closed with black yarn, making sure it is secure and neat.
- Weave in all ends securely to finish your project.
Congratulations! You have successfully created your very own Vintage Retro Black & White Amigurumi Camera. This delightful piece is sure to add charm to your home or make a wonderful gift. Happy crocheting!
Also Check Out: We think you'd love this beautiful pattern on our sister site: Retro Sunset Lace Tote Free Pattern



