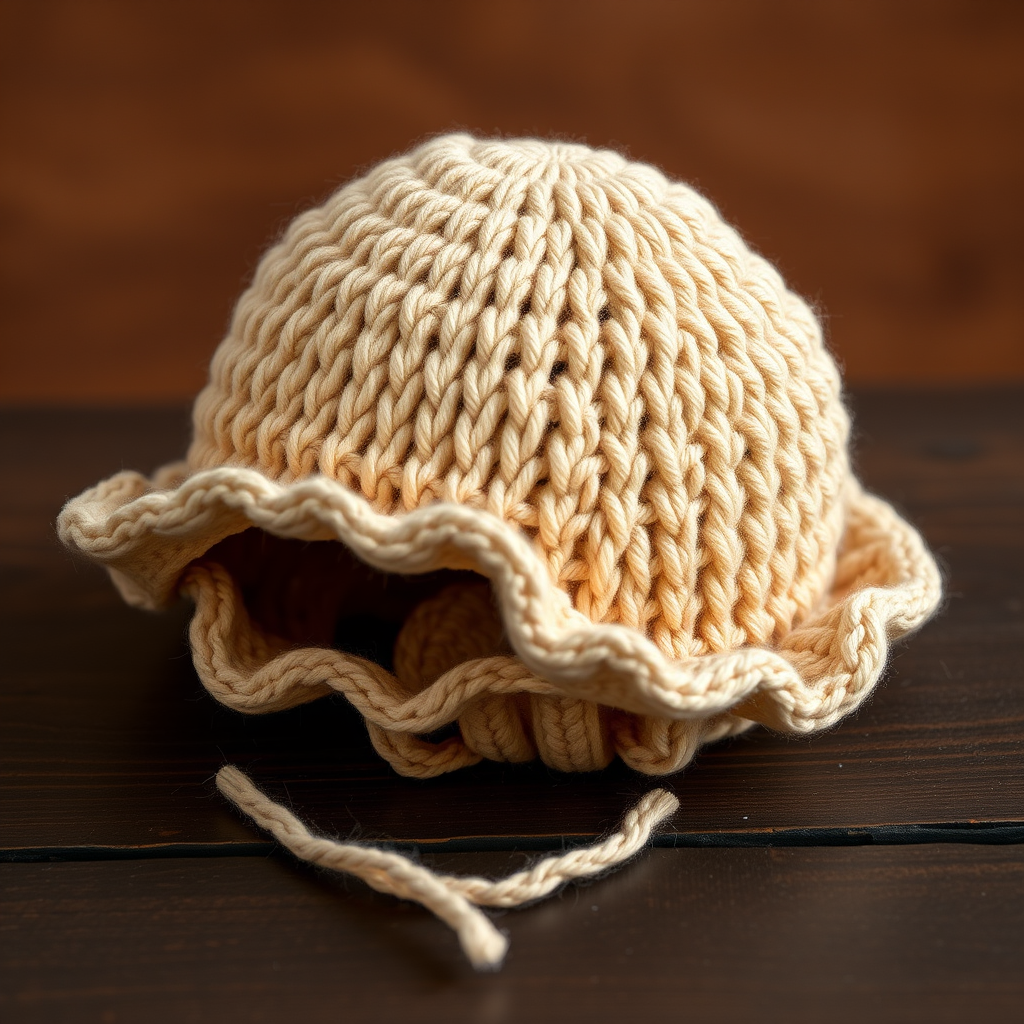
The Whiskered Moonbeam Bonnet: A Free Knitting Pattern for a Textured, Lace-Trimmed Cat Ears Baby Hat
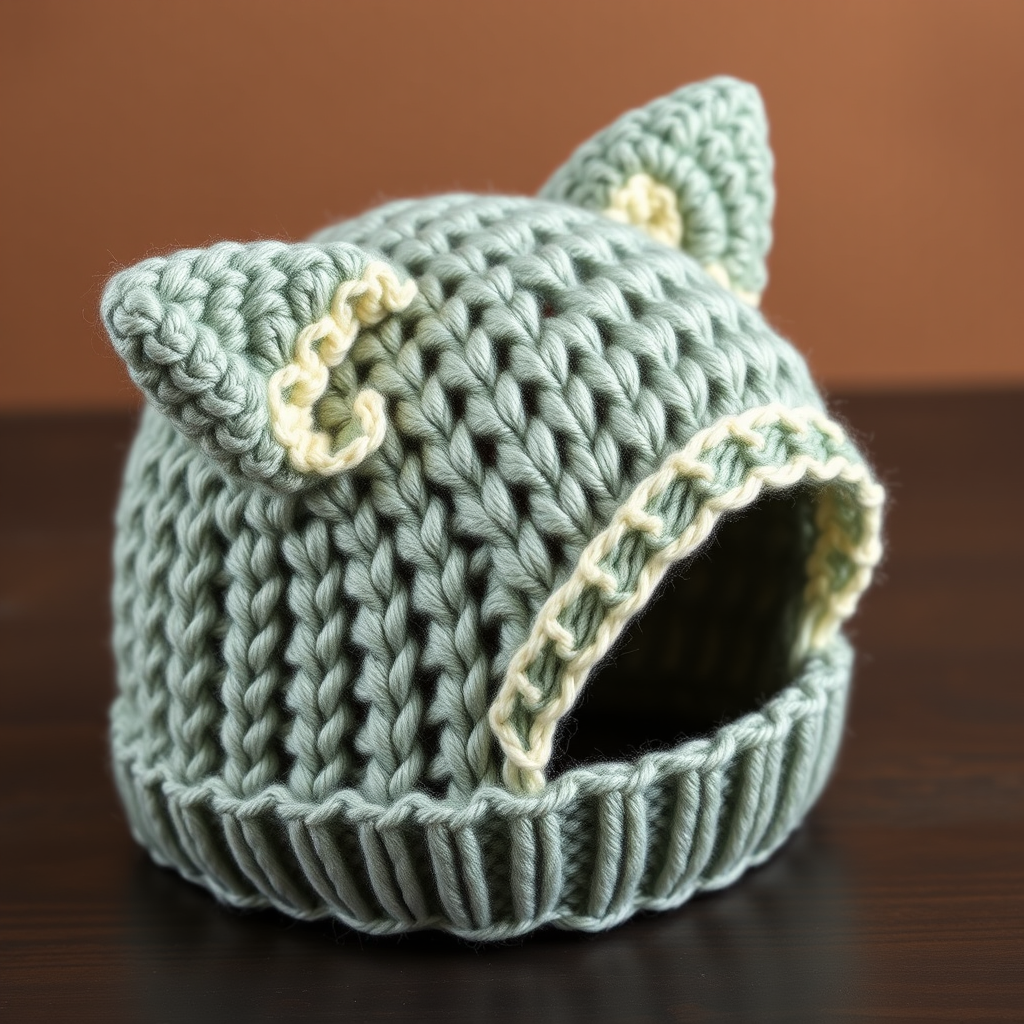
Introducing the Whiskered Moonbeam Bonnet
There's something truly magical about combining classic knitting techniques with a touch of whimsy. The Whiskered Moonbeam Bonnet is a free knitting pattern that does exactly that—blending the cozy, textured seed stitch with delicate lace-trimmed cat ears. This enchanting bonnet creates a whimsical yet heirloom-quality accessory for your little one, perfect for special occasions or everyday adventures. The soft, moonlit palette of silver sage and cream makes it a modern classic that will be treasured for years to come.
Whether you're a seasoned knitter looking for a quick, satisfying project or a confident beginner ready to try something new, this pattern offers clear instructions and beautiful results. The combination of seed stitch, simple decreases, and a touch of lace makes this bonnet both engaging to knit and stunning to behold.
Materials Needed
Before you begin, gather the following materials. Using the recommended yarn will help you achieve the best results, but any worsted weight (#4) yarn will work as long as you match the gauge.
Yarn
- Main Color (MC) - Silver Sage: 100 yards of worsted weight (#4) yarn. Recommended: Berroco Ultra Wool in 'Silver Sage' or similar.
- Contrast Color (CC) - Cream: 50 yards of worsted weight (#4) yarn. Recommended: Berroco Ultra Wool in 'Cream' or similar.
Needles & Notions
- Circular Needle: US 6 (4.0 mm) 16-inch circular needle.
- Double-Pointed Needles (DPNs): US 6 (4.0 mm) for working the crown decreases when stitches become too few for the circular needle.
- Stitch markers (optional, for marking the beginning of the round).
- Tapestry needle for weaving in ends and sewing ears.
- Scissors.
Gauge
20 stitches and 28 rows = 4 inches in seed stitch, blocked. Taking the time to check your gauge is essential for achieving the correct size. If your gauge is off, adjust your needle size accordingly.
Step-by-Step Instructions
This pattern is written for three sizes: 0-3 months (3-6 months, 6-12 months). Finished head circumference: 14 (15, 16) inches. Instructions are given for the smallest size, with larger sizes in parentheses.
Abbreviations
- CO: cast on
- k: knit
- p: purl
- k2tog: knit two together (right-leaning decrease)
- p2tog: purl two together
- yo: yarn over
- ssk: slip, slip, knit (left-leaning decrease)
- st(s): stitch(es)
- MC: Main Color (Silver Sage)
- CC: Contrast Color (Cream)
- RS: right side
- WS: wrong side
Hat Body (Worked in the Round from Brim Up)
Step 1: Cast On and Join
With MC and your 16-inch circular needle, CO 70 (76, 82) stitches. Place a stitch marker to mark the beginning of the round. Join to work in the round, being very careful not to twist the stitches. If you're unsure, lay your work flat and make sure the cast-on edge is not twisted before joining.
Step 2: Brim
Work in a simple 1x1 ribbing for the brim:
- Round 1: *k1, p1; repeat from * around.
- Repeat Round 1 until the brim measures 1 (1.25, 1.5) inches from the cast-on edge.
Step 3: Body (Seed Stitch)
Now you'll work the body of the hat in seed stitch. Seed stitch creates a beautiful, bumpy texture that is reversible and has wonderful drape.
- Round 1: *k1, p1; repeat from * around.
- Round 2: *p1, k1; repeat from * around.
- Repeat Rounds 1 and 2 (alternating them) until the piece measures 4 (4.5, 5) inches from the cast-on edge. End after completing a Round 2.
Step 4: Crown Decreases
When your stitches become too few to comfortably work on the circular needle, switch to your double-pointed needles (DPNs). Distribute the stitches evenly across three or four DPNs.
- Round 1 (Decrease Round): *k2tog, p2tog; repeat from * around. You will have 35 (38, 41) stitches remaining.
- Round 2: *k1, p1; repeat from * around.
- Round 3 (Decrease Round): *k2tog; repeat from * around. You will have 18 (19, 21) stitches remaining.
- Round 4 (Decrease Round): *k2tog; repeat from * around. You will have 9 (10, 11) stitches remaining.
Cut the yarn, leaving a 6-inch tail. Thread the tail through a tapestry needle, then pass the needle through all remaining stitches. Pull tight to close the top of the hat. Secure the yarn on the inside of the hat and weave in the end.
Cat Ears (Make 2)
Step 1: Cast On and Work Body
With CC (Cream), CO 12 stitches. Work flat (back and forth) in stockinette stitch for 2 inches. Stockinette stitch is worked as follows:
- Right Side (RS) rows: Knit all stitches.
- Wrong Side (WS) rows: Purl all stitches.
Continue until the piece measures 2 inches from the cast-on edge, ending after a WS row.
Step 2: Ear Shaping
Now you'll decrease to create the pointed ear shape.
- Row 1 (RS): ssk, knit to the last 2 stitches, k2tog. (10 stitches)
- Row 2 (WS): p2tog, purl to the last 2 stitches, p2tog. (8 stitches)
- Repeat Rows 1 and 2 until only 2 stitches remain. Cut the yarn, leaving a 6-inch tail. Thread the tail through the last 2 stitches and pull tight to close the tip of the ear. Weave in the end.
Step 3: Lace Trim
This delicate lace edging is what makes the ears truly special. With RS facing, using CC, pick up and knit 1 stitch in each row along the shaped edge of the ear. You should pick up approximately 20-24 stitches along the diagonal edge. (The exact number isn't critical, but try to be consistent on both ears.)
- Row 1 (WS): Purl all stitches.
- Row 2 (RS): *yo, k2tog; repeat from * across the row.
- Row 3: Purl all stitches.
- Bind off loosely (use a larger needle if needed to keep the edge from being too tight). Weave in the ends.
Finishing
Step 1: Attach the Ears
Position the ears on the top of the hat, about 1.5 inches apart at the center of the crown. Angle them slightly outward for a playful, cat-like silhouette. Using the tails from the ear cast-on, sew each ear securely to the hat. Make sure the lace trim faces outward and is visible.
Step 2: Weave in All Ends
Using your tapestry needle, weave in all remaining yarn ends on the inside of the hat. Trim any excess yarn.
Step 3: Blocking
Blocking is essential to open up the lace trim and even out the seed stitch. Gently wet the hat (or use a steam iron held above the fabric) and shape it to the correct dimensions. Pay special attention to the lace trim on the ears, gently stretching it to reveal the eyelets. Lay flat to dry.
Your Whiskered Moonbeam Bonnet is now complete! This charming hat makes a wonderful gift for a baby shower or a special addition to your own little one's wardrobe. The combination of seed stitch texture and delicate lace-trimmed ears is sure to bring smiles and compliments wherever it goes.