Starlight Sprite Pixie Hat Free Pattern – Knit a Cozy Christmas Baby Hat

Starlight Sprite Pixie Hat Free Pattern – Knit a Cozy Christmas Baby Hat
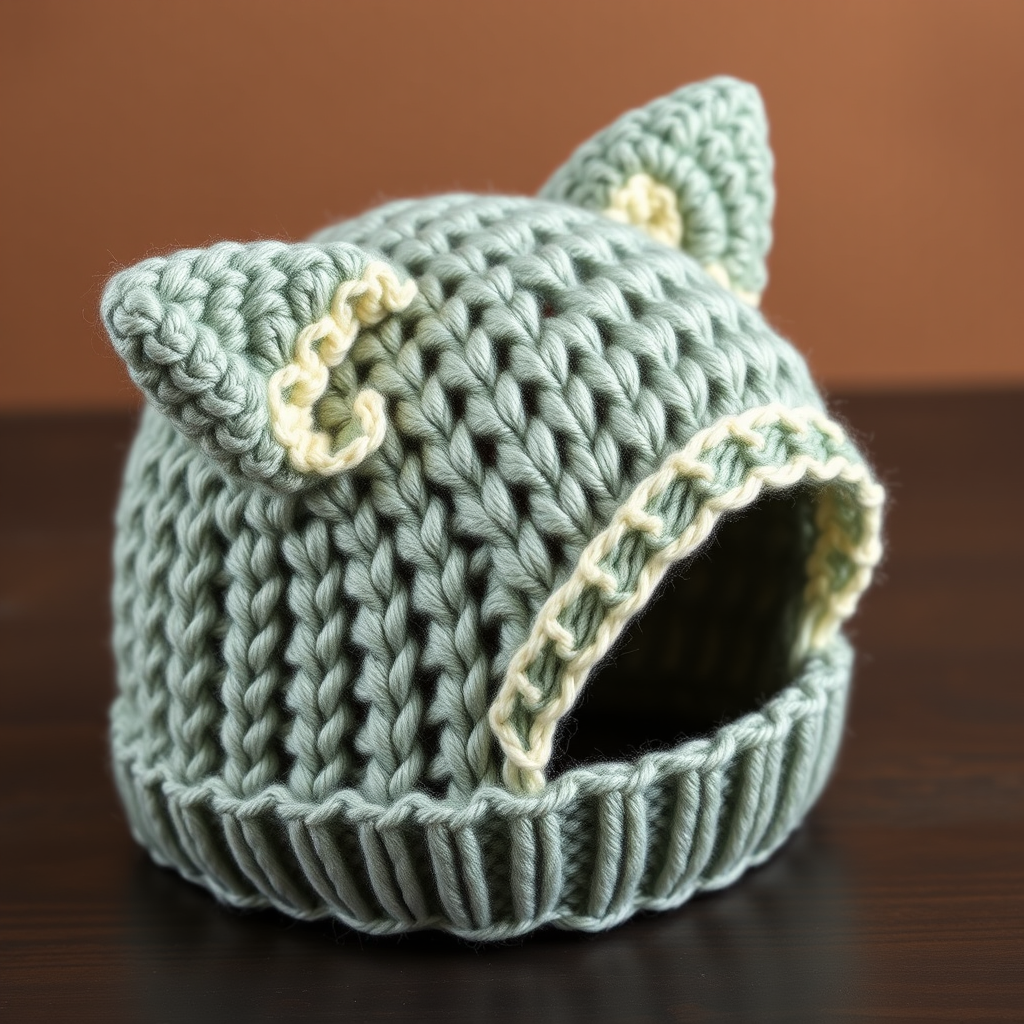
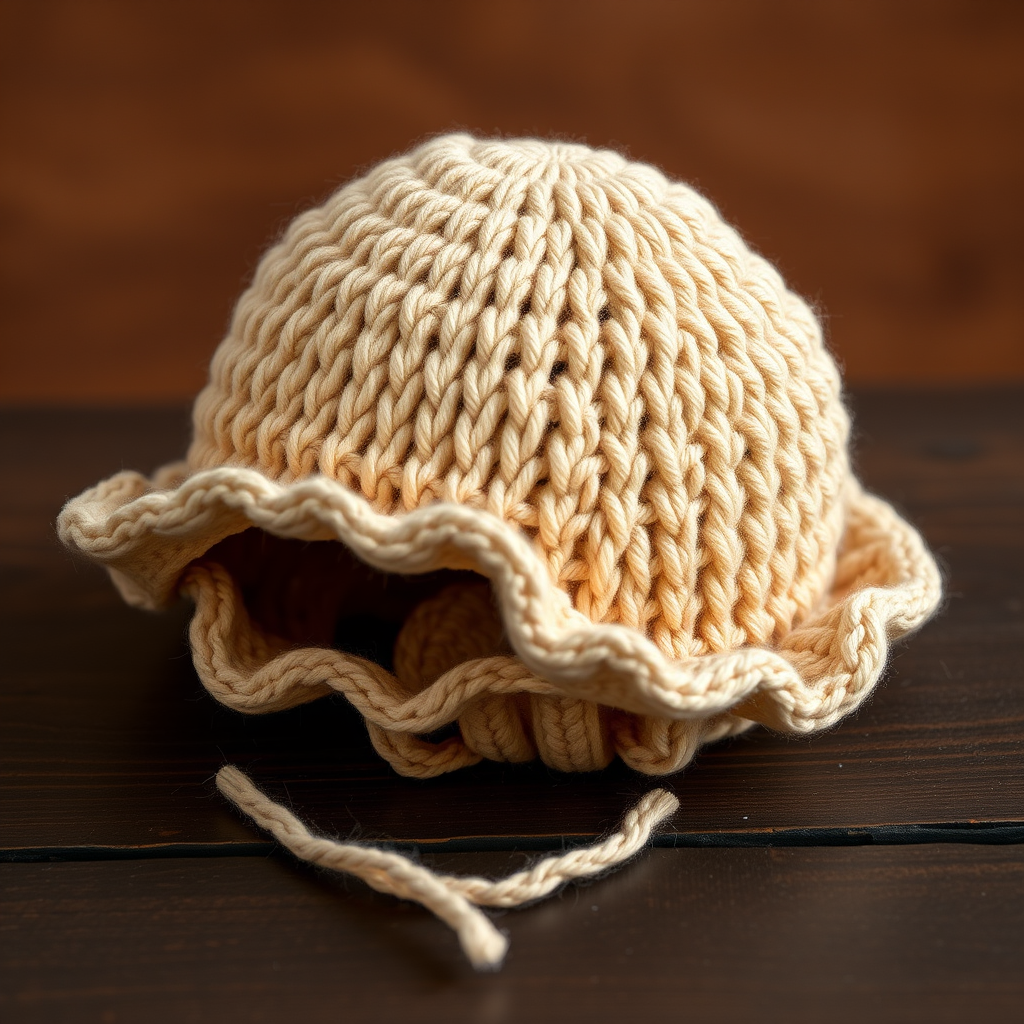
Wrap your little one in celestial charm with this pointed pixie hat, knit in a deep evergreen with a frosty white star motif. The soft, textured ribbing and playful tassel make it a magical holiday heirloom. This free knitting pattern is perfect for beginners and experienced knitters alike, creating a cozy, handmade gift that will be treasured for years to come.
Why You'll Love This Pixie Hat Pattern
This adorable baby hat combines classic pixie styling with a unique star stitch texture that evokes a winter night sky. The deep evergreen main color (MC) paired with frosty white contrast color (CC) creates a festive, Christmas-ready look. The pointed crown with a fluffy tassel adds that whimsical pixie charm, while the ribbed brim ensures a snug, comfortable fit for your little one.
Materials Needed
Before you begin, gather the following materials:
- Yarn: Worsted weight yarn in evergreen (MC) and white (CC), approximately 150 yards MC and 50 yards CC
- Needles: US 6 (4.0 mm) 16-inch circular needle and double-pointed needles (or size to obtain gauge)
- Gauge: 20 stitches and 28 rows = 4 inches in stockinette stitch
- Notions: Stitch markers, tapestry needle for weaving in ends, scissors
- Optional: Satin ribbon for decorative eyelet holes
Sizes and Measurements
This pattern includes two sizes:
- Newborn (0-3 months): Finished circumference 12 inches, height 7 inches
- 3-6 months: Finished circumference 13 inches, height 8 inches
Abbreviations
Familiarize yourself with these standard knitting abbreviations:
- k = knit
- p = purl
- k2tog = knit two together (decrease)
- ssk = slip slip knit (decrease)
- yo = yarn over (increase)
- pm = place marker
- MC = main color (evergreen)
- CC = contrast color (white)
Special Stitch: Star Stitch
This pattern features a beautiful star stitch that creates a twisted, star-like texture. Here's how to work it:
Star Stitch (worked over 2 stitches): Insert the right needle into the second stitch on the left needle, knit it but do not drop it, then knit the first stitch, and drop both stitches. This creates a twisted, textured effect that resembles tiny stars.
Step-by-Step Instructions
Hat Body
Step 1: Cast On
With MC, cast on 60 (66) stitches. Join in the round, being careful not to twist your work. Place a marker for the beginning of the round.
Step 2: Ribbed Brim
Rounds 1-8: Work k1, p1 ribbing for a snug, stretchy edge. This creates the classic ribbed brim that will keep the hat securely on your baby's head.
Step 3: Stockinette Base
Rounds 9-16: Switch to stockinette stitch (knit every round) in MC. This forms the smooth base for the star pattern.
Step 4: Eyelet Row (Optional)
Round 17: *K2, yo, k2tog, k1, repeat from * to end. This creates small eyelet holes for a decorative ribbon, if desired.
Step 5: Continue Stockinette
Rounds 18-20: Knit in MC.
Step 6: First Star Band
Round 21: Switch to CC. *K1, star stitch (as described above), k2, repeat from * to end. Work the star stitch across the entire round.
Round 22: Knit in CC.
Step 7: Return to MC
Round 23: Switch to MC. Knit all stitches.
Step 8: Repeat Star Bands
Rounds 24-30: Repeat Rounds 21-23 twice more, so you have three CC star bands total. This creates the beautiful textured pattern that gives the hat its celestial charm.
Step 9: Final Stockinette Section
Rounds 31-34: Knit in MC. (For the 3-6 months size, add 2 extra rounds here for additional length.)
Shaping the Crown
Now we'll shape the pointed pixie crown with a series of decreases:
Round 35: *K8 (9), k2tog, repeat from * to end. (54 (60) stitches remain)
Round 36: Knit.
Round 37: *K7 (8), k2tog, repeat from * to end. (48 (54) stitches)
Round 38: Knit.
Round 39: *K6 (7), k2tog, repeat from * to end. (42 (48) stitches)
Round 40: Knit.
Round 41: *K5 (6), k2tog, repeat from * to end. (36 (42) stitches)
Round 42: Knit.
Round 43: *K4 (5), k2tog, repeat from * to end. (30 (36) stitches)
Round 44: Knit.
Round 45: *K3 (4), k2tog, repeat from * to end. (24 (30) stitches)
Round 46: *K2 (3), k2tog, repeat from * to end. (18 (24) stitches)
Round 47: *K1 (2), k2tog, repeat from * to end. (12 (18) stitches)
Round 48: *K2tog, repeat from * to end. (6 (9) stitches)
Finishing the Crown: Cut the yarn, leaving a 12-inch tail. Thread the tail through the remaining stitches, pull tight to close the point, and secure firmly.
Creating the Tassel
Step 1: Cut 12 strands of MC yarn, each 8 inches long.
Step 2: Fold them in half to create a loop.
Step 3: Insert the folded end through the tip of the hat from inside to outside.
Step 4: Pull the loose ends through the loop and tighten to secure.
Step 5: Trim the tassel to an even length for a polished finish.
Finishing Touches
Weave in Ends: Use a tapestry needle to weave in all loose ends carefully, ensuring they're secure and invisible from the outside.
Optional Ribbon: If you created the eyelet holes in Round 17, thread a satin ribbon through them and tie a small bow for an extra-special touch.
Tips for Perfect Results
- Check your gauge: Always knit a gauge swatch before starting to ensure your hat will be the correct size.
- Use stitch markers: Place markers between pattern repeats to help you keep track of your place.
- Keep tension even: When switching between MC and CC, be careful not to pull the yarn too tightly, which can cause puckering.
- Block gently: After finishing, gently block the hat to even out the stitches and enhance the star pattern.
Care Instructions
To keep this handmade treasure looking its best, hand wash in cold water with a gentle wool wash, then lay flat to dry. Reshape while damp to maintain the pointed crown and ribbed brim.
Share Your Creation
We'd love to see your Starlight Sprite Pixie Hat! Share photos of your finished project on social media with the hashtag #StarlightSpriteHat and tag us so we can admire your handiwork. This pattern makes a wonderful gift for baby showers, Christmas presents, or a special addition to your own little one's winter wardrobe.
Happy knitting, and may your holidays be filled with warmth, wonder, and the magic of handmade gifts!