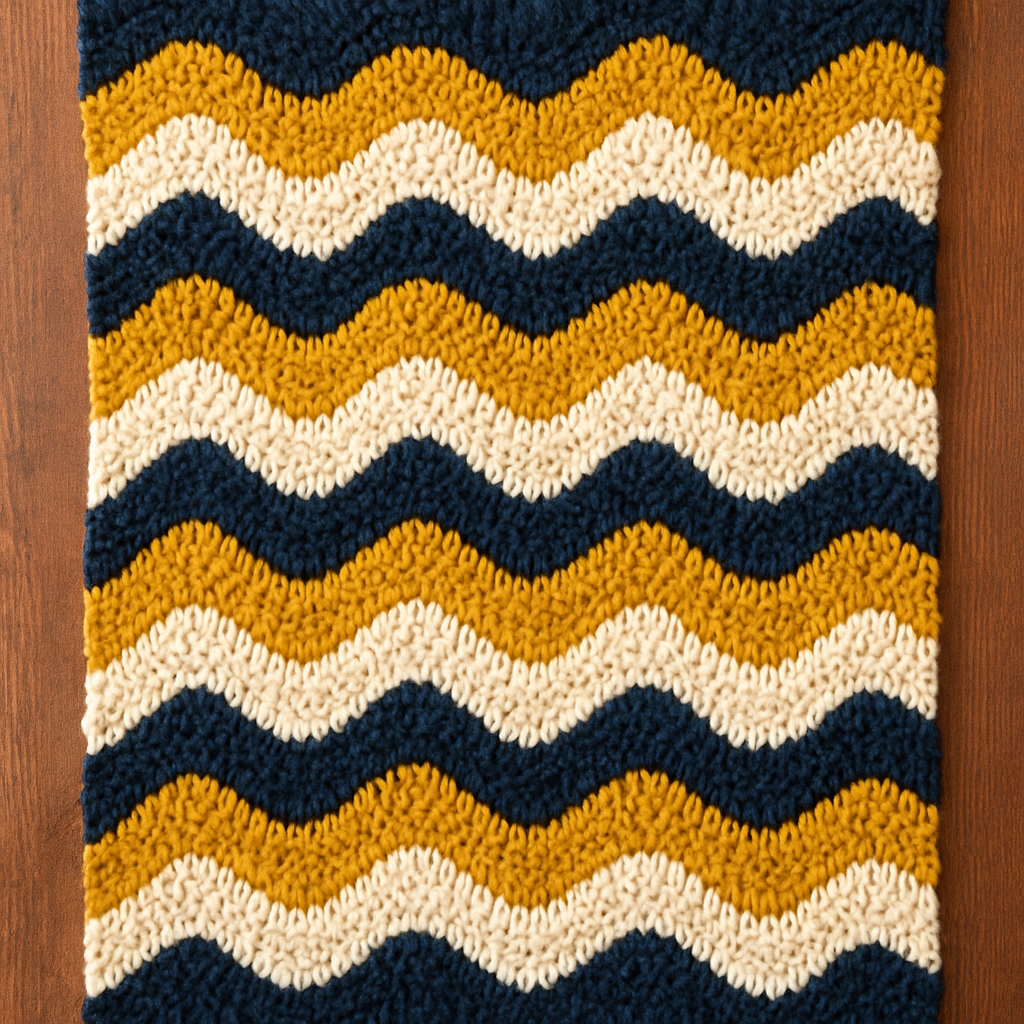
The Textured Peaks Chunky Knit Sweater Free Pattern

The Textured Peaks Chunky Knit Sweater Free Pattern
Dive into the world of avant-garde fashion with this Textured Peaks Chunky Knit Sweater. Its bold, sculptural design and cozy warmth make it a standout piece for any wardrobe. This pattern is perfect for beginners looking to enhance their knitting skills while creating a stylish and functional garment.
Materials Needed
- Yarn: Super bulky weight yarn, approximately 600-800 yards
- Needles: US 15 (10 mm) knitting needles
- Gauge: 8 stitches and 12 rows = 4 inches in stockinette stitch
Step-by-Step Instructions
1. Casting On
Begin by casting on 60 (70, 80) stitches using the long-tail cast-on method. Ensure your stitches are not too tight, as this will affect the elasticity of the ribbing.
2. Ribbing
Work in 1x1 ribbing (knit 1, purl 1) for 2 inches. This will create a stretchy and comfortable neckline. Make sure to keep your tension consistent throughout this section.
3. Transition to Stockinette Stitch
After completing the ribbing, switch to stockinette stitch. To do this, knit every row for 10 inches. Remember to count your rows to ensure you reach the desired length.
4. Textured Peaks Pattern
Now, it's time to create the textured peaks:
- Row 1 (Right Side): *K4, p2; repeat from * to end.
- Row 2 (Wrong Side): *P4, k2; repeat from * to end.
Repeat these two rows for a total of 6 inches. This will form the beautiful, raised peaks across the body of the sweater.
5. Shaping the Shoulders
To shape the shoulders, bind off 5 (6, 7) stitches at the beginning of the next 4 rows. This will create a gentle slope for the shoulders. After completing this step, bind off the remaining stitches.
6. Creating the Sleeves
For the sleeves, pick up 30 (35, 40) stitches around the armhole. Make sure to evenly distribute the stitches to avoid puckering.
Work in stockinette stitch for 18 inches, knitting every row. As you approach the end of the sleeve, you will need to decrease the stitches:
- Decrease 1 stitch at each end every 4th row until you have 20 (25, 30) stitches remaining.
Once you reach the desired stitch count, bind off all stitches.
7. Assembly
Now it's time to assemble your sweater:
- Sew the side seams of the body together, ensuring the edges align neatly.
- Attach the sleeves to the armholes, making sure to match the seams for a clean finish.
8. Finishing Touches
Weave in all ends using a tapestry needle to give your sweater a polished look. Make sure all loose threads are secured to prevent unraveling.
Conclusion
Congratulations on completing your Textured Peaks Chunky Knit Sweater! This voluminous, oversized garment not only showcases your knitting skills but also adds a dramatic flair to your wardrobe. Enjoy wearing your new creation or gift it to someone special!