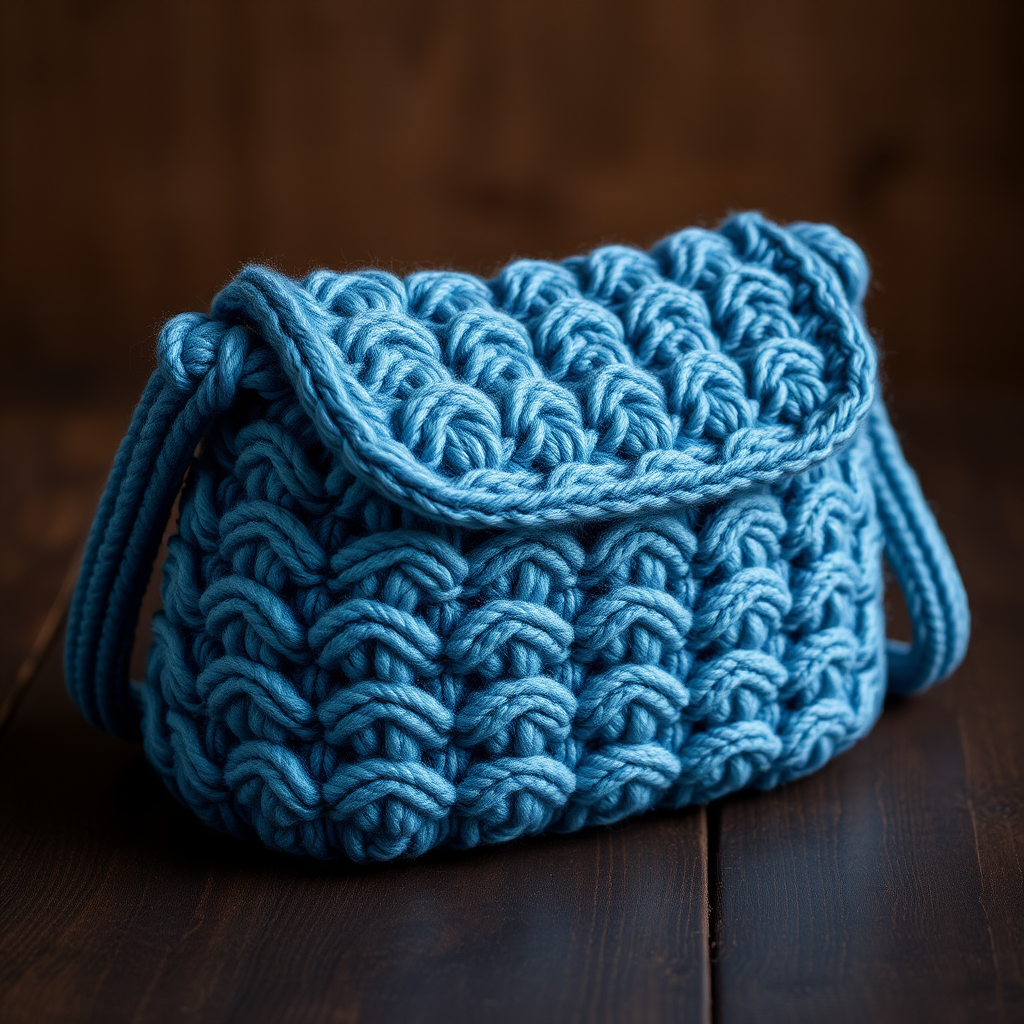
The Speckled Egg Felted Tote: A Free Knitting Pattern for a Textured, Modern Accessory

Introducing the Speckled Egg Felted Tote
This unique felted tote combines the cozy texture of felted wool with a playful polka dot motif, creating a sturdy and stylish bag perfect for everyday use. The felting process transforms the knitted fabric into a dense, durable material that holds its shape beautifully. Whether you're a seasoned knitter or a beginner looking for a rewarding project, this pattern offers a modern, organic aesthetic that's both functional and fashionable. The speckled egg-inspired design, with its soft oatmeal base and muted sage green dots, brings a touch of nature to your accessory collection.
Materials Needed
To create your Speckled Egg Felted Tote, gather the following materials. Note that using 100% wool (non-superwash) is essential for successful felting—superwash wool will not felt properly.
- Yarn: Worsted weight 100% wool yarn (non-superwash) in two colors:
- Main Color (MC): 300g (e.g., soft oatmeal)
- Contrast Color (CC): 100g (e.g., muted sage green)
- Needles:
- US 10 (6mm) straight knitting needles
- US 10 (6mm) circular knitting needle (24-inch length)
- Other: Tapestry needle for seaming and weaving ends
- Gauge: 14 stitches and 20 rows = 4 inches in stockinette stitch before felting. Gauge is not critical after felting, but consistency is important for even shaping.
Step-by-Step Instructions
Note: This pattern is knitted flat in pieces and then seamed before felting. The polka dots are created using a simple intarsia technique. Read through all instructions before beginning.
Abbreviations
- CO: Cast on
- K: Knit
- P: Purl
- St(s): Stitch(es)
- MC: Main Color
- CC: Contrast Color
- RS: Right side
- WS: Wrong side
Bag Body (Make 2 pieces)
Each bag body piece is worked flat from the bottom up. You will make two identical pieces, one for the front and one for the back.
- With MC and straight needles, CO 40 sts.
- Row 1 (RS): K all sts.
- Row 2 (WS): P all sts.
- Repeat Rows 1-2 until piece measures 12 inches from cast-on edge, ending with a WS row. This forms the lower section of the bag body.
Polka Dot Pattern (worked over 40 sts)
Now you will work the polka dot section using intarsia. When changing colors, twist the yarns on the WS to prevent holes. Carry the unused color loosely across the back.
- Row 1 (RS): With MC, K10, with CC, K5, with MC, K10, with CC, K5, with MC, K10.
- Row 2 (WS): With MC, P10, with CC, P5, with MC, P10, with CC, P5, with MC, P10.
- Row 3 (RS): With MC, K10, with CC, K5, with MC, K10, with CC, K5, with MC, K10.
- Row 4 (WS): With MC, P10, with CC, P5, with MC, P10, with CC, P5, with MC, P10.
- Row 5 (RS): With MC, K10, with CC, K5, with MC, K10, with CC, K5, with MC, K10.
- Row 6 (WS): With MC, P10, with CC, P5, with MC, P10, with CC, P5, with MC, P10.
- Row 7 (RS): With MC, K40.
- Row 8 (WS): With MC, P40.
- Row 9 (RS): With MC, K5, with CC, K5, with MC, K20, with CC, K5, with MC, K5.
- Row 10 (WS): With MC, P5, with CC, P5, with MC, P20, with CC, P5, with MC, P5.
- Row 11 (RS): With MC, K5, with CC, K5, with MC, K20, with CC, K5, with MC, K5.
- Row 12 (WS): With MC, P5, with CC, P5, with MC, P20, with CC, P5, with MC, P5.
- Row 13 (RS): With MC, K5, with CC, K5, with MC, K20, with CC, K5, with MC, K5.
- Row 14 (WS): With MC, P5, with CC, P5, with MC, P20, with CC, P5, with MC, P5.
- Row 15 (RS): With MC, K40.
- Row 16 (WS): With MC, P40.
- Repeat Rows 1-16 once more. Then repeat Rows 1-6 once. This completes the polka dot section.
Top Edge
- With MC only, work in stockinette stitch (K on RS, P on WS) for 2 inches.
- Bind off loosely. Repeat for the second bag body piece.
Gusset and Handles
The gusset is a long strip that will form the bottom and sides of the bag, giving it a 3D shape. The handles are braided from yarn.
- Gusset: With circular needle and MC, CO 10 sts. Work in stockinette stitch (knit every row—this is garter stitch, which lies flat) until piece measures 30 inches long. Bind off.
- Handles: Cut two 24-inch lengths of MC yarn. For each handle, braid the length into a sturdy braid (like a three-strand braid). Set aside.
Assembly
Use a tapestry needle and MC yarn for all seaming. Work with the right sides facing out for a neat finish.
- Sew bag body pieces: Place the two bag body pieces together with right sides facing. Sew along the sides and bottom using a whip stitch or mattress stitch. Leave the top open.
- Attach gusset: Pin the gusset strip around the bottom and sides of the bag, matching the edges. The gusset will wrap around the bottom and up the sides. Sew securely, easing the gusset to fit. This creates a flat bottom and structured shape.
- Attach handles: Sew the ends of each braided handle securely to the inside of the bag, about 4 inches apart. Position them on the top edge, centered on each side. Reinforce with extra stitches.
Felting
Felting shrinks and densifies the wool, creating a sturdy fabric. Monitor closely to avoid over-felting.
- Place the bag in a pillowcase and tie the top closed. This protects your washing machine from excess lint.
- Wash in a washing machine on a hot water cycle with a small amount of detergent. Add a pair of jeans or towels to increase agitation.
- Check the bag every 5 minutes during the cycle. The felting process can take 15-30 minutes depending on your machine and yarn. Stop when stitches are no longer distinct and the fabric is firm but not rock-hard.
- Once the desired density is achieved, remove from the machine immediately.
- Rinse in cold water to stop the felting process. Gently squeeze out excess water—do not wring, as this can distort the shape.
- Shape the bag while damp: stuff with towels to help it hold its rectangular shape. Allow to air dry completely (24-48 hours). Remove towels once dry.
Your Speckled Egg Felted Tote is now ready to use! Enjoy the modern, organic texture and the satisfaction of a handmade accessory.