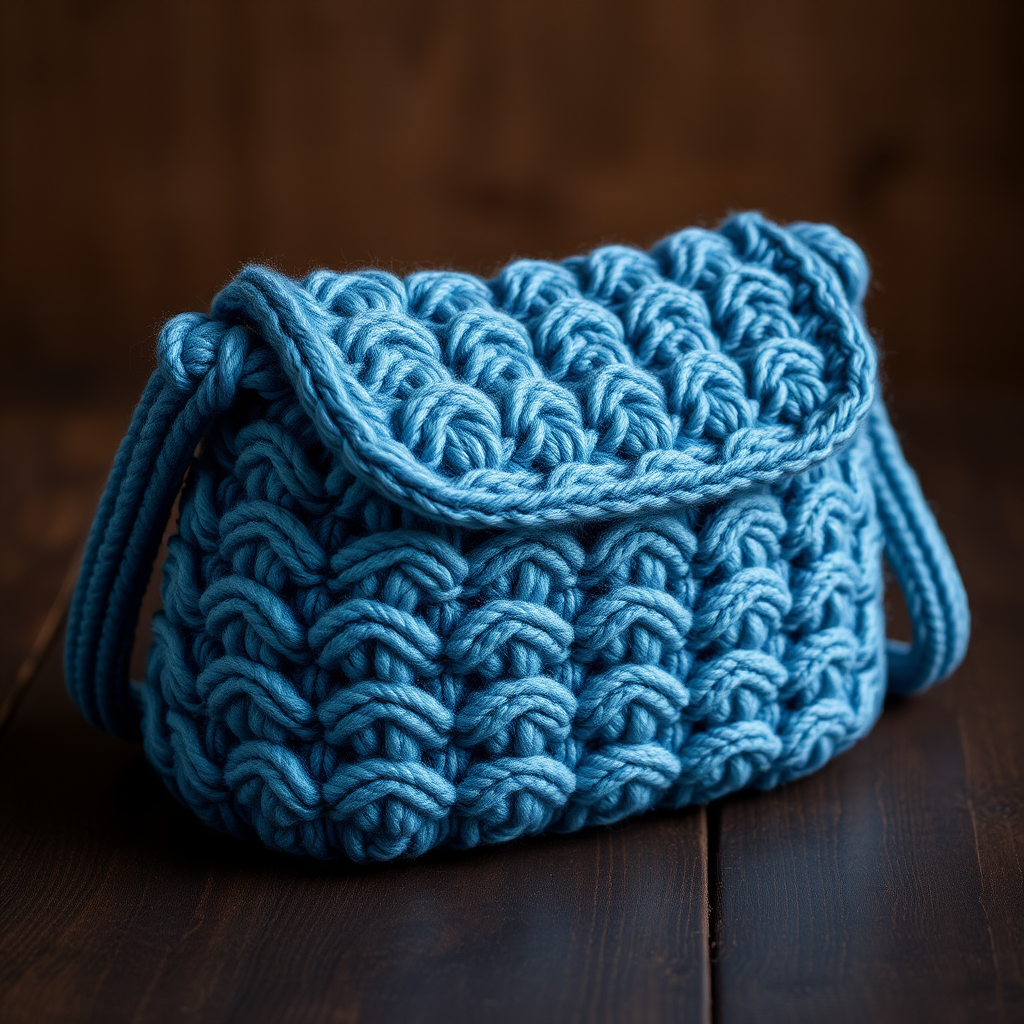
The Shifting Dune Tote: A Free Knitting Pattern for a Textured, Color-Blocked Slouchy Bag

Introducing the Shifting Dune Tote: A Modern Knitting Adventure
Carry your essentials in style with this modern, slouchy tote, featuring a mesmerizing interplay of slipped stitches and bold color blocking. The Shifting Dune Tote is a quick, satisfying knit that creates a uniquely textured fabric reminiscent of wind-swept sand dunes. This free pattern is perfect for adventurous beginners looking to expand their skills with slipped stitches and simple color work, resulting in a stunning, bohemian-inspired accessory that’s both functional and fashionable.
Materials Needed
Before you begin, gather the following supplies to ensure a smooth knitting experience:
- Yarn: Worsted weight (#4) cotton or cotton-blend yarn in three colors:
- Color A (Sand): 100g (approx. 200 yards)
- Color B (Terracotta): 80g (approx. 160 yards)
- Color C (Deep Teal): 70g (approx. 140 yards)
- Needles: US 8 (5mm) circular knitting needle, 24-inch (60cm) length, or size to obtain gauge.
- Notions: Tapestry needle for weaving ends and seaming, stitch markers (optional), scissors.
- Gauge: 18 stitches and 24 rows = 4 inches (10cm) in Stockinette stitch, blocked. Tip: Always knit a gauge swatch to ensure your finished bag matches the intended size.
Step-by-Step Instructions
Notes: The bag is worked flat in one piece from the bottom up, then seamed. The slipped stitch pattern creates a dense, sturdy fabric. Use a slip knot to join new colors. Read through all instructions before beginning.
Bottom (worked in Color A)
- Cast on 40 stitches using Color A.
- Row 1 (RS): Knit all stitches.
- Row 2 (WS): Purl all stitches.
- Repeat Rows 1-2 until piece measures 6 inches (15cm) from cast-on edge, ending with a WS row. Tip: Measure from the cast-on edge, not the needle.
Body (Color Block Pattern)
Section 1 (Color A & B):
- Row 1 (RS): With Color A, knit all stitches.
- Row 2 (WS): With Color A, purl all stitches.
- Row 3 (RS): With Color B, knit all stitches.
- Row 4 (WS): With Color B, purl all stitches.
- Row 5 (RS): With Color A, *k1, slip 1 purlwise with yarn in back (wyib); repeat from * to end. Note: "Slip 1 purlwise" means insert the right needle into the next stitch as if to purl, but simply slide it to the right needle without knitting or purling. "Yarn in back" means the working yarn is held behind the work.
- Row 6 (WS): With Color A, *p1, slip 1 purlwise with yarn in front (wyif); repeat from * to end. Note: "Yarn in front" means the working yarn is held in front of the work, between you and the needle.
- Row 7 (RS): With Color B, knit all stitches.
- Row 8 (WS): With Color B, purl all stitches.
- Repeat Rows 1-8 two more times (total of 3 pattern repeats). Tip: After completing Row 8 of the third repeat, you will have worked 24 rows in this section.
Section 2 (Color A & C):
- Repeat Section 1, substituting Color C for Color B. Important: When changing colors, leave a 6-inch tail for weaving in later. Do not cut the previous color until instructed.
Section 3 (Color A & B):
- Repeat Section 1 again (using Color B).
Top Edge (Color A)
- Work 4 rows in Stockinette stitch (knit RS, purl WS) using Color A.
- Bind off all stitches loosely. Tip: Use a larger needle or a stretchy bind-off (like the knitted bind-off) to ensure the top edge isn't too tight.
Finishing
- Fold the piece in half with RS together, matching cast-on and bind-off edges. The bottom of the bag is the cast-on edge; the top is the bind-off edge.
- Seam the side edges using a mattress stitch or whip stitch. Tip: For a professional finish, use mattress stitch on the sides to create an invisible seam. If you prefer a decorative edge, use whip stitch.
- Turn the bag right side out.
Straps (make 2)
- With Color A, cast on 8 stitches.
- Row 1 (RS): Knit all stitches.
- Row 2 (WS): Purl all stitches.
- Repeat until strap measures 18 inches (46cm) or desired length. Tip: Measure the strap against your shoulder to ensure the length is comfortable for you.
- Bind off.
- Sew one strap to each side of the bag opening, placing them about 2 inches (5cm) from the side seams. Tip: Use a whip stitch or mattress stitch to attach the straps securely. Reinforce with a few extra stitches at the attachment points for durability.
Final Touches
- Weave in all ends using a tapestry needle. Tip: Weave ends in on the wrong side, following the direction of the stitches to make them invisible.
- Block lightly if desired. Note: Blocking helps even out stitches and set the shape. For cotton yarn, a gentle steam block or wet block works well. Avoid heavy pressing to maintain the slouchy texture.
Your Shifting Dune Tote is now complete! Enjoy your modern, textured accessory that’s perfect for everyday use.