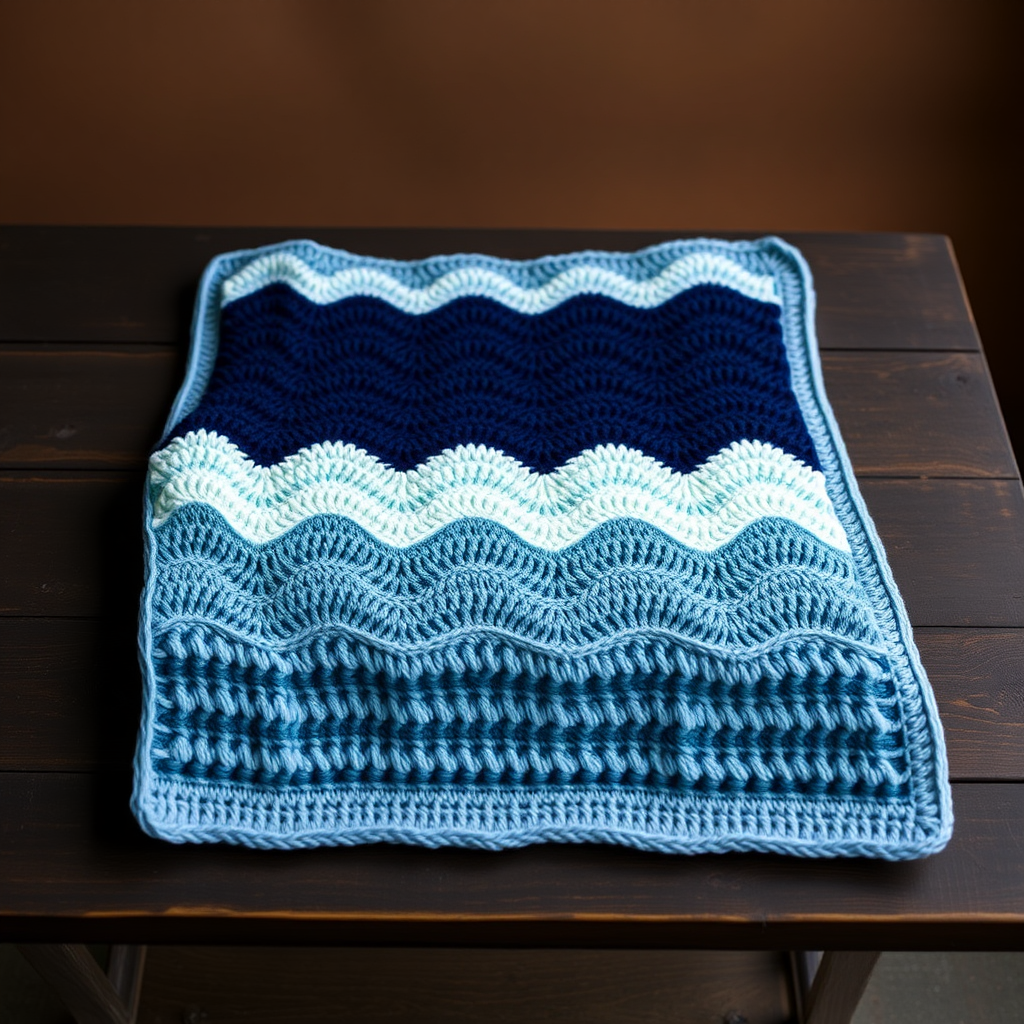
The Frosted Fern Afghan Free Pattern – A Knitted Textured Throw with Woven Leaf Accents

The Frosted Fern Afghan: A Knitted Textured Throw with Woven Leaf Accents
Wrap yourself in the serene beauty of a winter garden with this exquisite knitted afghan. The Frosted Fern Afghan features a lush, textured stockinette body in soft sage green, bordered by a classic garter stitch edge, and adorned with delicate crocheted leaves in cream and soft white. This cozy throw brings a touch of nature indoors, making it the perfect companion for chilly evenings by the fire or as a stunning handmade gift. Whether you're an experienced knitter or looking for a rewarding project, this pattern offers a beautiful balance of simple knitting and charming crochet accents.
Materials Needed
Before you begin, gather the following materials to ensure a smooth and enjoyable crafting experience:
- Yarn: Worsted weight yarn in three shades:
- MC (Main Color): Sage Green – approximately 1800 yards
- CC1 (Contrast Color 1): Cream – approximately 600 yards
- CC2 (Contrast Color 2): Soft White – approximately 400 yards
- Knitting Needles: US Size 8 (5.0 mm) – for the afghan panels
- Crochet Hook: US Size G/6 (4.0 mm) – for the leaf accents
- Tapestry Needle: For seaming panels and sewing leaves
- Scissors
- Measuring Tape
Gauge
18 stitches and 24 rows = 4 inches in stockinette stitch (knit one row, purl one row). Always take time to check your gauge to ensure your afghan turns out the correct size. If your gauge is off, adjust your needle size accordingly.
Step-by-Step Instructions
This pattern is broken down into three main sections: knitting the afghan panels, crocheting the leaf accents, and assembling the final piece. Follow each step carefully for a flawless result.
Part 1: Afghan Panel (Make 3)
You will knit three identical panels and seam them together to create the full afghan width.
- Cast On: With MC (Sage Green) and your US Size 8 needles, cast on 60 stitches.
- Garter Stitch Border (Rows 1-6): Knit all stitches for 6 rows. This creates a sturdy, non-curling border at the bottom of your panel.
- Establish the Pattern (Row 7 - Right Side): Knit 6 stitches (this will be the side garter border), purl 48 stitches (this is the stockinette section), and knit the final 6 stitches (the other side garter border).
- Row 8 (Wrong Side): Knit all 60 stitches. This row is entirely knit, which maintains the garter stitch borders on both sides while the center forms the stockinette pattern.
- Repeat Rows 7 and 8: Continue repeating these two rows until the piece measures 60 inches from the cast-on edge. Pro Tip: Always end with a Row 8 (a knit row) to ensure you're ready to start the top border on the right side.
- Top Garter Stitch Border: Knit all stitches for 6 rows, mirroring the bottom border.
- Bind Off: Bind off all stitches loosely. A loose bind-off prevents the edge from pulling or curling. You can use a larger needle to bind off if you tend to knit tightly.
Repeat this entire process to create three identical panels.
Part 2: Leaf Accent (Make 12)
These charming crocheted leaves add the signature "frosted fern" look. You will make 6 leaves in CC1 (Cream) and 6 leaves in CC2 (Soft White).
- Foundation Chain: With your crochet hook and CC1 (or CC2), chain 12.
- Row 1: Single crochet (sc) in the 2nd chain from the hook and in each chain across. You will have 11 sc. Chain 1 and turn your work.
- Row 2: Sc in each stitch across (11 sc). Chain 1 and turn.
- Row 3 (Decrease Row): Sc in the first 5 stitches, then single crochet 2 together (sc2tog) to decrease one stitch, and sc in the last 4 stitches. You will now have 10 sc. Chain 1 and turn.
- Row 4: Sc in each stitch across (10 sc). Chain 1 and turn.
- Row 5: Sc in the first 4 stitches, sc2tog, sc in the last 4 stitches (9 sc). Chain 1 and turn.
- Row 6: Sc in each stitch across (9 sc). Chain 1 and turn.
- Row 7: Sc in the first 3 stitches, sc2tog, sc in the last 4 stitches (8 sc). Chain 1 and turn.
- Row 8: Sc in each stitch across (8 sc). Chain 1 and turn.
- Row 9: Sc in the first 3 stitches, sc2tog, sc in the last 3 stitches (7 sc). Chain 1 and turn.
- Row 10: Sc in each stitch across (7 sc). Chain 1 and turn.
- Row 11: Sc in the first 2 stitches, sc2tog, sc in the last 3 stitches (6 sc). Chain 1 and turn.
- Row 12: Sc in each stitch across (6 sc). Chain 1 and turn.
- Row 13: Sc in the first 2 stitches, sc2tog, sc in the last 2 stitches (5 sc). Chain 1 and turn.
- Row 14: Sc in each stitch across (5 sc). Chain 1 and turn.
- Row 15: Sc in the first stitch, sc2tog, sc in the last 2 stitches (4 sc). Chain 1 and turn.
- Row 16: Sc in each stitch across (4 sc). Chain 1 and turn.
- Row 17: Sc in the first stitch, sc2tog, sc in the last stitch (3 sc). Chain 1 and turn.
- Row 18: Sc in each stitch across (3 sc). Chain 1 and turn.
- Row 19: Sc2tog, then sc in the last stitch (2 sc). Chain 1 and turn.
- Row 20: Sc2tog (1 sc). Fasten off, leaving a long tail (approximately 12 inches) for sewing the leaf onto the afghan.
Repeat this process to create a total of 12 leaves – 6 in Cream (CC1) and 6 in Soft White (CC2).
Part 3: Assembly
Now it's time to bring all your pieces together to create the beautiful Frosted Fern Afghan.
- Seam the Panels: Lay the three knitted panels side by side with the garter stitch borders touching each other. Using MC yarn and a tapestry needle, whip stitch the panels together along the long edges. Ensure your stitches are even and not too tight to keep the seams flat and flexible.
- Arrange the Leaves: Lay the afghan flat and arrange the 12 leaves in a staggered, organic pattern across the surface. Place them at the seams and in the center of each panel. Position them so they appear to be gently falling or scattered by the wind, mimicking a natural, frosted garden look.
- Sew the Leaves: Using the long tail left on each leaf, sew it in place. For a dimensional effect, secure only the base and the central vein of the leaf. Leave the tips slightly loose so they lift off the afghan surface, creating a beautiful 3D texture.
- Weave in Ends: Carefully weave in all loose yarn ends using your tapestry needle. Ensure all ends are secure and hidden within the stitches.
Finishing Touches (Optional)
Add a simple fringe to the short ends of the afghan for an extra cozy, rustic feel.
- Cut strands of MC yarn that are 12 inches long.
- Fold a strand in half. Insert your crochet hook through the edge stitch of the afghan, pull the folded loop through, and then pull the yarn ends through the loop. Pull tight to secure.
- Space the fringe every 2 stitches across both short ends of the afghan.
Your Frosted Fern Afghan is now complete! Drape it over a chair, snuggle up on the couch, or gift it to someone special. The combination of the smooth stockinette, sturdy garter borders, and whimsical crocheted leaves makes this a truly unique and cherished piece. Happy crafting!