Crochet Patterns
The Enchanted Forest Toadstool Pillow Free Pattern
Anonymous
•
July 03, 2026
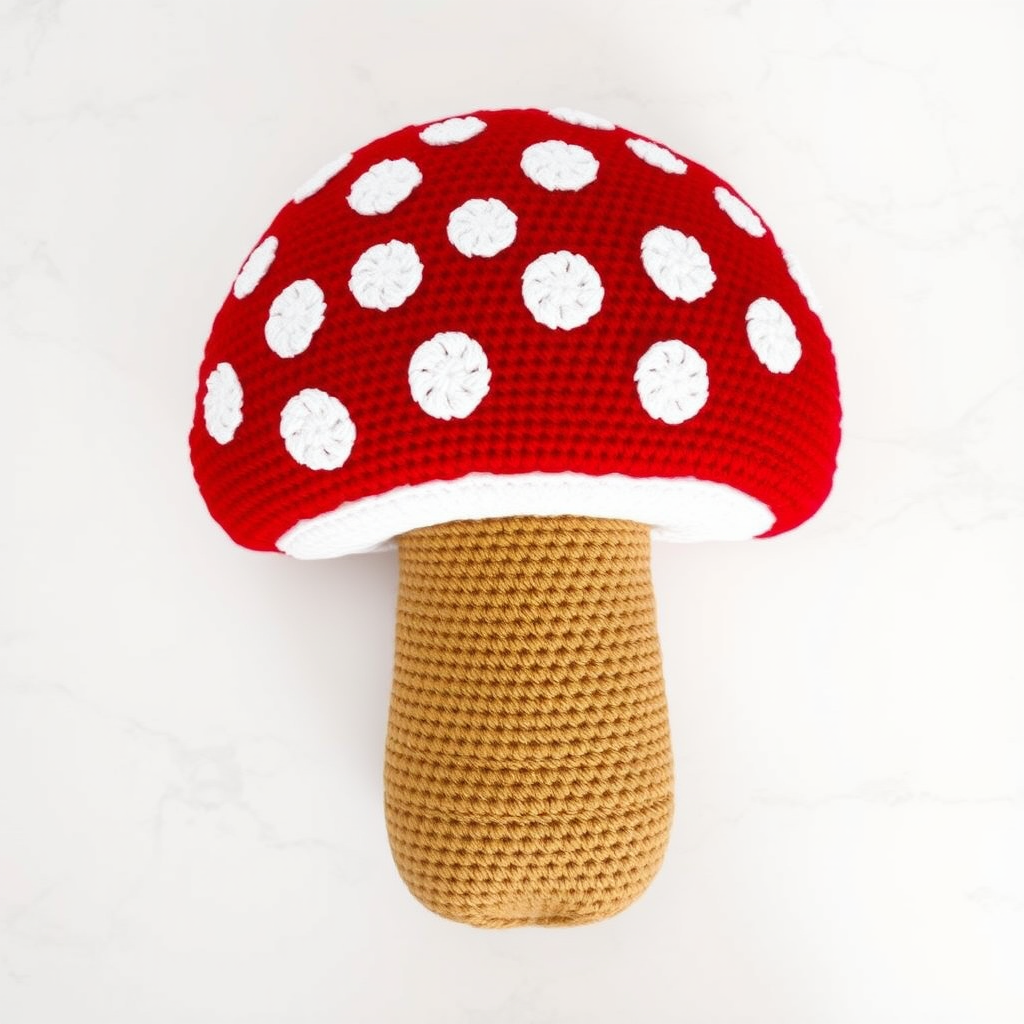
The Enchanted Forest Toadstool Pillow Free Pattern
Bring a touch of whimsical nature into your home with this enchanting toadstool pillow. Perfect for cottagecore enthusiasts, this crochet pattern combines comfort and charm. Whether you’re looking to add a cozy accent to your living space or create a delightful gift, this pillow is sure to inspire your creativity!
Materials Needed
- Yarn: Worsted weight yarn in red, white, and brown
- Hook: 5.0 mm crochet hook
- Gauge: 14 single crochet (sc) and 16 rows = 4 inches
- Fiberfill: For stuffing the stem
- Tapestry needle: For weaving in ends and attaching pieces
Step-by-Step Instructions
Creating the Mushroom Cap
- Start with a Magic Ring: Using the red yarn, create a magic ring. If you're unsure how to do this, you can find many tutorials online.
- Round 1: Work 6 single crochet (sc) into the magic ring. (You should have 6 stitches now.)
- Round 2: Increase in each stitch around. (You should have 12 stitches.)
- Round 3: *Single crochet in the next stitch, increase in the next stitch.* Repeat this pattern around. (You should have 18 stitches.)
- Round 4: *Single crochet in the next 2 stitches, increase in the next stitch.* Repeat this pattern around. (You should have 24 stitches.)
- Continue Increasing: Keep increasing in this manner until you reach a total of 60 stitches.
- Rounds 10-15: Work even in single crochet for these rounds without increasing. This will create the dome shape of the mushroom cap.
- Finish the Cap: Once you complete Round 15, fasten off the yarn and weave in any loose ends using a tapestry needle.
Creating the Stem
- Start with a Magic Ring: Using the brown yarn, create another magic ring.
- Round 1: Work 6 single crochet (sc) into the magic ring. (You should have 6 stitches.)
- Round 2: Increase in each stitch around. (You should have 12 stitches.)
- Rounds 3-10: Work even in single crochet for these rounds. This will create the height of the stem.
- Stuff the Stem: Lightly stuff the stem with fiberfill to give it a plush feel.
Assembling the Pillow
- Attach the Cap to the Stem: Use a whip stitch to securely attach the mushroom cap to the top of the stem. Make sure it’s tight so it holds its shape.
Adding the Spots
- Create the Spots: Using the white yarn, create various sizes of circles using single crochet. You can make them as big or small as you like.
- Attach the Spots: Randomly attach these white circles onto the red cap of the mushroom using a whip stitch. This will give it that classic toadstool look.
Final Touches
- Weave in All Ends: Ensure all loose ends are woven in securely to finish your pillow.
Your Enchanted Forest Toadstool Pillow is now complete! Enjoy this cozy addition to your home decor, or gift it to a friend who loves nature-inspired designs. Happy crocheting!