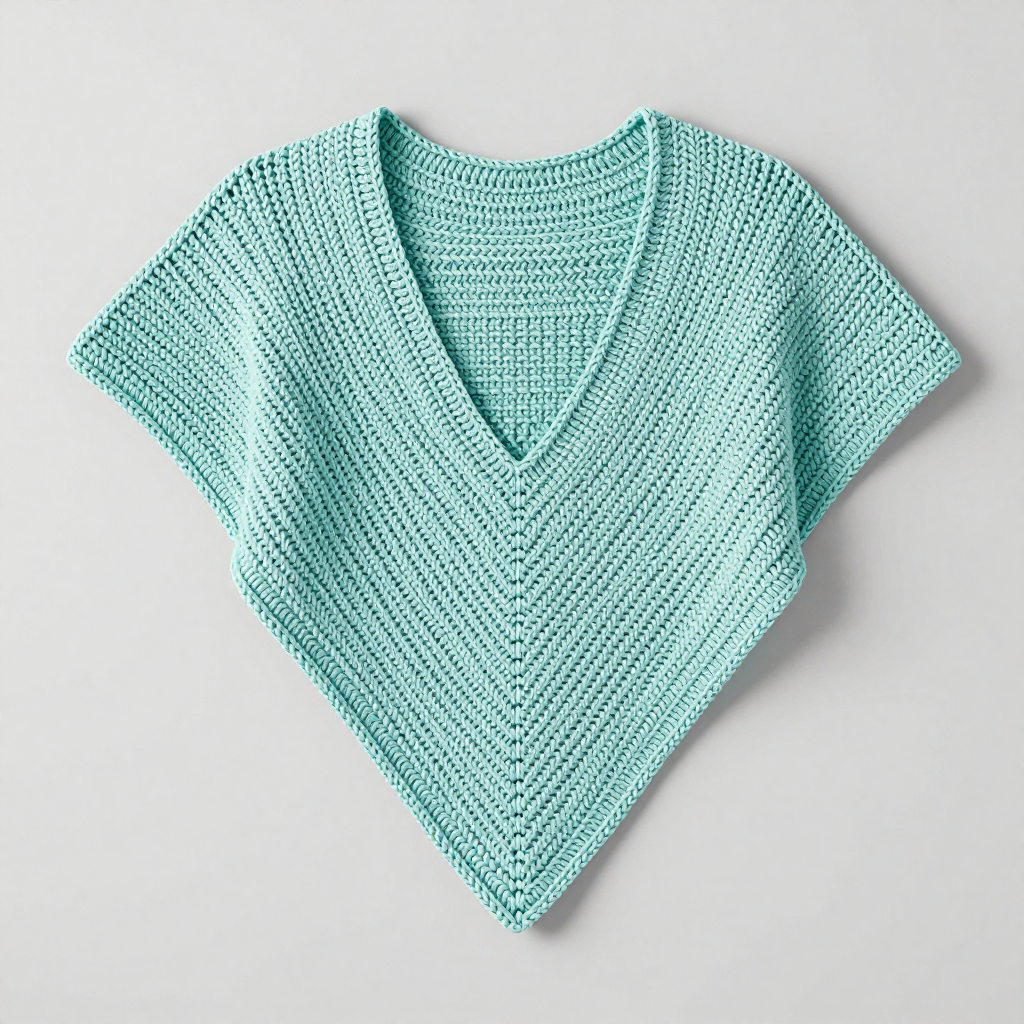
Serenity Garden Prayer Shawl Free Pattern

Wrap Yourself in Serenity: The Free Serenity Garden Prayer Shawl Crochet Pattern
There are certain projects that feel like more than just yarn and hooks—they become a form of meditation, a prayer stitched into every loop. The Serenity Garden Prayer Shawl is exactly that kind of make. Designed to mimic the gentle, organic growth of a blooming garden, this textured wrap offers a soothing rhythm of V-stitches and dense shell clusters. Whether you are crafting it for your own quiet moments of reflection or as a heartfelt, handmade gift for someone in need of comfort, this worsted-weight shawl is a beautiful way to wrap someone in warmth and peace.
This free crochet pattern is approachable for confident beginners and relaxing for seasoned makers. The repeating two-row stitch pattern is easy to memorize, allowing you to sink into a calming, almost hypnotic flow. The finished piece is a generous, rectangular shawl that drapes beautifully over the shoulders, finished with a delicate, organic fringe. Let’s gather our materials and begin creating this cozy, natural treasure.
Materials Needed for Your Prayer Shawl
Before you begin, ensure you have all your supplies ready. This project uses simple, readily available materials to create a luxurious feel.
- Yarn: Worsted weight yarn (Category 4). You will need approximately 600 yards of a soft sage green (MC) and approximately 200 yards of a contrasting cream (CC) for the fringe.
- Crochet Hook: 5.5 mm (I/9) crochet hook. *Ensure you have a comfortable grip for long stitching sessions.*
- Other Tools: Yarn needle for weaving in ends, scissors for trimming fringe.
- Gauge: In pattern stitch, 14 sts = 4 inches (10 cm) and 8 rows = 4 inches (10 cm). *While gauge is important for size, this shawl is forgiving. A correct gauge ensures the drape and dimensions are as intended.*
Step-by-Step Instructions: Crocheting the Serenity Garden Shawl
This pattern is worked flat in rows. The magic happens by alternating between open V-stitches and dense shell clusters. Follow these detailed instructions carefully, and you will see the "garden" texture bloom before your eyes.
Getting Started: The Foundation Chain
To begin, we will create a loose foundation chain. This ensures the bottom edge of your shawl remains stretchy and comfortable.
- Chain (ch) 112 loosely. Take your time with this step; a tight foundation chain will make the first row difficult.
Row 1: Establishing the V-Stitch Pattern
This row sets the base for the entire texture. We will be creating V-stitches (dc, ch 1, dc) that look like small open fans.
- Double crochet (dc) in the 4th ch from your hook. The skipped chains count as your first double crochet.
- *Skip the next 2 chains.
- In the next chain, work a V-stitch: (dc, ch 1, dc) all in the same stitch.
- Skip the next 2 chains.
- Dc in the next chain.
- Repeat from * across the row until you reach the end.
- Turn your work.
Note: At the end of this row, you will have 18 V-stitches and 19 single dc posts at the ends (including the turning chain).
Row 2: Creating the First Shell Clusters
Now we introduce the dense "flowers" of the garden. These are called shell stitches.
- Ch 3 (this counts as your first dc).
- Dc in the very first stitch (this creates an increase at the edge).
- *Skip the next V-stitch entirely (do not work into the ch-1 space or the dc posts).
- In the next single dc (the one between the V-stitches), work a shell: 5 dc all in that one stitch.
- Skip the next V-stitch.
- Dc in the next single dc.
- Repeat from * across the row.
- At the very end of the row, work 2 dc in the top of the turning chain from the previous row.
- Turn your work.
Row 3: Building the V-Stitches Between Shells
This row creates the open spaces that separate the shell clusters, giving the fabric its beautiful drape.
- Ch 3 (counts as your first dc).
- *Skip the next 2 dc (the first two of the shell).
- In the center dc of the shell (the 3rd of the 5 dc), work a V-stitch: (dc, ch 1, dc).
- Skip the next 2 dc (the last two of the shell).
- Dc in the next single dc (the one between the shells).
- Repeat from * across the row.
- Finish the row by working a dc in the top of the turning chain (the 3rd ch from the beginning of the previous row).
- Turn your work.
Row 4: Alternating Back to Shells
This row is identical to Row 2, but the shells are now worked into the single dc posts between the V-stitches.
- Ch 3 (counts as your first dc).
- *Skip the next V-stitch.
- Work a shell (5 dc) in the next single dc (the one between the V-stitches).
- Skip the next V-stitch.
- Dc in the next single dc.
- Repeat from * across the row.
- Finish the row with a dc in the top of the turning chain.
- Turn your work.
Repeating the Pattern for Length
Now that the pattern is established, you will simply repeat Rows 3 and 4 to create the length of the shawl.
- Repeat Rows 3 and 4 until the piece measures approximately 60 inches from the beginning.
- Important: Ensure you end with a Row 3 repeat. This means your last row will be a V-stitch row, creating a symmetrical edge for the final edging.
Final Row: The Scalloped Edging
This row cleans up the top edge and creates a delicate, scalloped finish that mirrors the bottom of the shawl.
- Ch 1 (this does not count as a stitch).
- Work a single crochet (sc) in each dc and in each ch-1 space across the row.
- When you reach the center of each shell cluster (where the V-stitch was in the previous row), work 2 sc in that space to help the edge lay flat and create a gentle scallop.
- At the end of the row, fasten off and weave in all your ends securely with a yarn needle.
Adding the Finishing Touch: Fringe
The fringe adds that final, organic touch. We will use both the sage green and cream yarns for a beautiful, blended effect.
- Cut strands: Cut multiple 12-inch strands of both the sage green and cream yarns.
- Bundle: For each fringe tassel, take 3 strands (you can mix colors, e.g., 2 green and 1 cream, for a marled look).
- Attach: Fold the bundle of 3 strands in half. Insert your crochet hook from the back to the front through the edge stitch of the shawl. Pull the folded loop of the fringe through the edge.
- Secure: Pull the loose ends of the strands through the loop you just created. Pull tight to secure the knot.
- Placement: Place a fringe tassel every 2 inches along both of the short ends (the foundation chain edge and the final edging edge).
- Trim: Once all fringe is attached, lay the shawl flat and trim the fringe evenly for a polished look.
Your Serenity Garden Prayer Shawl is now complete! The combination of the soft sage green, the textured shells, and the gentle fringe creates a piece that is both cozy and elegant. Whether draped over a chair for a quiet reading nook or wrapped around the shoulders of a loved one, this shawl carries with it the peace and care woven into every stitch.