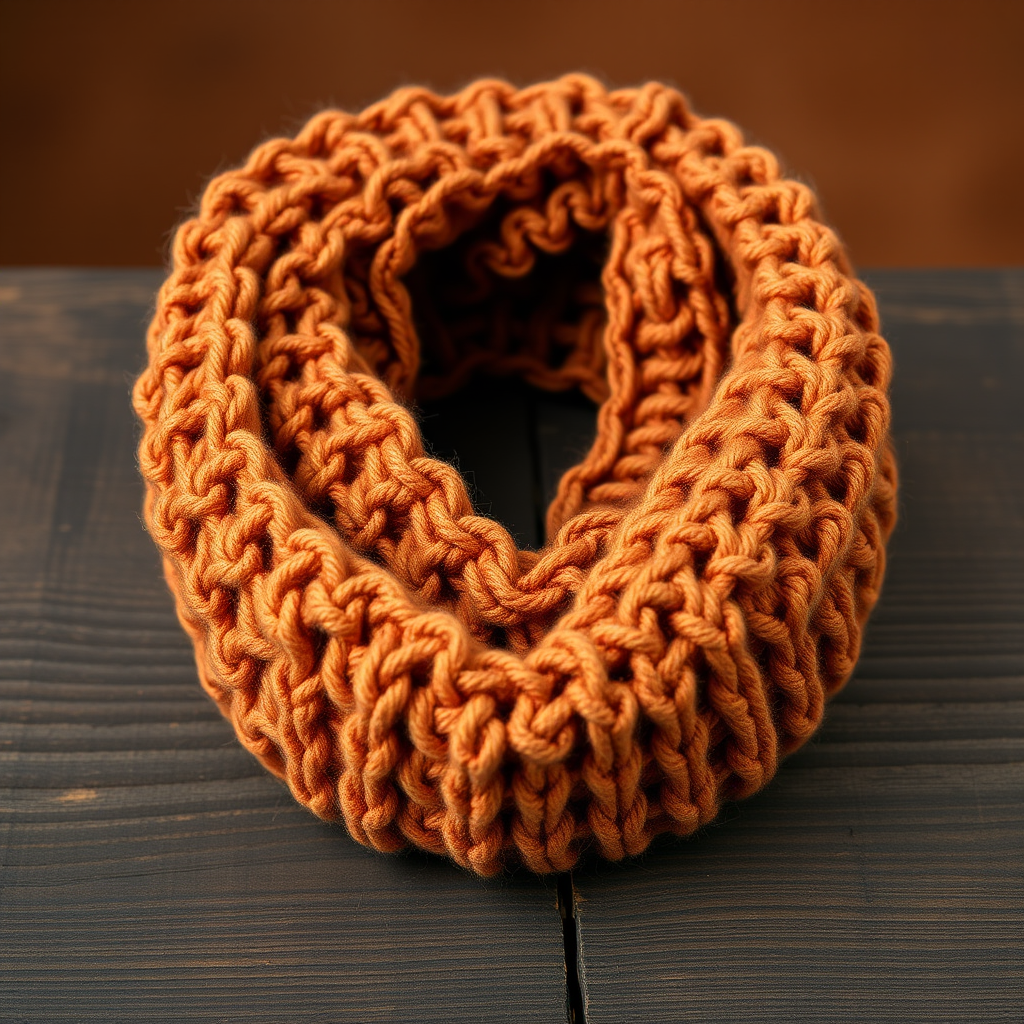
Frosted Fern Reversible Cowl Free Pattern – Knit a Winter Woodland Wrap

Frosted Fern Reversible Cowl Free Pattern – Knit a Winter Woodland Wrap
Wrap yourself in the quiet beauty of a snow-dusted forest with this reversible cowl, featuring a lush textured fern motif that looks stunning on both sides. Knit in a soft, heathered yarn, it’s the perfect cozy companion for crisp winter walks. This free knitting pattern is designed for beginners and intermediate knitters alike, offering a relaxing, rhythmic stitch pattern that produces a professional, elegant result. The Frosted Fern Cowl is a seamless tube, approximately 9 inches tall and 24 inches in circumference, designed to be worn doubled or pulled up over the head. The two-color striping alternates in broad bands, with the green forming the base and the white creating the fern pattern, resulting in a reversible piece where both sides show a beautiful interplay of color and texture. The edges are naturally rolled, adding a soft, organic finish. The overall aesthetic is cozy, rustic, and elegant, evoking a snowy forest floor.
Materials Needed
Before you begin, gather the following materials to ensure a smooth and enjoyable knitting experience. This project is perfect for using up worsted weight yarn from your stash or treating yourself to a new heathered skein.
- Yarn: Worsted weight yarn in two colors: Color A (Mossy Heather – deep green) and Color B (Frost White – soft cream). Approximately 220 yards of each. (A total of 440 yards)
- Needles: US 8 (5.0 mm) 16-inch circular knitting needle. This length is essential for working in the round comfortably.
- Notions: A tapestry needle for weaving in ends, a stitch marker to mark the beginning of the round, and scissors.
Gauge
18 stitches and 24 rows = 4 inches in stockinette stitch (after blocking). Achieving the correct gauge is crucial for the final size and drape of your cowl. If your gauge is off, adjust your needle size accordingly.
Step-by-Step Instructions
This cowl is worked in the round from the bottom up, creating a seamless tube that is then folded and seamed to form a reversible double-layer cowl. The stitch pattern is a modified fern lace that is fully reversible, meaning both the outside and inside show a beautiful textured design. Follow these detailed instructions carefully, and you'll have a stunning winter accessory in no time.
Special Stitches
Familiarize yourself with these basic knitting techniques before you start. If you're a beginner, practice them on a swatch first.
- K2tog – Knit two stitches together (a right-leaning decrease).
- SSK – Slip, slip, knit (a left-leaning decrease). Slip two stitches knitwise one at a time, then insert the left needle into the front of these two stitches and knit them together.
- YO – Yarn over (an increase that creates an eyelet hole).
- P – Purl.
Getting Started
Step 1: Cast On
Using Color A (Mossy Heather), cast on 120 stitches onto your 16-inch circular needle. Place a stitch marker on the right-hand needle to mark the beginning of the round, and join in the round, being extremely careful not to twist your stitches. The cast-on edge should lie flat and form a complete circle.
Step 2: Create the Rolled Edge
Rounds 1-4: Knit all stitches. This simple stockinette stitch section will naturally curl, creating a beautiful, soft rolled edge at the bottom of your cowl.
The Fern Lace Pattern
Now you will begin the main textured pattern. The pattern is a 6-stitch repeat that you will work 20 times around the cowl. Pay close attention to the sequence of stitches in each round.
Round 5 (Color B): Switch to Color B (Frost White). *K2tog, YO, K1, YO, SSK, P1* – repeat from * to * around (20 repeats). This round establishes the fern's central vein and the eyelets.
Round 6: *K3, YO, SSK, P1* – repeat from * to * around. The knit stitches are now building the leaf shape.
Round 7: *K2, YO, K1, SSK, P1* – repeat from * to * around. Notice how the pattern is shifting and growing.
Round 8: *K1, YO, K2, SSK, P1* – repeat from * to * around. The leaf is widening.
Round 9: *K2tog, YO, K3, P1* – repeat from * to * around. The decreases begin to shape the top of the leaf.
Round 10: *K2tog, YO, K3, P1* – repeat from * to * around. This round is identical to Round 9, helping to taper the leaf point.
Round 11: *K1, YO, SSK, K2, P1* – repeat from * to * around. The pattern starts to lean in the opposite direction, creating the fern's fronds.
Round 12: *K2, YO, SSK, K1, P1* – repeat from * to * around.
Round 13: *K3, YO, SSK, P1* – repeat from * to * around.
Round 14: *K4, YO, SSK, P1* – repeat from * to * around. This completes the first full fern motif.
Rounds 15-16: Knit all stitches. These plain rounds separate the pattern repeats and give the cowl a subtle, rhythmic texture.
Rounds 17-30: Repeat Rounds 5-16 once more. This will create a second full band of fern motifs, giving your cowl its beautiful, lush texture.
Finishing the Knit
Rounds 31-34: Switch back to Color A (Mossy Heather) and knit all stitches. This mirrors the rolled edge at the bottom, creating a balanced, symmetrical design.
Bind Off Loosely: Bind off all stitches in pattern (knitwise) with Color A. It is crucial to bind off loosely so the top edge remains as stretchy as the cast-on edge. Cut the yarn, leaving a long tail (at least 18 inches) for seaming.
Seaming and Finishing
Step 1: Fold the Cowl
Fold the cowl in half so the cast-on edge meets the bind-off edge, with the right side facing out. The tube will now be a double-layer rectangle.
Step 2: Whipstitch the Edges
Thread the long tail onto your tapestry needle. Using a whipstitch, carefully sew the cast-on edge to the bind-off edge. Work through the loops of the stitches to create a nearly invisible seam. This creates a seamless, reversible tube.
Step 3: Weave in Ends
Weave in all remaining yarn ends securely using your tapestry needle. Be sure to weave them in on the inside of the cowl so they are hidden.
Step 4: Blocking
Block the cowl gently to open up the lace and even out the stitches. Wet block by soaking the cowl in lukewarm water with a drop of wool wash, gently squeeze out excess water (do not wring), and lay flat to dry, shaping it to the correct dimensions. This step is essential for showcasing the beautiful fern pattern.
Once dry, your Frosted Fern Reversible Cowl is ready to wear. Slip it over your head, double it up for extra warmth, and enjoy the cozy, elegant beauty of your hand-knit winter woodland wrap. Happy knitting!