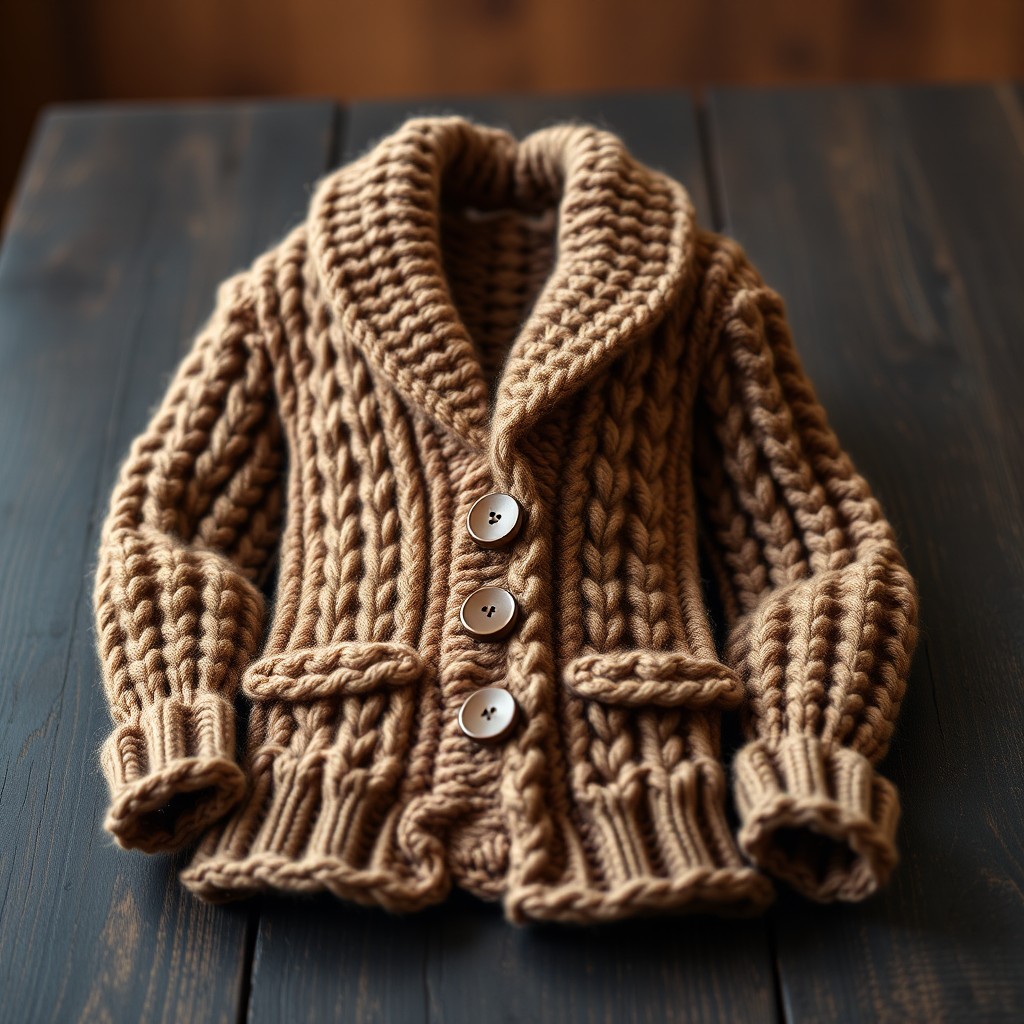
Ballet-Core Tutu Motif Crochet Cardigan Front Free Pattern

Ballet-Core Tutu Motif Crochet Cardigan Front — Free Pattern
Introduction
If you have ever dreamed of floating through your day wrapped in something soft, romantic, and a little bit magical, this is the project for you. This open-front shrug panel is worked in a gentle blush pink DK yarn using the beautiful wattle stitch, which creates tiny raised clusters that look like little woven knots — the perfect texture for a ballet-inspired wardrobe piece. It is designed for advanced beginners who know their basic stitches and are ready to try a repeating textured pattern, but every single step is spelled out below so you never feel lost. The finished piece is a rectangular layer that drapes softly over your shoulders and back, with a scalloped "tutu" hem that gives it that delicate dancer feel. It measures about 20 inches wide and 20 inches long including the hem, and because it has no buttons or closures, it simply floats open at the front like a whisper of pink. Let's make something beautiful together.
Materials Needed
- Yarn: DK weight yarn (Category 3), approximately 400–450 yards of soft blush pink. The sample uses a smooth merino-cotton blend for a slightly lustrous, drapey finish.
- Crochet hook: 4.0 mm (US G/6) — always check your gauge and adjust hook size if needed.
- Stitch markers: At least 4, to mark the first stitch of rows and the corners of your panel.
- Tapestry needle: A blunt-tipped needle with a large eye for weaving in ends.
- Scissors: Sharp craft scissors for cutting yarn cleanly.
- Measuring tape: For checking gauge and finished dimensions.
- Blocking supplies: Rust-proof pins and a blocking mat or towel.
Finished size: 20 inches (51 cm) wide × 18 inches (46 cm) long before the hem; 20 inches (51 cm) long including the scalloped hem.
Abbreviations and Beginner Glossary
- ch — chain: Wrap yarn over hook, pull it through the loop on your hook. That makes one chain stitch.
- sc — single crochet: Insert hook into stitch, yarn over, pull up a loop (2 loops on hook), yarn over, pull through both loops. One single crochet made.
- dc — double crochet: Yarn over, insert hook into stitch, yarn over, pull up a loop (3 loops on hook), yarn over, pull through 2 loops, yarn over, pull through remaining 2 loops. One double crochet made.
- sk — skip: Do not work into that stitch or chain; leave it empty and move to the next one.
- st(s) — stitch(es): A single completed loop or the space where you work.
- sp — space: The gap created by a chain (for example, a "ch-1 sp" is the little hole under a single chain).
- rep — repeat: Do the same instruction again.
- RS — right side: The "public" or front-facing side of your work that everyone will see.
- turn — flip your work over so you can crochet back in the other direction.
- pattern cluster — the group of (sc, ch 1, dc) worked into one space or stitch. This is the little "knot" texture of wattle stitch.
Gauge
22 stitches and 14 rows = 4 inches (10 cm) in wattle stitch pattern.
Why gauge matters: Gauge is how many stitches and rows fit into a set measurement. If your stitches are bigger than the pattern's, your panel will come out too large; if smaller, too small. Because this piece is a rectangle, gauge controls both the width and the length — so it is worth checking.
How to make a gauge swatch: Chain 34. Work Row 1 and Row 2 of the wattle stitch pattern (below) and repeat Row 2 until your swatch is about 5 inches tall. Lay it flat, measure a 4-inch section in the middle, and count stitches across and rows up. If you have more than 22 stitches, try a larger hook; if fewer, try a smaller hook. Wash and dry your swatch the way you plan to care for the finished piece, since some yarns relax after washing.
Beginner Tips Before You Start
- Use stitch markers. Place one in the very first stitch of each row and one in the last stitch. In wattle stitch it is easy to lose the final stitch, and markers keep your edges straight.
- Do not pull your yarn too tight. Keep a relaxed, even tension. Tight stitches make the fabric stiff and shrink your gauge.
- Count your clusters. Every row should have 37 pattern clusters across. Count them at the end of each row until you trust the rhythm.
- Chain 3 at the start of each row counts as your first double crochet. Do not also work a dc into that same stitch, or your row will grow.
- Work the (sc, ch 1, dc) group into the ch-1 space, not into a stitch. The space is the little hole between clusters — that is where the magic happens.
- Keep your starting chain loose. A tight foundation chain will make the bottom edge pull in. If you tend to chain tightly, go up one hook size just for the chain.
Step-by-Step Instructions
Wattle Stitch Pattern (multiple of 3 sts + 1)
Row 1 (RS): Ch 1, sc in first st, *ch 1, sk 1 st, (sc, ch 1, dc) in next st; rep from * to last 2 sts, ch 1, sk 1 st, sc in last st.
Row 2: Ch 3 (counts as dc), turn, *(sc, ch 1, dc) in next ch-1 sp; rep from * across, ending with dc in last sc.
Repeat Row 2 for the pattern. The wattle stitch creates a dense, textured fabric with small raised clusters that resemble tiny woven knots — perfect for the ballet-core aesthetic.
Body Panel (make 1)
Foundation: Ch 112.
Row 1 (RS): Sc in 2nd ch from hook, *ch 1, sk 1 ch, (sc, ch 1, dc) in next ch; rep from * to last 2 chs, ch 1, sk 1 ch, sc in last ch. (37 pattern clusters)
Row 2: Ch 3, turn, *(sc, ch 1, dc) in next ch-1 sp; rep from * across, ending with dc in last sc. (37 pattern clusters)
Rows 3–62: Repeat Row 2. (37 pattern clusters each row; 62 rows total, approximately 18 inches / 46 cm in length)
Do not fasten off.
Scalloped Tutu Hem
Row 1 (RS): Ch 1, turn to work along the bottom edge. Work 1 sc in each row-end st across. (62 sc)
Row 2: Ch 1, turn, sc in first sc, *sk 2 sc, 5 dc in next sc, sk 2 sc, sc in next sc; rep from * across, ending with sc in last sc. (10 scallops)
Fasten off. Weave in ends.
Optional Neckline Edging
With RS facing, join yarn at the top right corner. Ch 1, work 1 sc evenly along the top edge, then work a second row of sc. Fasten off. Weave in ends.
Assembly and Finishing
Weaving in ends: Thread each yarn tail onto your tapestry needle and weave it back and forth through the wrong side of the fabric for about 2 inches, changing direction once so it locks in place. Trim close to the fabric.
Blocking: Gently block to measurements: 20 inches wide × 20 inches long including the hem. Pin the scallops flat and allow to dry completely. This opens up the texture and makes the scallops sit beautifully.
Finishing: The panel is worn open at the front as a shrug-style layer — no buttons or closures needed. The scalloped hem sits at the lower back or hip depending on drape.
Pro Tips and Variations
- Color changes: Try a soft ombre by switching to a slightly deeper pink for the scalloped hem, or work the whole panel in ivory for a classic ballet look.
- Size adjustments: To make the panel wider or narrower, add or remove chains in multiples of 3 (each 3 chains adds one pattern cluster). To make it longer or shorter, add or remove rows — each row adds about 0.29 inches (about 7 mm).
- Yarn substitutions: Any DK weight yarn works; choose a smooth, soft blend for drape. Always swatch first, since fiber content changes gauge.
- Extra romance: Add a second row of scallops along the top edge for a fully framed, tutu-inspired finish.