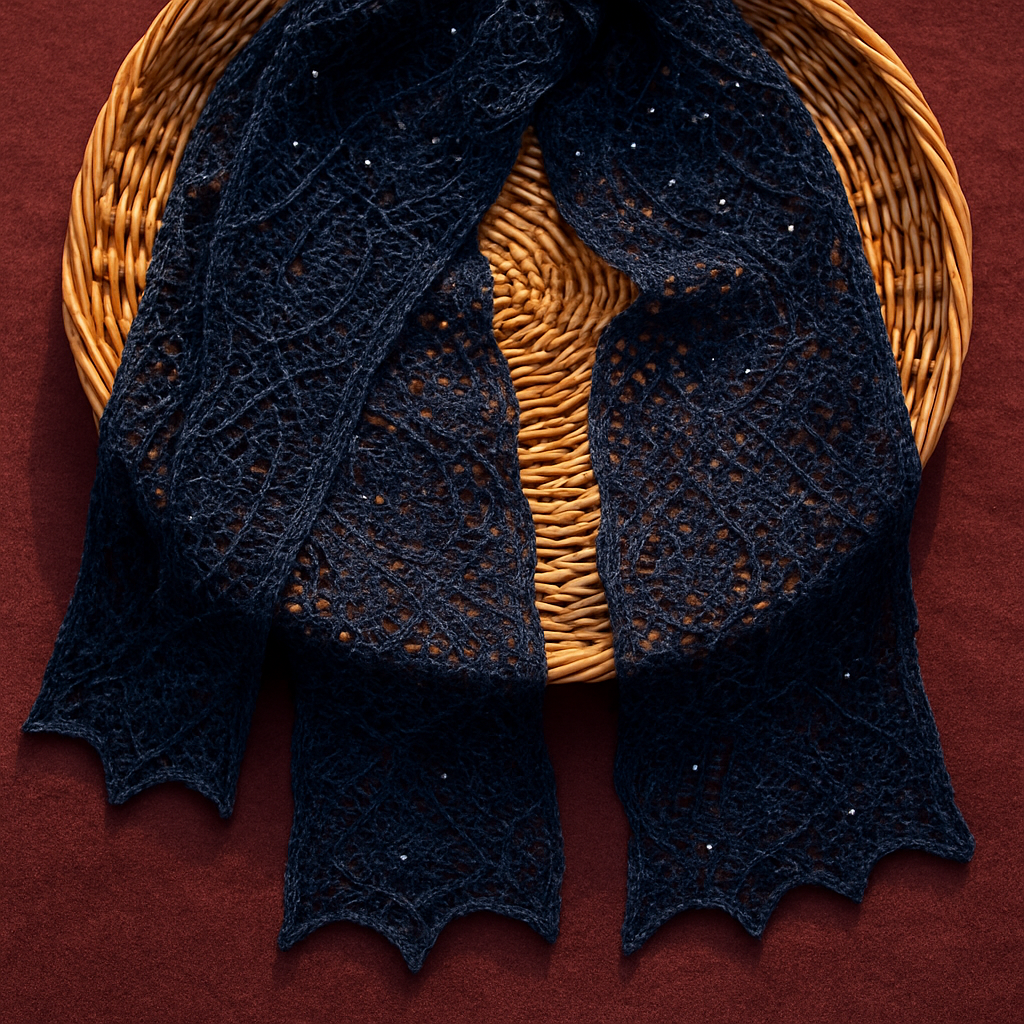
Viral Knit Honeycomb Cable Headband Free Pattern

Viral Knit Honeycomb Cable Headband Free Pattern
Introduction
Stay cozy and stylish with this viral knit honeycomb cable headband, a must-have accessory that has taken social media by storm. Perfect for keeping warm while adding a touch of elegance to your winter wardrobe, this headband features a stunning honeycomb cable pattern that is both beautiful and functional. Whether you're heading out for a winter walk or just want to add a fashionable touch to your outfit, this headband is the perfect project for knitters of all skill levels.
Materials Needed
- Yarn: Worsted weight yarn (suggested color: warm mustard yellow for a vibrant pop)
- Needles: US 8 (5mm) knitting needles
- Tapestry needle: For sewing the edges together and weaving in ends
Step-by-Step Instructions
- Cast On: Begin by casting on 24 stitches using your US 8 (5mm) knitting needles.
- Row 1 (Right Side): K2, *p2, k4, p2, k2; repeat from * to end. This establishes the pattern.
- Row 2 (Wrong Side): P2, *k2, p4, k2, p2; repeat from * to end. This row creates the foundation for the cable pattern.
- Row 3: K2, *p2, C4B (Cable 4 Back), p2, k2; repeat from * to end. The C4B creates the first cable twist.
- Row 4: Repeat Row 2. This maintains the texture of the headband.
- Row 5: K2, *p2, k4, p2, k2; repeat from * to end. This row mirrors Row 1.
- Row 6: Repeat Row 2. Continue to build the pattern.
- Row 7: K2, *p2, C4F (Cable 4 Front), p2, k2; repeat from * to end. The C4F creates the second cable twist.
- Row 8: Repeat Row 2. This completes the 8-row pattern repeat.
Repeat Rows 1-8 until the headband measures approximately 20 inches or your desired length, ensuring to end with Row 8. This will give you a beautiful textured finish.
Bind Off: Once the desired length is achieved, bind off all stitches in pattern. This means to bind off as you have been knitting, maintaining the knit and purl structure.
Finishing: To form a loop, sew the cast-on edge to the bind-off edge using a tapestry needle. Make sure to align the stitches neatly for a seamless finish. Finally, weave in all ends to complete your headband.
Your finished headband will be a textured, stretchy band approximately 4 inches wide and 20 inches long, featuring an intricate honeycomb cable pattern. Enjoy wearing your new cozy accessory!