The Whispering Pines Slouchy Beanie: A Free Knitting Pattern for a Textured, Forest-Inspired Topper
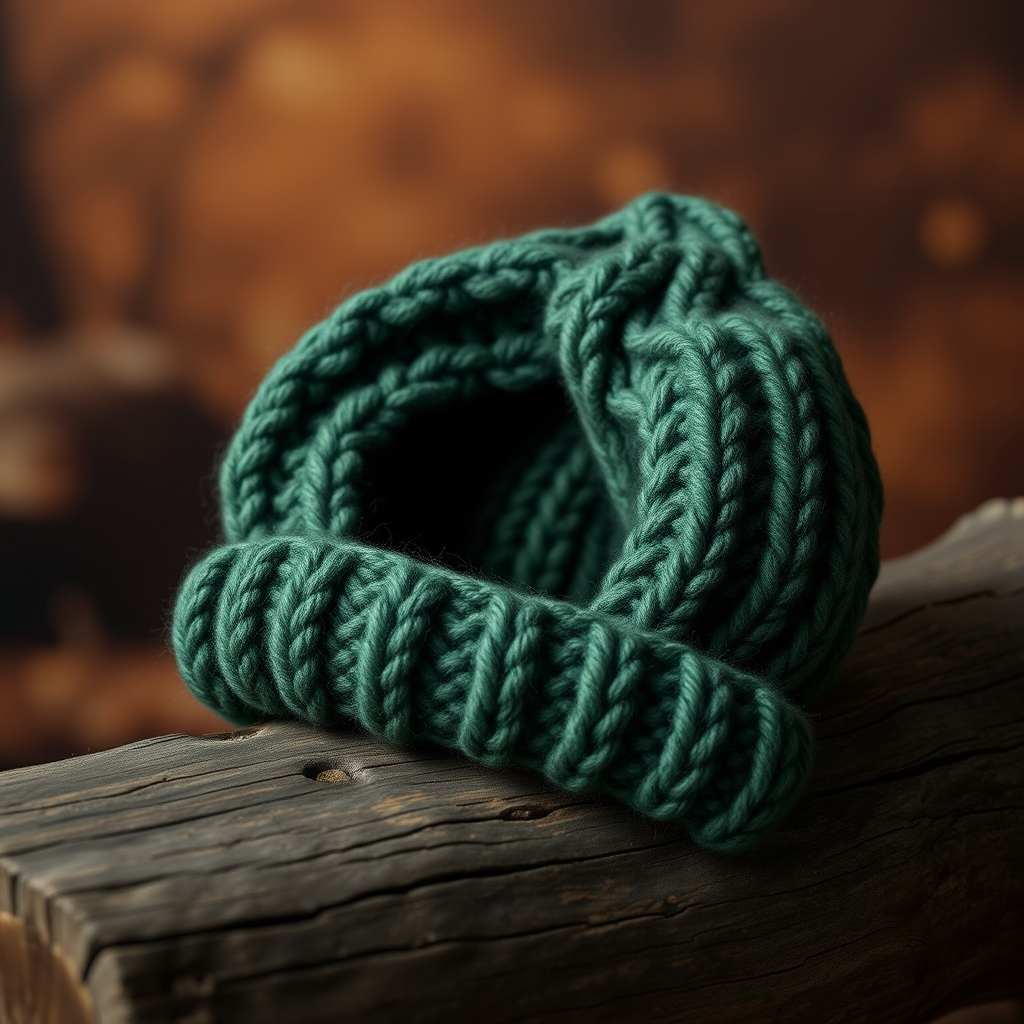
Embrace the Quiet Magic of the Forest: The Whispering Pines Slouchy Beanie
There is a certain tranquility found in the heart of the woods—the rustle of leaves, the scent of damp earth, and the textured bark of ancient pines. Now, you can capture that serene feeling and wear it with our Whispering Pines Slouchy Beanie. This free knitting pattern creates a wonderfully cozy, textured topper that is perfect for crisp autumn walks or snowy winter days. The unique, undulating stitch pattern mimics the look of pine bark, offering a rich, complex fabric that is surprisingly simple to knit. Whether you are a seasoned knitter looking for a quick, satisfying project or a confident beginner ready to try slipped stitches, this slouchy beanie is a delightful addition to your handmade wardrobe.
Materials Needed
Before you begin, gather the following materials. The sample uses a beautiful, deep forest green, but feel free to choose any worsted weight yarn that inspires you.
- Yarn: Worsted weight wool or wool blend (approximately 200 yards). The sample uses Malabrigo Rios in 'Pine Forest'.
- Needles:
- US 7 (4.5 mm) 16-inch circular needle (for the brim)
- US 8 (5.0 mm) 16-inch circular needle (for the body)
- US 8 (5.0 mm) double-pointed needles (for the crown decreases)
- Notions: Stitch marker, tapestry needle for weaving in ends.
- Gauge: 18 stitches and 24 rows = 4 inches in stockinette stitch on larger needles, after blocking. Getting the correct gauge is essential for a perfect fit.
Step-by-Step Instructions
This pattern is written for two sizes: Adult S/M (M/L). The finished circumference is 19 (21) inches, unstretched. Follow the instructions for your chosen size throughout.
Abbreviations
- CO: Cast on
- k: knit
- p: purl
- k2tog: knit two together
- p2tog: purl two together
- sl1: slip one stitch purlwise
- wyif: with yarn in front
- wyib: with yarn in back
- yo: yarn over
- st(s): stitch(es)
- rnd(s): round(s)
- PM: place marker
- SM: slip marker
Pattern Stitch (Worked in the round, multiple of 4 sts)
This 8-round pattern creates the beautiful, bark-like texture. Repeat these 8 rounds for the body of the hat.
- Rnd 1: *k2, p2; repeat from * around.
- Rnd 2: *k2, p2; repeat from * around.
- Rnd 3: *sl1 wyif, k1, p2; repeat from * around.
- Rnd 4: *k1, sl1 wyif, p2; repeat from * around.
- Rnd 5: *k2, p2; repeat from * around.
- Rnd 6: *k2, p2; repeat from * around.
- Rnd 7: *p2, sl1 wyib, k1; repeat from * around.
- Rnd 8: *p2, k1, sl1 wyib; repeat from * around.
Brim
- Using the smaller circular needle (US 7), CO 88 (96) sts.
- Join to work in the round, being very careful not to twist your stitches. Place a stitch marker (PM) to mark the beginning of the round.
- Work in k2, p2 ribbing for 2 inches. This creates a neat, stretchy brim that will hold the hat securely.
Body
- Switch to the larger circular needle (US 8).
- Begin working the Pattern Stitch. Work Rounds 1-8 of the pattern stitch until the piece measures 7 (8) inches from the cast-on edge, ending after Rnd 4 or Rnd 8. Tip: The slouchiness comes from this length. For a less slouchy hat, stop at 6 (7) inches.
Crown Decreases
Now we will shape the top of the hat. Switch to double-pointed needles (US 8) when the stitches become too tight for the circular needle.
- Rnd 1 (Decrease): *k2, p2tog; repeat from * around. (66, 72 sts)
- Rnd 2: *k2, p1; repeat from * around.
- Rnd 3 (Decrease): *k2tog, p1; repeat from * around. (44, 48 sts)
- Rnd 4: *k1, p1; repeat from * around.
- Rnd 5 (Decrease): *k2tog; repeat from * around. (22, 24 sts)
- Rnd 6 (Decrease): *k2tog; repeat from * around. (11, 12 sts)
Finishing
- Cut the yarn, leaving a 10-inch tail.
- Thread the tail onto a tapestry needle. Carefully pass the needle through the remaining 11 (12) stitches, slipping them off the knitting needle as you go.
- Pull the tail tight to close the hole at the top of the crown. Secure the tail by weaving it through the inside of the hat a few times.
- Weave in all other ends neatly on the inside of the hat.
- Blocking: Gently soak the beanie in cool water for 15-20 minutes. Gently squeeze out excess water (do not wring). Lay flat on a towel, shaping it to your desired slouchiness and letting the texture bloom. Allow to dry completely. This step is key to making the stitch pattern look its best.
Your Whispering Pines Slouchy Beanie is now complete! Wear it with pride, knowing you've created a little piece of forest magic with your own hands. Happy knitting!


