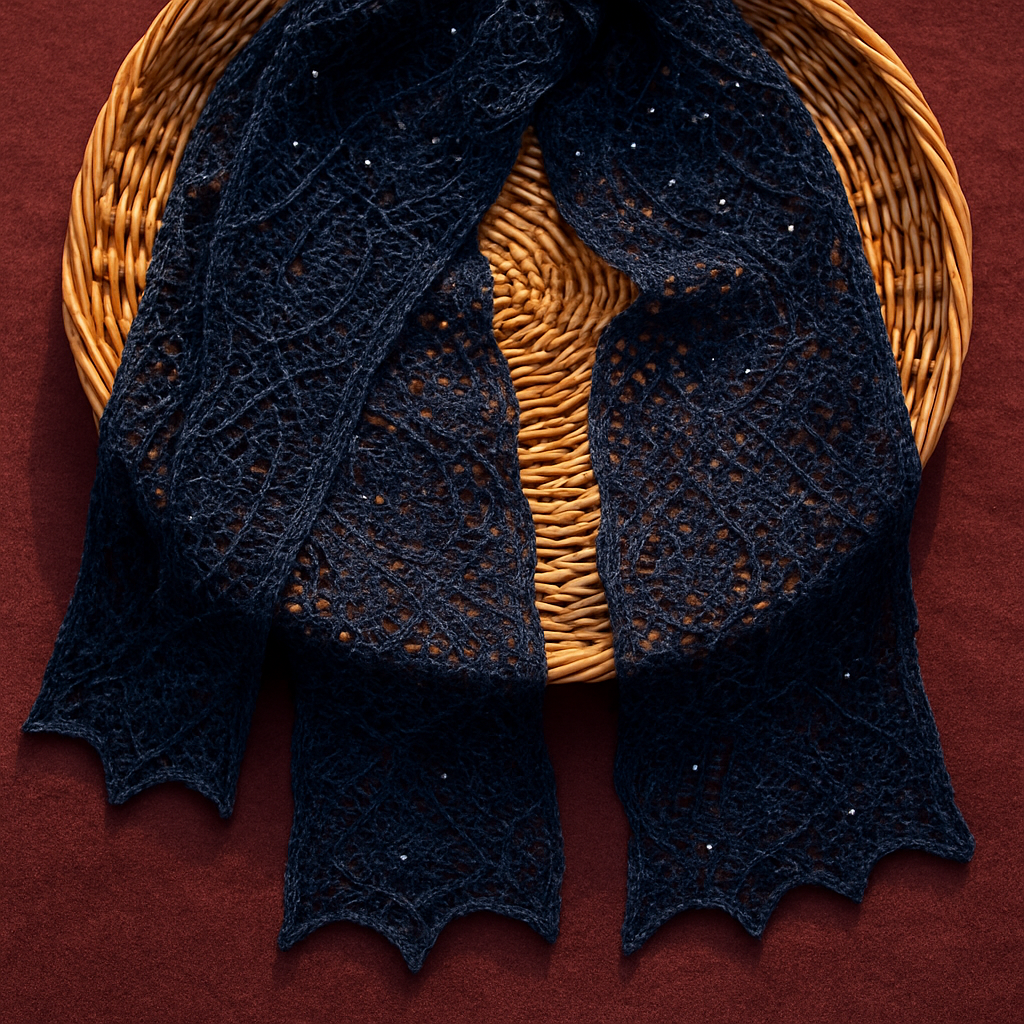
The Alpine Peaks Beanie Free Pattern

The Alpine Peaks Beanie Free Pattern
Introduction
Embrace the chill with the Alpine Peaks Beanie, a cozy and stylish accessory perfect for winter adventures. This pattern combines classic cable textures with a modern twist, creating a snug fit that keeps you warm and fashionable. Whether you're hitting the slopes or enjoying a winter walk, this beanie will be your go-to accessory!
Materials Needed
- Yarn: Worsted weight yarn, 100g
- Needles: US 8 (5mm) circular needles
- Gauge: 18 stitches and 24 rows = 4 inches in stockinette stitch
Step-by-Step Instructions
1. Cast On
Begin by casting on 96 stitches using the long-tail cast-on method. Ensure that your stitches are not twisted by laying the cast-on stitches flat on your needle. Place a stitch marker to indicate the beginning of the round.
2. Ribbing
For the ribbing, work the following rounds:
- Rounds 1-8: *K2, P2* repeat from * to * around. This will create a stretchy ribbed brim.
3. Body of the Beanie
Now, we will work the body of the beanie:
- Rounds 9-12: Knit all stitches around.
- Round 13: *K2, P2, C4F* (this means slip 2 stitches to a cable needle and hold in front, knit 2 from the left needle, then knit the 2 stitches from the cable needle) repeat from * to * around.
- Rounds 14-16: Knit all stitches around.
Continue repeating Rounds 13-16 until the piece measures 8 inches from the cast-on edge. This will give your beanie its beautiful cable texture.
4. Crown Decrease
Once you reach the desired height, it’s time to shape the crown of the beanie:
- Round 1: *K2, P2, K2tog, K2* repeat from * to * around.
- Round 2: *K2, P2, K1* repeat from * to * around.
- Round 3: *K2, P2tog, K1* repeat from * to * around.
- Round 4: *K2, P1* repeat from * to * around.
- Round 5: *K2tog, P1* repeat from * to * around.
- Round 6: *K1, P1* repeat from * to * around.
- Round 7: *K2tog* repeat from * to * around.
- Round 8: Knit all stitches around.
5. Finishing Touches
Cut the yarn, leaving a long tail. Thread this tail through the remaining stitches on your needle and pull tight to close the top of the hat. Weave in all ends securely to finish your beanie.
Conclusion
Congratulations! You’ve just completed your very own Alpine Peaks Beanie. This snug, slightly slouchy hat features a deep ribbed brim and intricate cable patterns that resemble mountain peaks. Perfect for keeping warm during winter adventures, this beanie is not only functional but also a stylish addition to your winter wardrobe. Enjoy wearing your handmade creation!