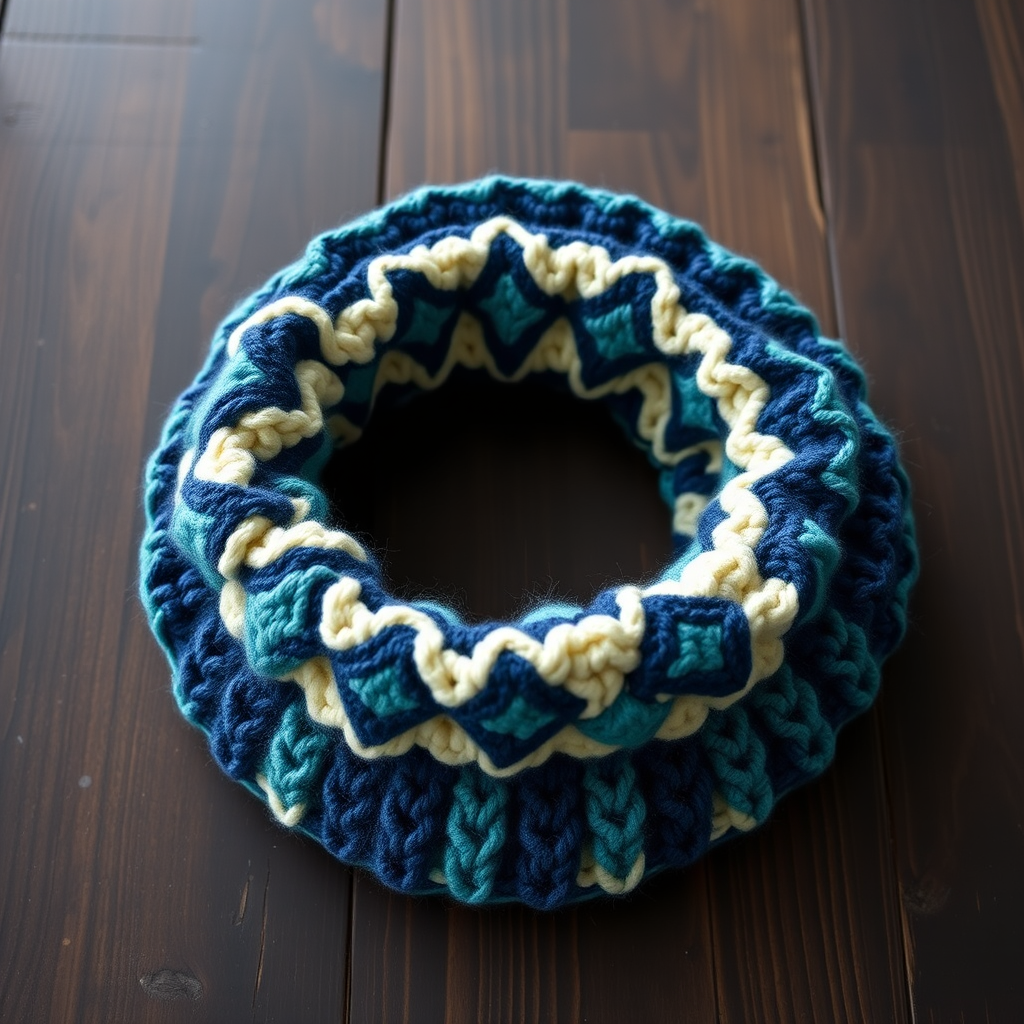
Mosaic Meadow Butterfly Pouch Free Pattern – Crochet a Tapestry Treasure

Mosaic Meadow Butterfly Pouch Free Pattern – Crochet a Tapestry Treasure
Carry a piece of the garden with you in this tapestry crochet zipper pouch, where a vibrant butterfly flutters across a field of textured stitches. This pattern blends colorwork and structure into a soft, everyday accessory that feels both whimsical and refined. The Mosaic Meadow Butterfly Pouch is the perfect project for crafters ready to dip their toes into tapestry crochet—it's worked flat, uses simple single crochet stitches, and the color changes create a stunning woven-like fabric that looks far more complex than it actually is.
Whether you're looking for a handmade gift, a stylish way to organize your bag, or a satisfying weekend project, this free pattern delivers. The earthy yet vibrant palette—sage green, butter yellow, coral pink, and deep teal—evokes a summer meadow in full bloom. Let's gather our materials and get started!
Materials Needed
Before you begin, make sure you have all your supplies ready. This project is beginner-friendly, but having the right tools makes all the difference.
Yarn
- Worsted weight cotton yarn in 4 colors:
- Main Color (MC): Sage Green
- Contrast A: Butter Yellow
- Contrast B: Coral Pink
- Contrast C: Deep Teal
Tip: Cotton yarn is ideal for this project because it holds its shape well, has excellent stitch definition, and creates a dense, durable fabric perfect for a pouch. If you prefer, you can substitute with any worsted weight yarn, but cotton is highly recommended for the best results.
Hook and Notions
- 3.5mm (E) crochet hook
- Tapestry needle (for weaving in ends and seaming)
- Zipper: 15cm (6in)
- Sewing needle and thread (matching your MC yarn color)
Gauge
20 sc x 22 rows = 10cm x 10cm (4in x 4in) in single crochet with MC.
Important: Always check your gauge before starting. If your gauge is off, adjust your hook size accordingly. A proper gauge ensures your pouch is the correct size and your zipper fits perfectly.
Step-by-Step Instructions
This pouch is worked flat in rows using the tapestry crochet technique. The key to beautiful tapestry crochet is carrying the unused yarn along the back of your work—this creates the dense, woven-like fabric that makes this technique so special. Don't worry if it feels a bit awkward at first; with each row, you'll get more comfortable.
We'll start with the front panel featuring the butterfly motif, then move to the solid back panel, and finally assemble everything together.
Front Panel (Butterfly Motif)
Row 1: With MC, ch 31. Sc in the 2nd ch from hook and in each ch across. (30 sc). Turn.
Row 2: Ch 1, sc in each st across. Turn. (30 sc)
Row 3: Ch 1, sc in next 5 sts with MC, sc in next 20 sts with A, sc in last 5 sts with MC. Turn.
Note: When changing colors, carry the unused yarn loosely along the back of your work. Do not cut the yarn—you'll need it again in a few rows.
Row 4: Ch 1, sc in next 4 sts with MC, sc in next 22 sts with A, sc in last 4 sts with MC. Turn.
Row 5: Ch 1, sc in next 3 sts with MC, sc in next 24 sts with A, sc in last 3 sts with MC. Turn.
Row 6: Ch 1, sc in next 3 sts with MC, sc in next 10 sts with A, sc in next 4 sts with B, sc in next 10 sts with A, sc in last 3 sts with MC. Turn.
Tip: This is where the butterfly begins to take shape! The coral pink (B) forms the center of the wings.
Row 7: Ch 1, sc in next 2 sts with MC, sc in next 9 sts with A, sc in next 2 sts with B, sc in next 2 sts with C, sc in next 2 sts with B, sc in next 9 sts with A, sc in last 2 sts with MC. Turn.
Row 8: Ch 1, sc in next 2 sts with MC, sc in next 8 sts with A, sc in next 2 sts with B, sc in next 4 sts with C, sc in next 2 sts with B, sc in next 8 sts with A, sc in last 2 sts with MC. Turn.
Row 9: Ch 1, sc in next 1 st with MC, sc in next 8 sts with A, sc in next 2 sts with B, sc in next 6 sts with C, sc in next 2 sts with B, sc in next 8 sts with A, sc in last 1 st with MC. Turn.
Row 10: Ch 1, sc in next 1 st with MC, sc in next 7 sts with A, sc in next 2 sts with B, sc in next 8 sts with C, sc in next 2 sts with B, sc in next 7 sts with A, sc in last 1 st with MC. Turn.
Row 11: Ch 1, sc in next 1 st with MC, sc in next 7 sts with A, sc in next 2 sts with B, sc in next 8 sts with C, sc in next 2 sts with B, sc in next 7 sts with A, sc in last 1 st with MC. Turn.
Note: Rows 10 and 11 are identical—this creates the full width of the butterfly's lower wings.
Row 12: Ch 1, sc in next 1 st with MC, sc in next 8 sts with A, sc in next 2 sts with B, sc in next 6 sts with C, sc in next 2 sts with B, sc in next 8 sts with A, sc in last 1 st with MC. Turn.
Row 13: Ch 1, sc in next 2 sts with MC, sc in next 8 sts with A, sc in next 2 sts with B, sc in next 4 sts with C, sc in next 2 sts with B, sc in next 8 sts with A, sc in last 2 sts with MC. Turn.
Row 14: Ch 1, sc in next 2 sts with MC, sc in next 9 sts with A, sc in next 2 sts with B, sc in next 2 sts with C, sc in next 2 sts with B, sc in next 9 sts with A, sc in last 2 sts with MC. Turn.
Row 15: Ch 1, sc in next 3 sts with MC, sc in next 10 sts with A, sc in next 4 sts with B, sc in next 10 sts with A, sc in last 3 sts with MC. Turn.
Row 16: Ch 1, sc in next 3 sts with MC, sc in next 24 sts with A, sc in last 3 sts with MC. Turn.
Row 17: Ch 1, sc in next 4 sts with MC, sc in next 22 sts with A, sc in last 4 sts with MC. Turn.
Row 18: Ch 1, sc in next 5 sts with MC, sc in next 20 sts with A, sc in last 5 sts with MC. Turn.
Row 19: Ch 1, sc in each st across with MC. Turn. (30 sc)
Row 20: Ch 1, sc in each st across with MC. Do not turn. Fasten off. Weave in all ends using your tapestry needle.
Congratulations! Your front panel with the beautiful butterfly motif is complete. Take a moment to admire your work—the colorwork creates a stunning tapestry effect.
Back Panel
Rows 1-20: Repeat exactly as for the front panel, but work entirely in MC (no color changes). This creates a solid sage green panel that complements the vibrant front.
Tip: Since there are no color changes, this panel works up quickly. It's the perfect "mindless" crochet after the concentration required for the front panel.
Assembly
Now for the exciting part—bringing your pouch together! Follow these steps carefully to create a professional-looking finished piece.
Step 1: Seam the Panels
Place the front and back panels together with wrong sides facing each other. Using MC yarn and your tapestry needle, whip stitch around three sides (bottom and both sides), leaving the top open. This creates a secure seam that will be hidden inside the pouch.
Tip: Keep your whip stitches even and not too tight—you want the seam to be flexible but secure.
Step 2: Turn Right Side Out
Carefully turn the pouch right side out through the open top. Use a blunt tool (like the end of your crochet hook) to gently push out the corners for a crisp finish.
Step 3: Prepare the Top Edge
Fold the top edge of each panel inward by about 1cm (0.5in). Press with a cool iron to create a crisp fold. This creates a clean edge for attaching the zipper and prevents fraying.
Note: If you don't have an iron, you can pin the folds in place—just be careful not to stretch the fabric.
Step 4: Attach the Zipper
Insert the zipper between the folded edges of the front and back panels. The zipper teeth should be facing up, with the zipper pull accessible. Using your sewing needle and thread, carefully hand-stitch the zipper in place.
Pro Tip: Start by basting the zipper in place with a few loose stitches, then go back and make small, even stitches for a secure hold. Test the zipper periodically to ensure it opens and closes smoothly.
Step 5: Final Touches
Weave in any remaining ends with your tapestry needle. If needed, block your pouch gently to even out the stitches and give it a polished look. To block, lightly mist with water and lay flat to dry, shaping as needed.
Your Mosaic Meadow Butterfly Pouch Is Complete!
Step back and admire your handiwork! You've created a beautiful tapestry crochet zipper pouch featuring a vibrant butterfly motif. This project is perfect for holding your essentials—lip balm, earbuds, coins, or even as a stylish gift for a friend who appreciates handmade treasures.
The tapestry crochet technique you've practiced here opens up a world of possibilities. Once you're comfortable carrying yarn along the back and changing colors mid-row, you can apply these skills to countless other projects—from bags and pillows to wall hangings and more.
We'd love to see your finished Mosaic Meadow Butterfly Pouch! Share your creation on social media with the hashtag #MosaicMeadowPouch and tag us so we can admire your work. Happy crocheting!